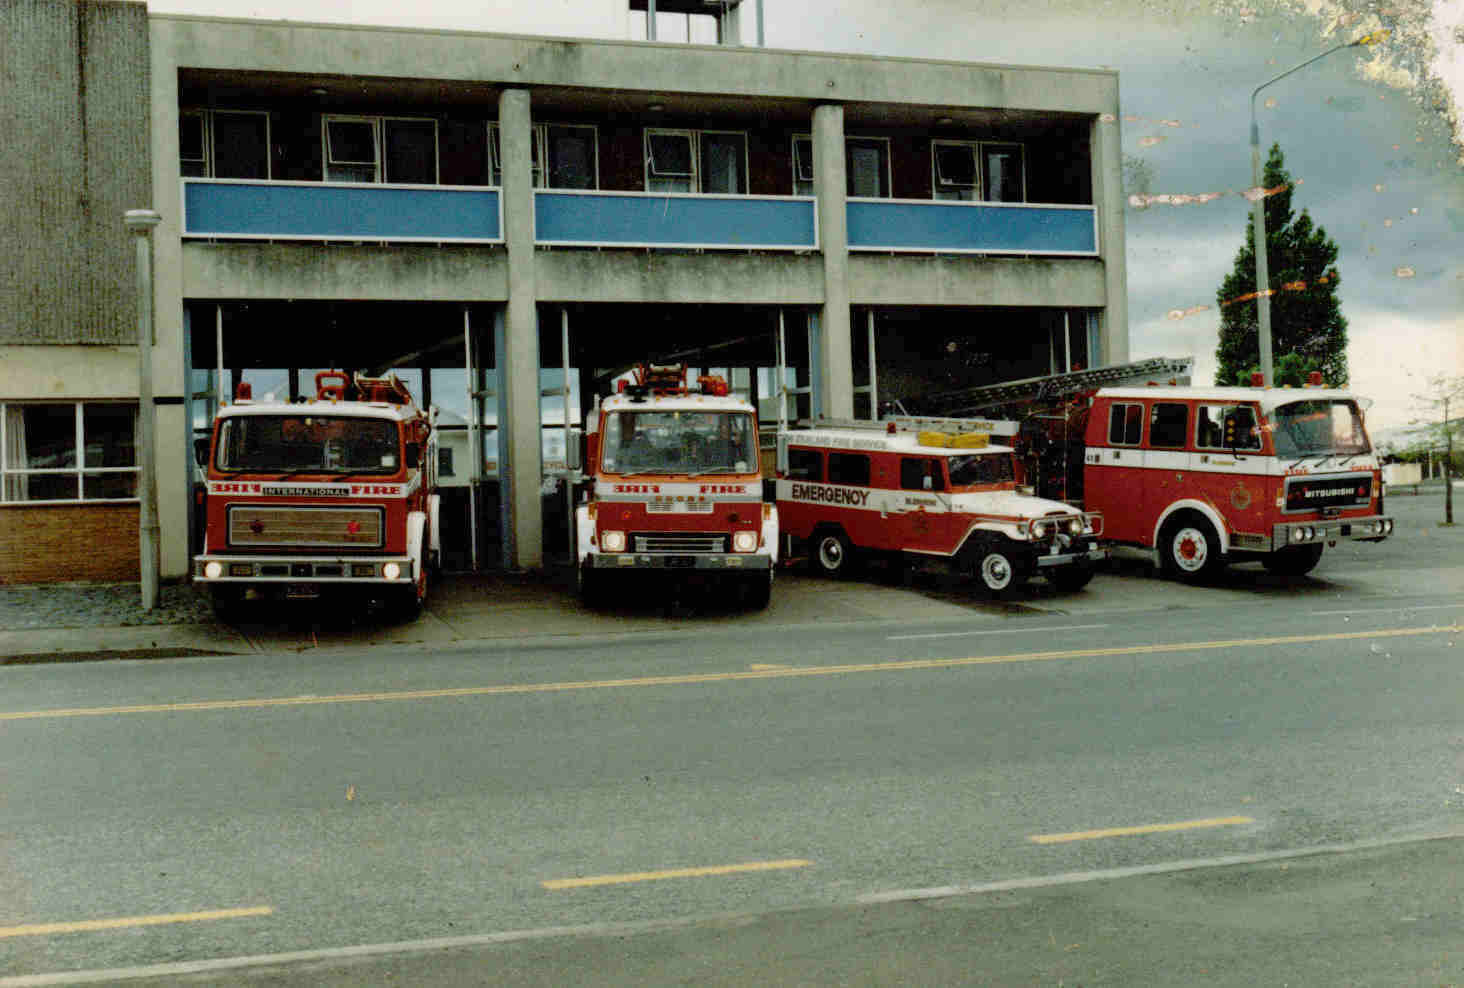
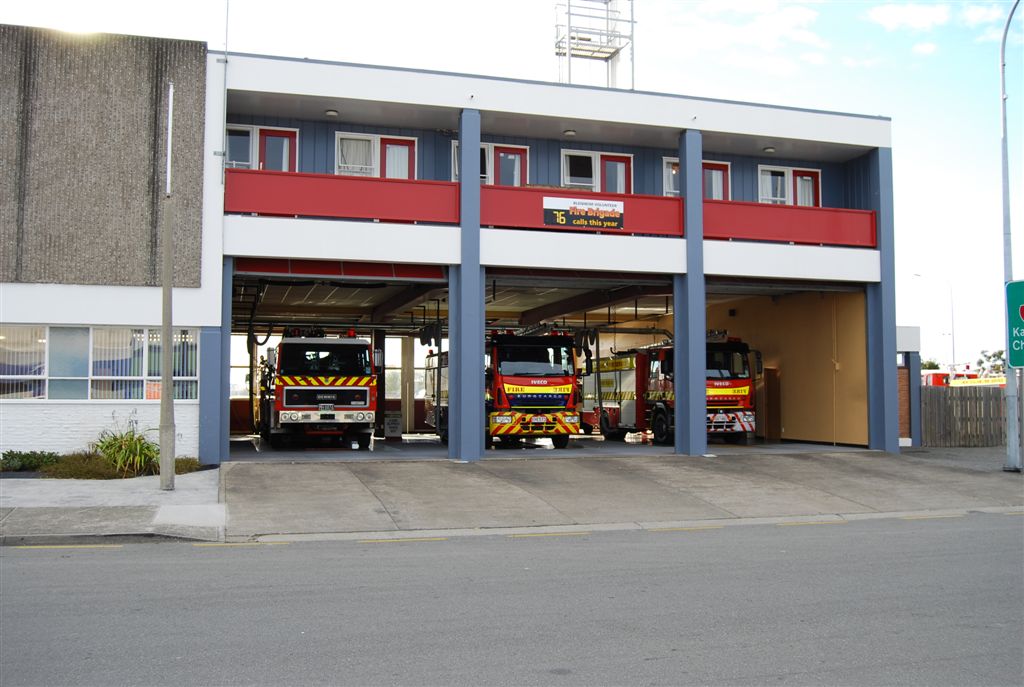
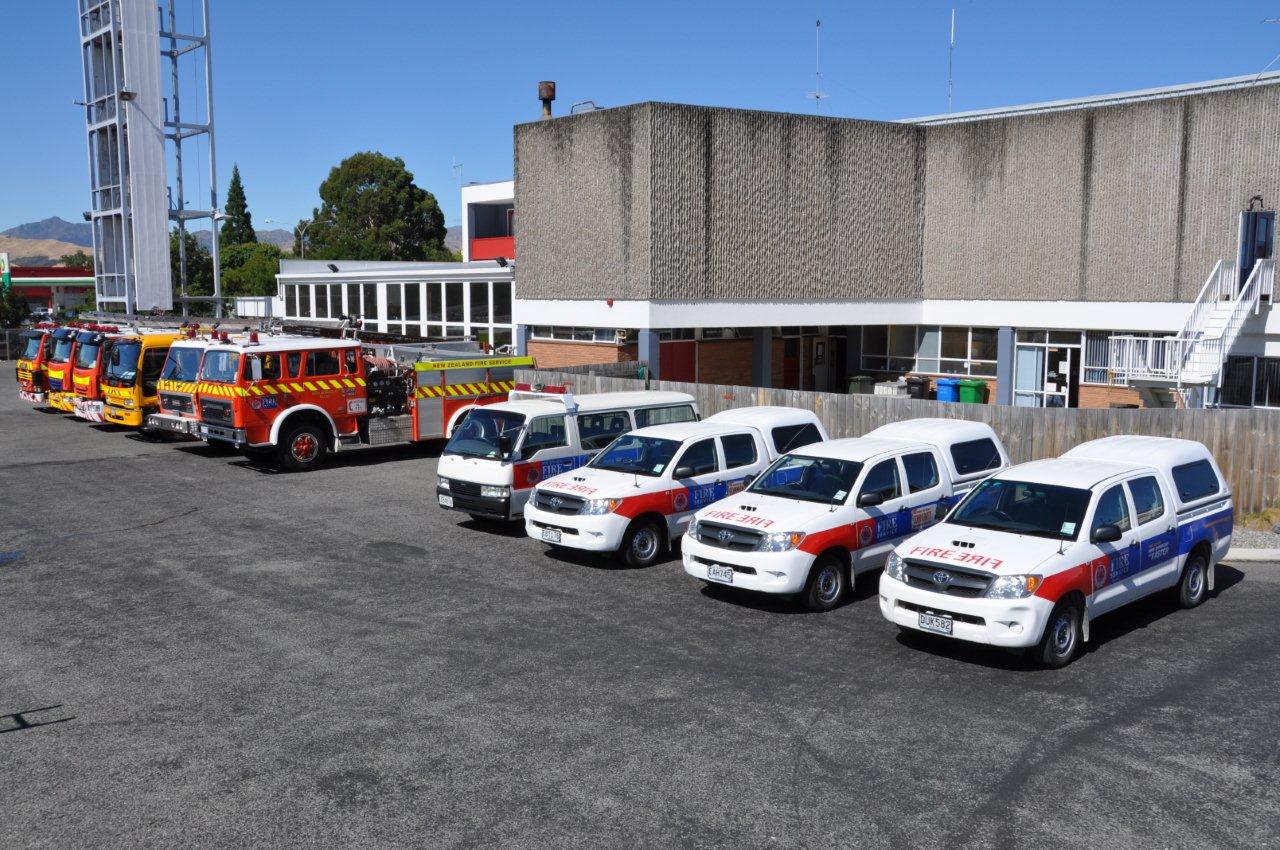
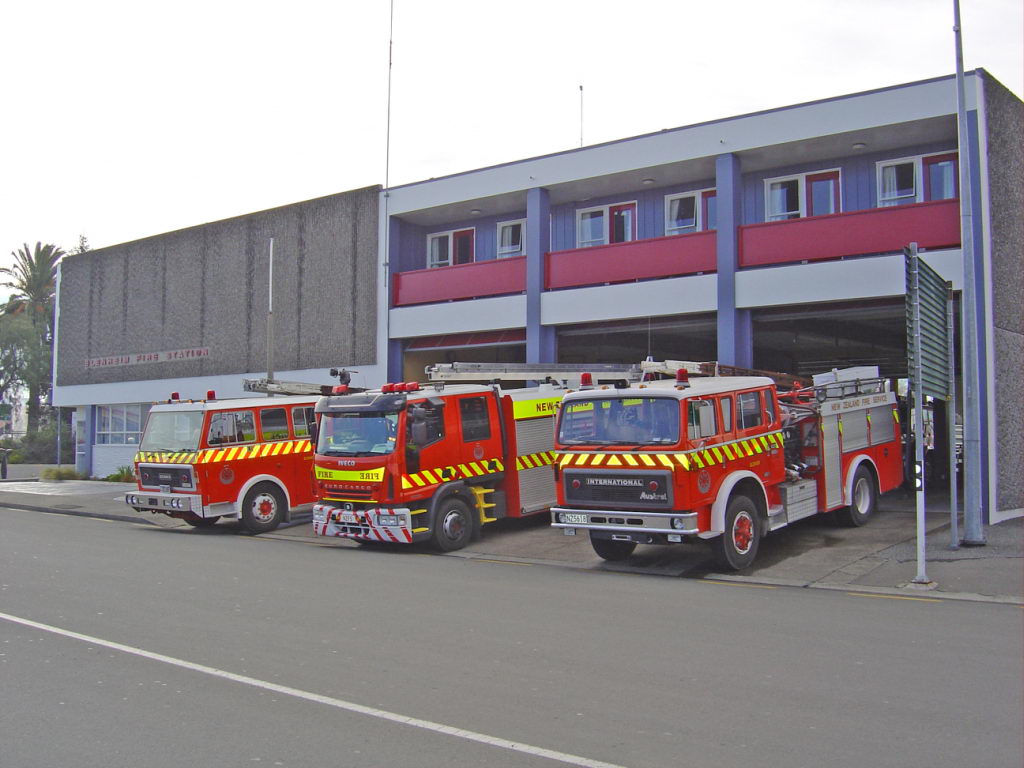
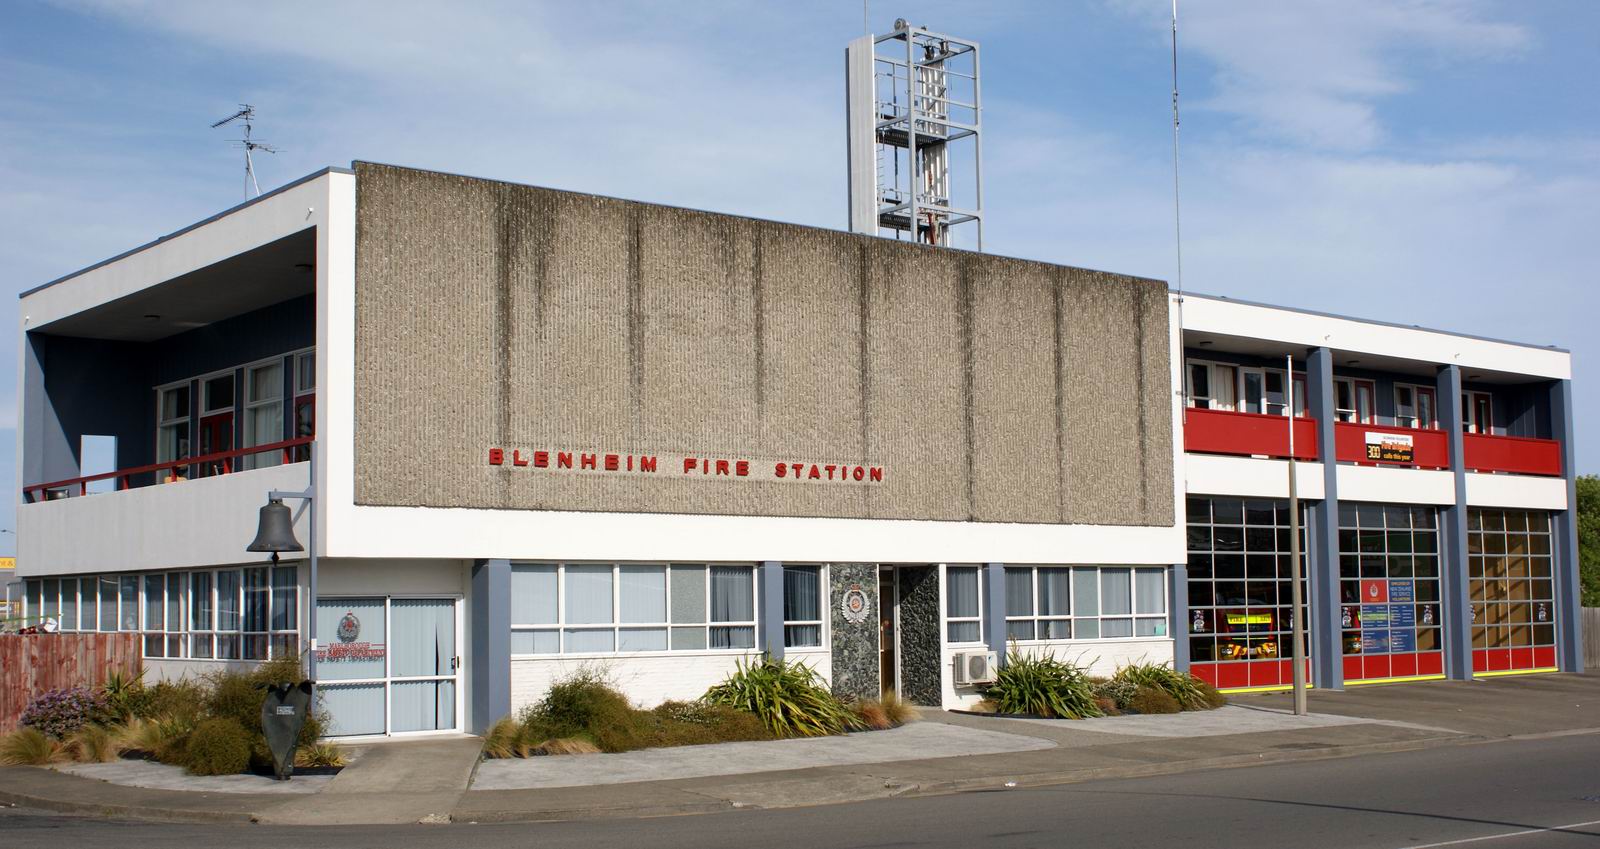
STATION 24 - BLENHEIM FIRE STATION
Symons St
Blenheim
Opened:
 |
 |
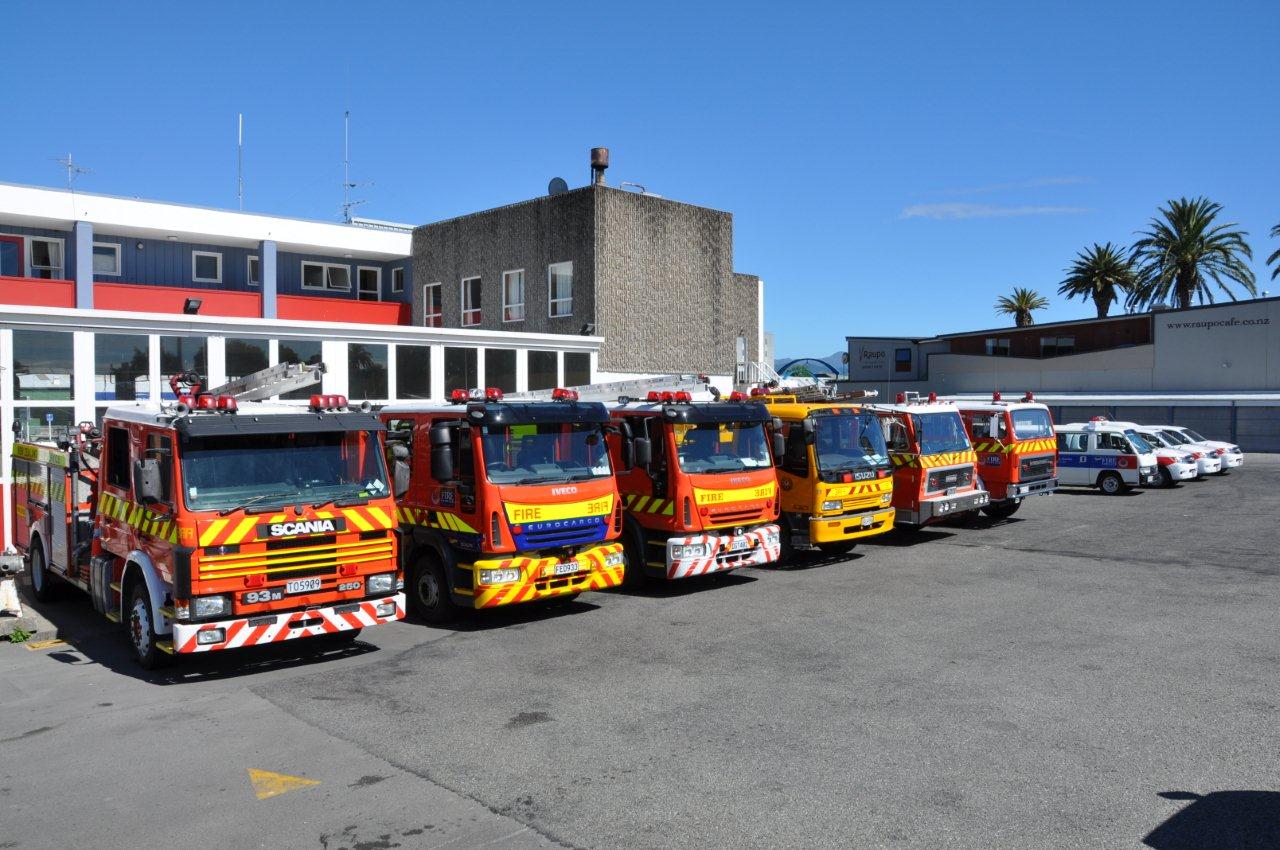 |
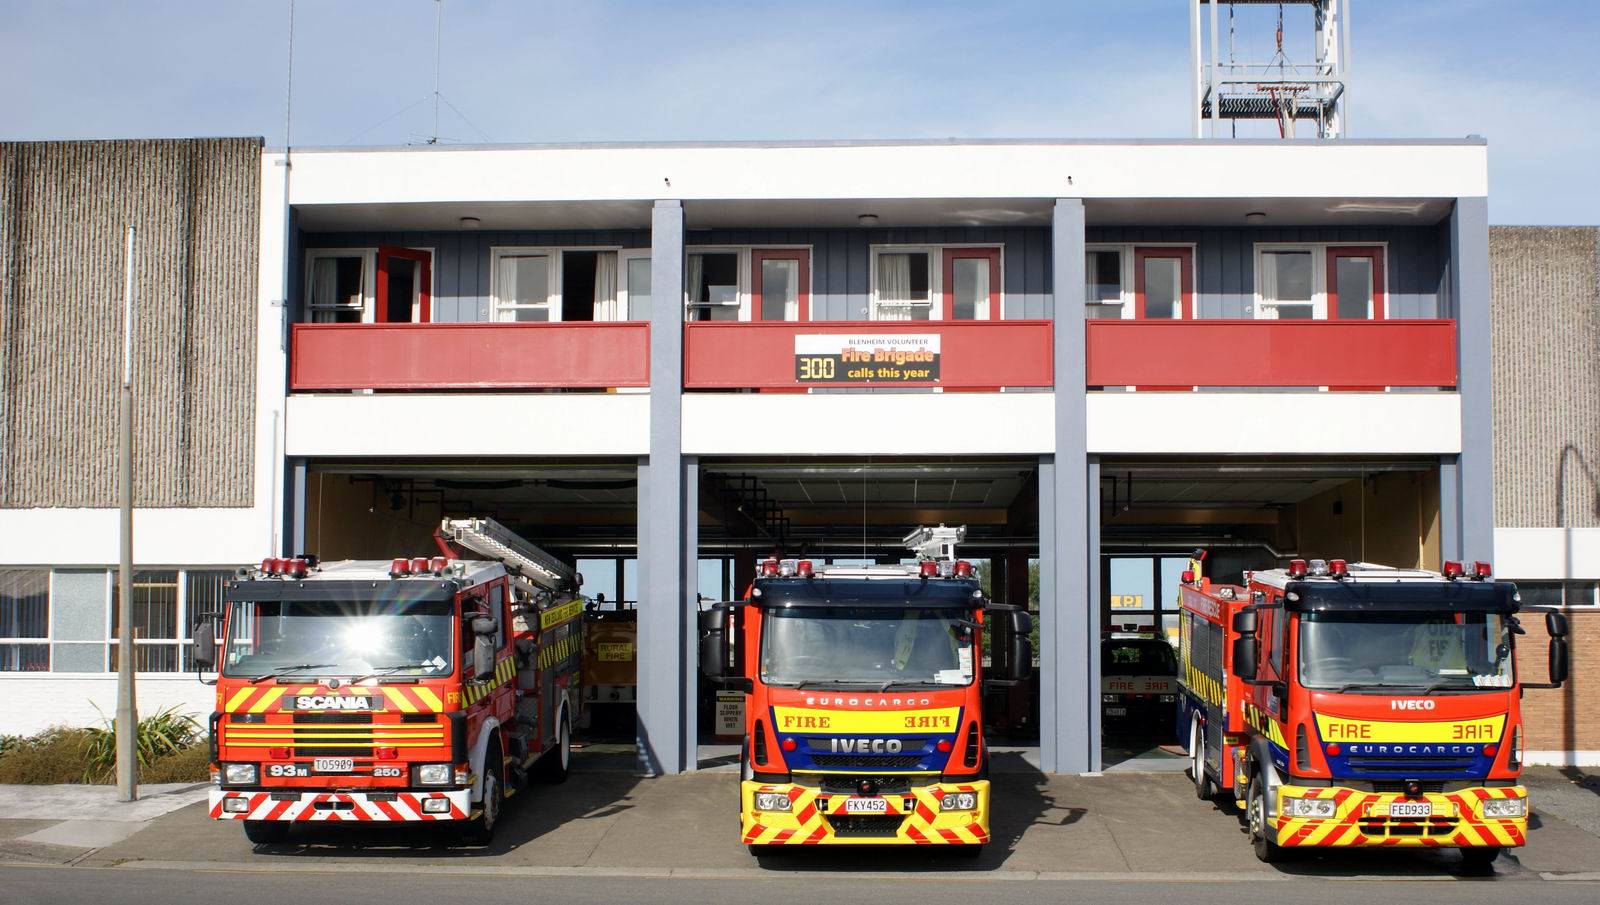
| Photo donated by Daniel Capon | Photo by Craig Love | Photo by Craig Love |
 |
 |
 |
| Photo by Craig Love | Photo by Craig Love | |
 |
 |
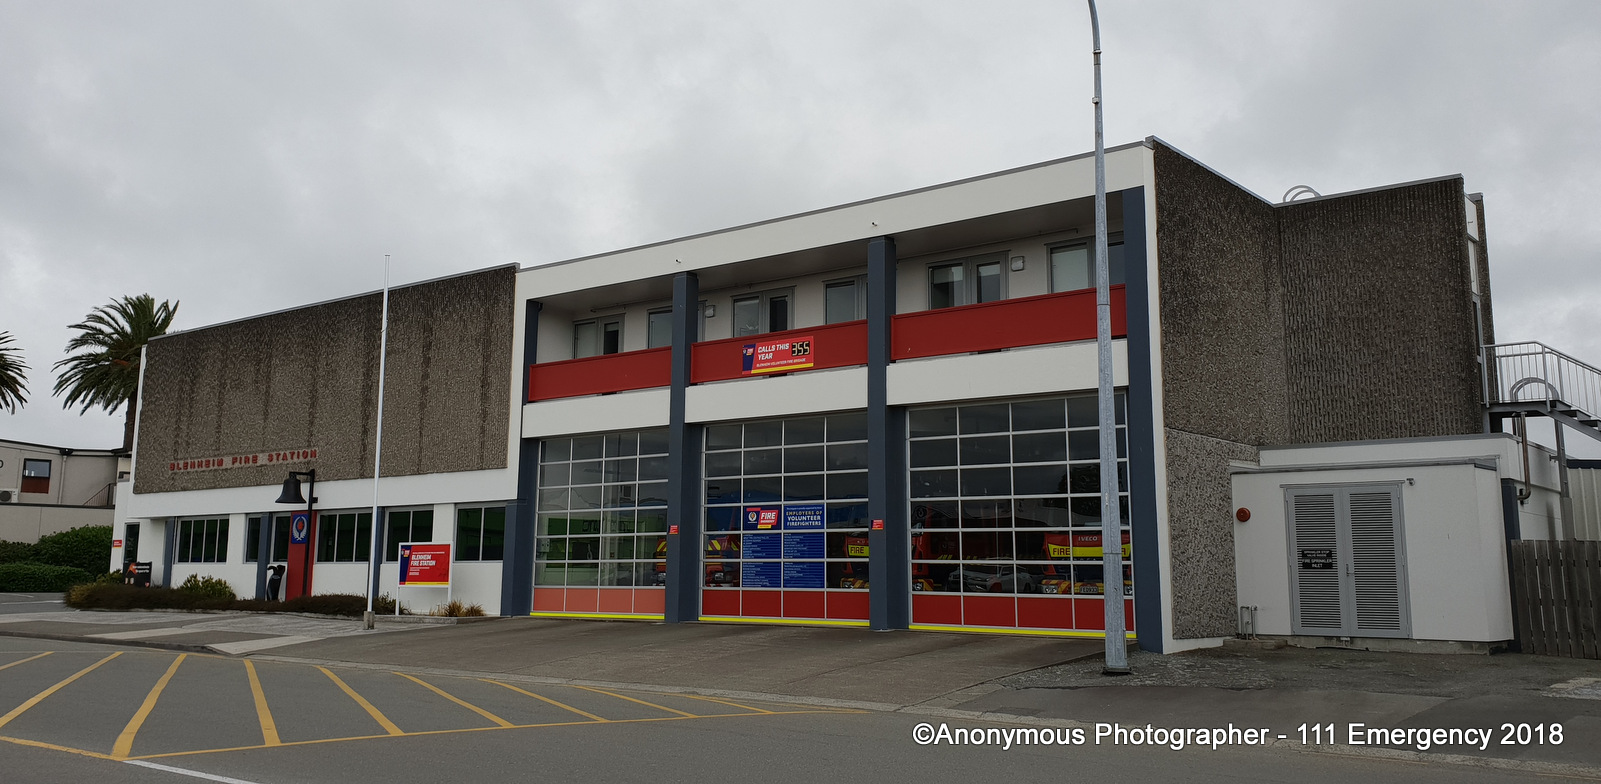 |
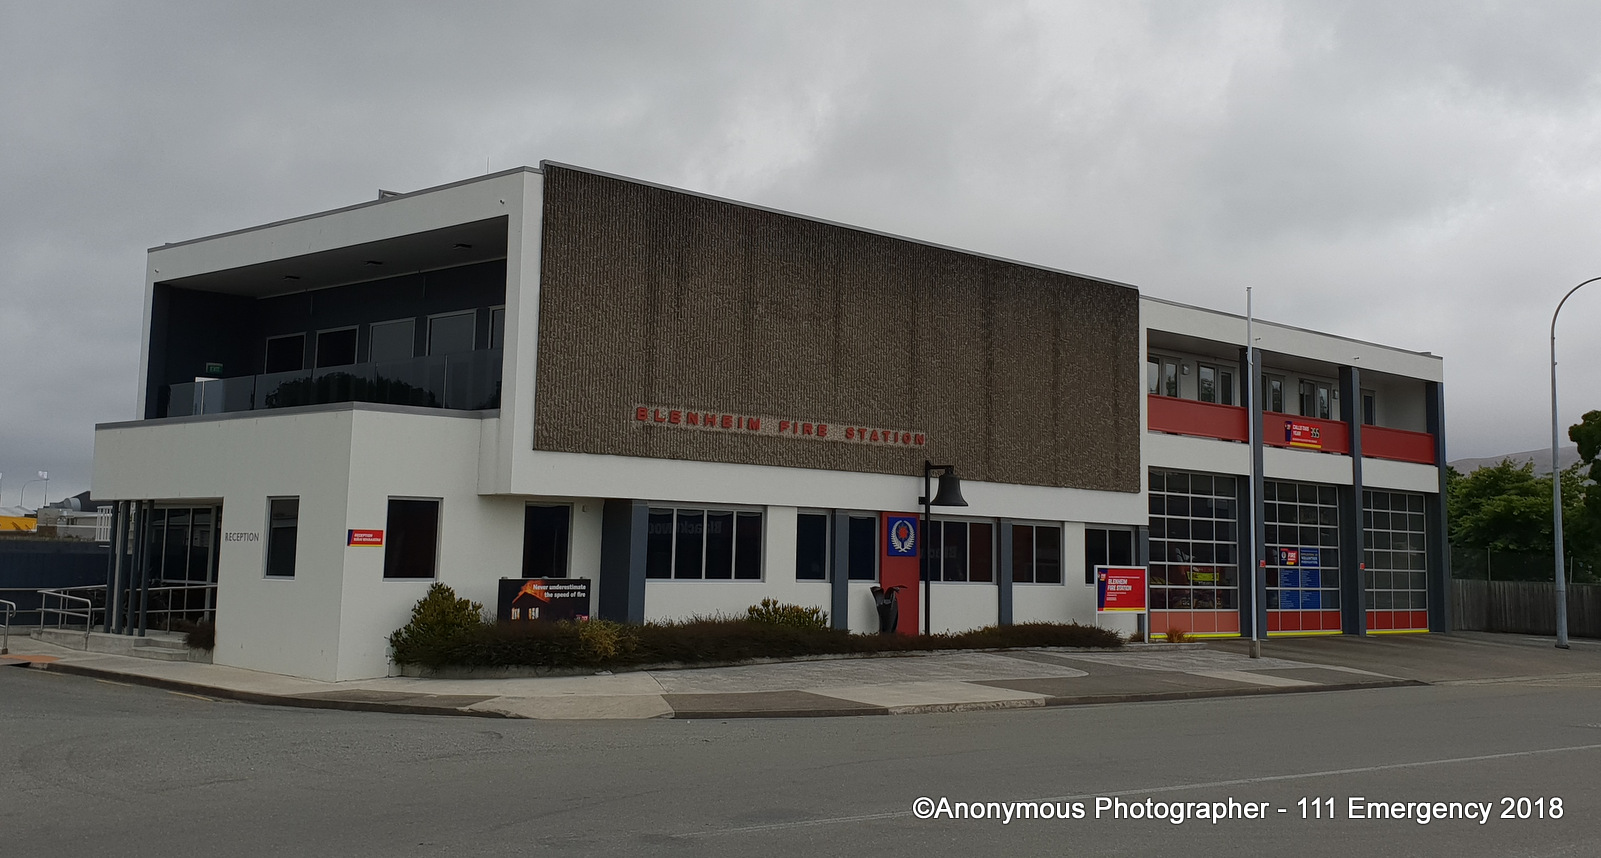
| Anonymous Photographer | Anonymous Photographer | |
 |
 |
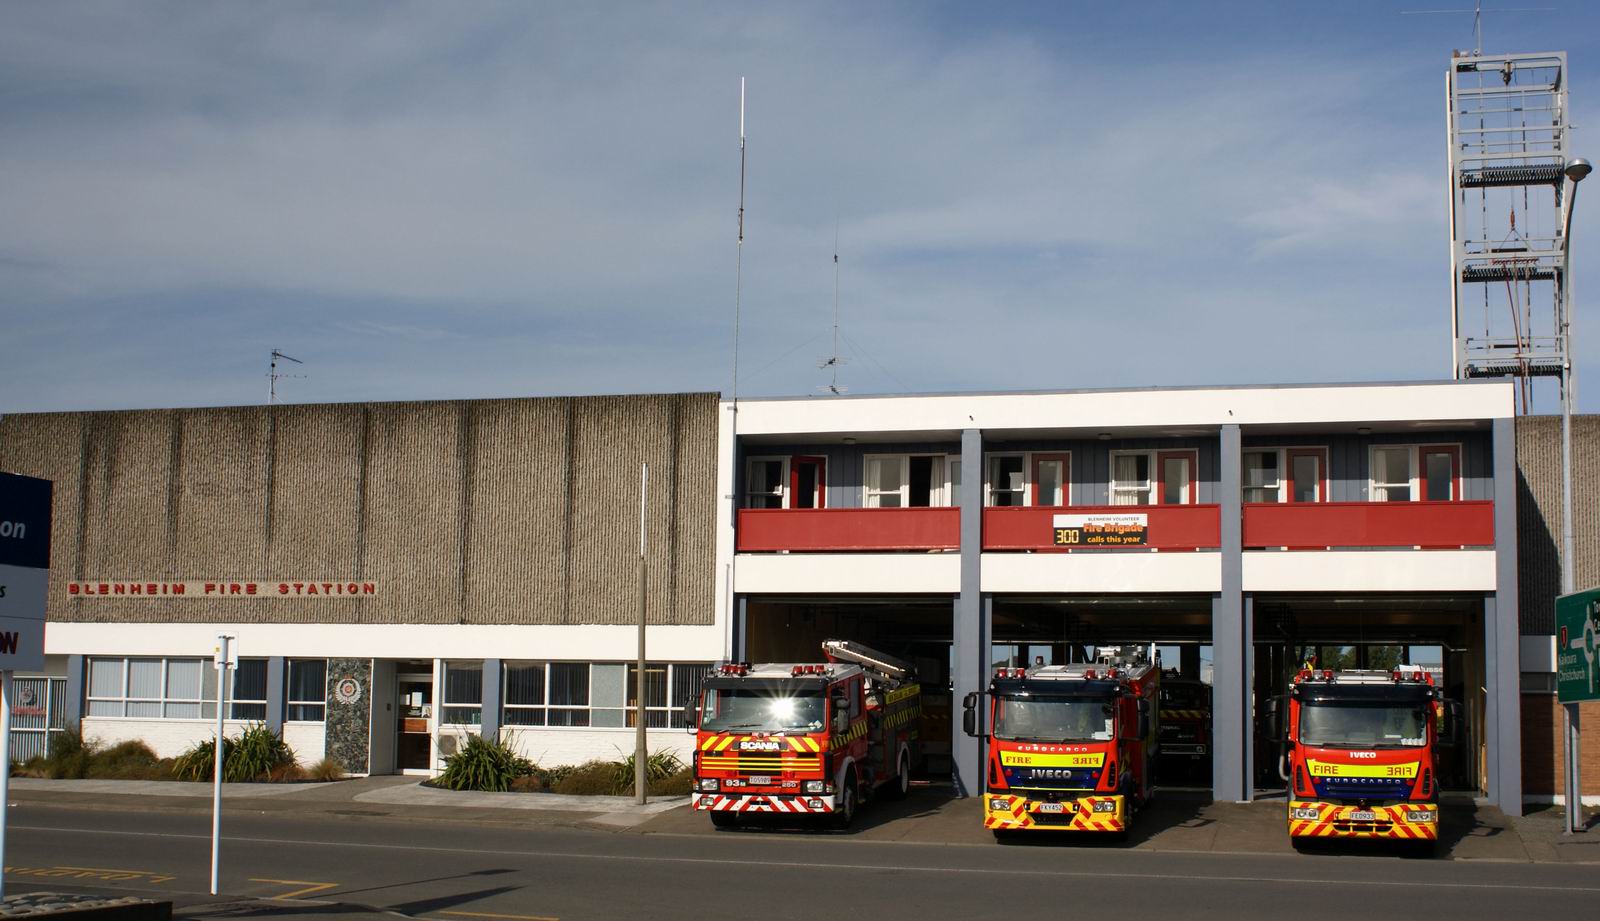 |
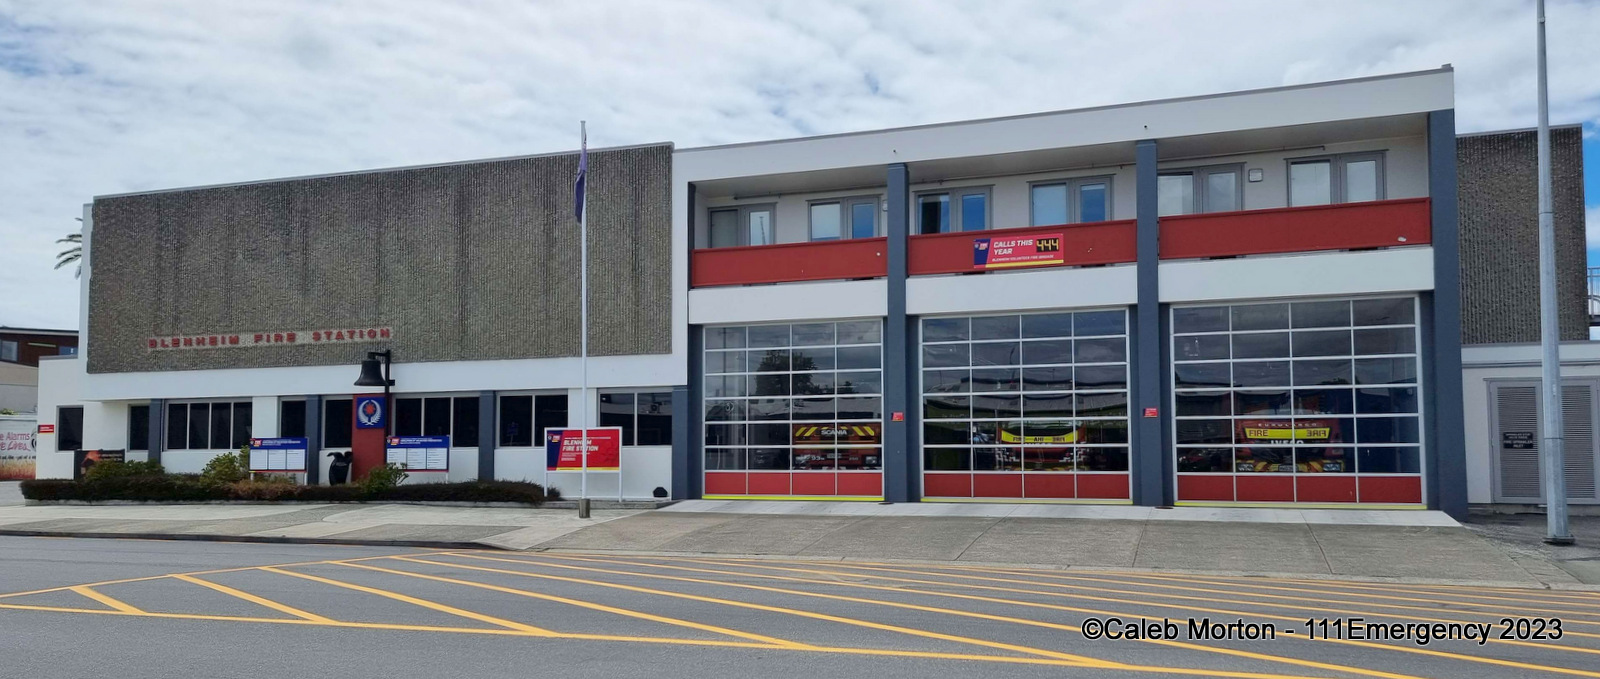
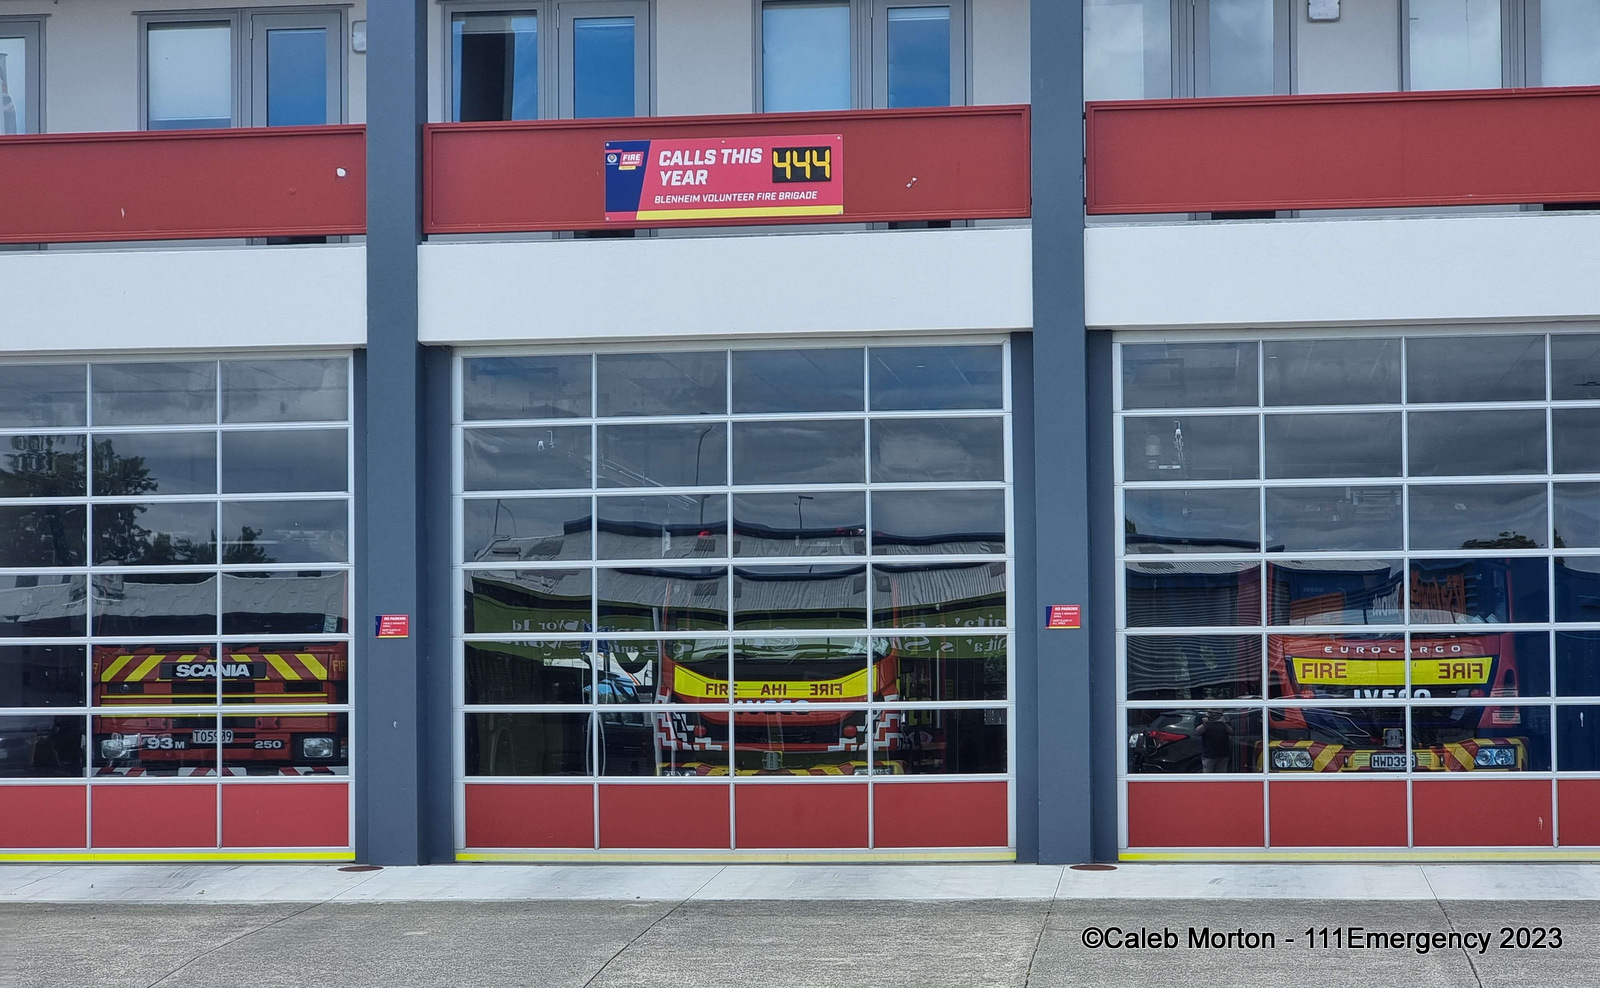
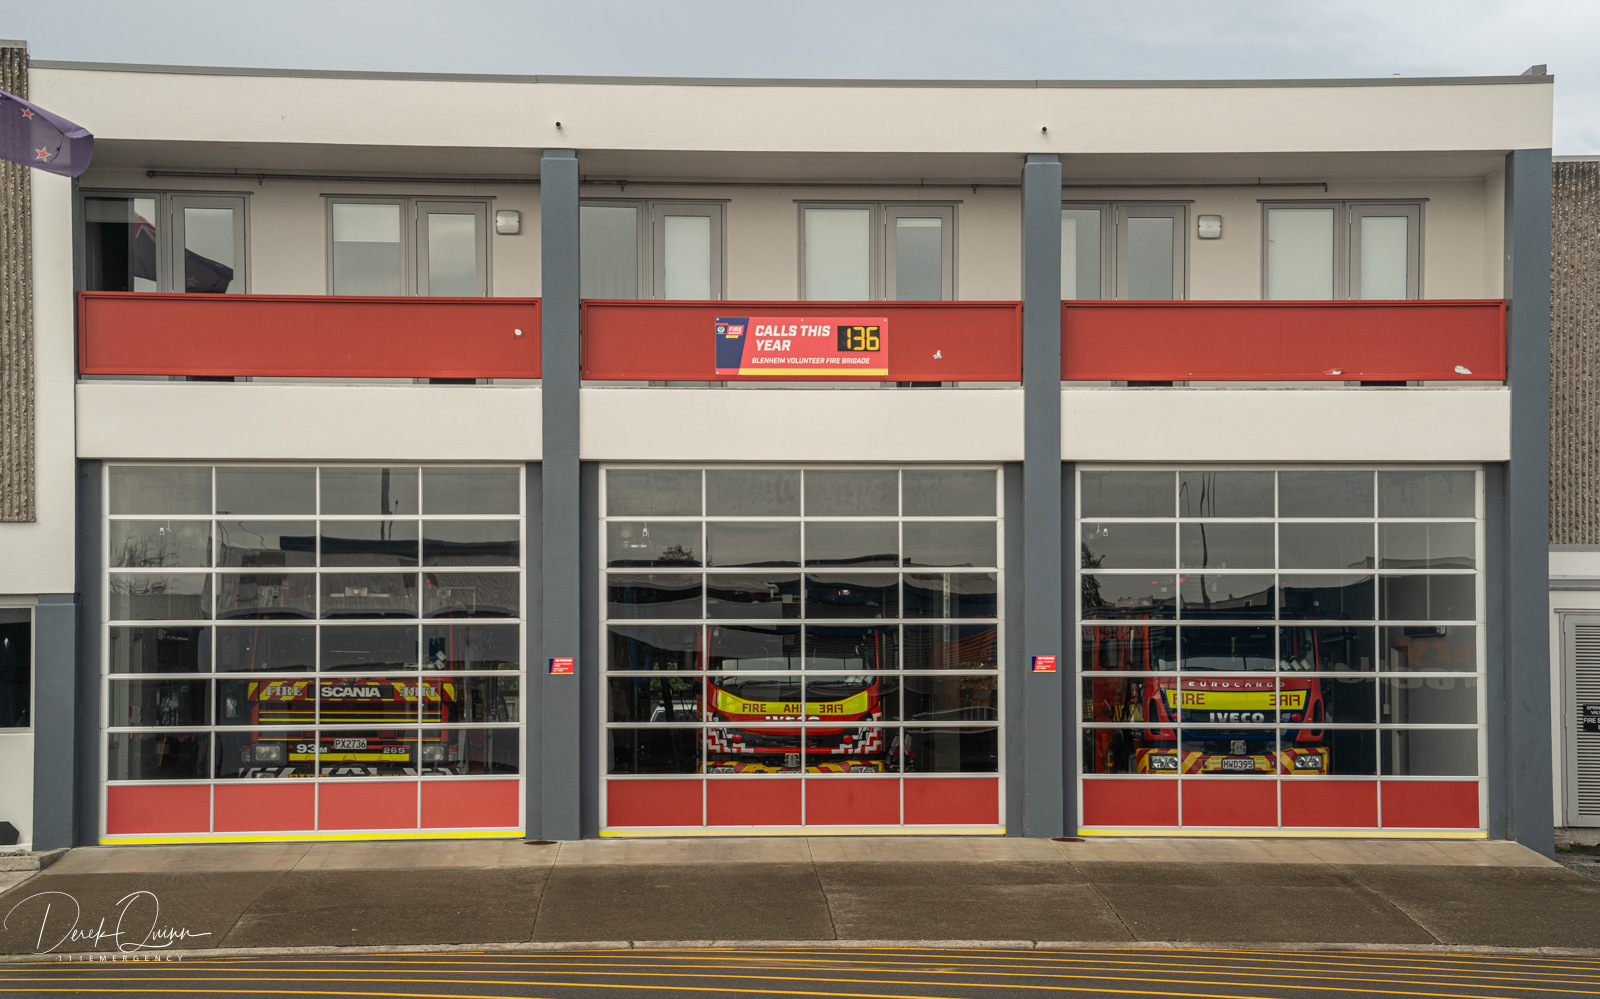
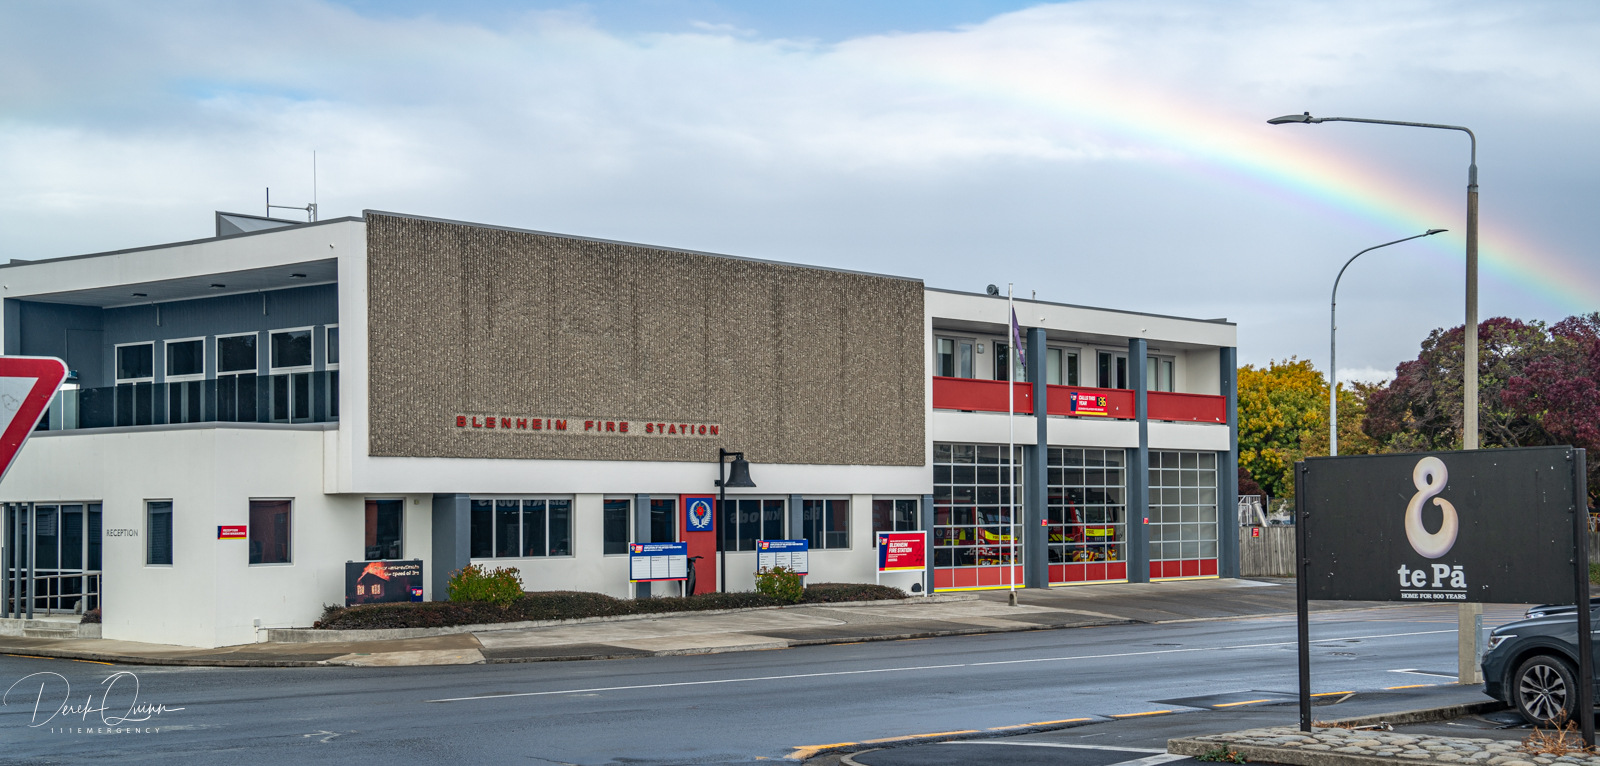
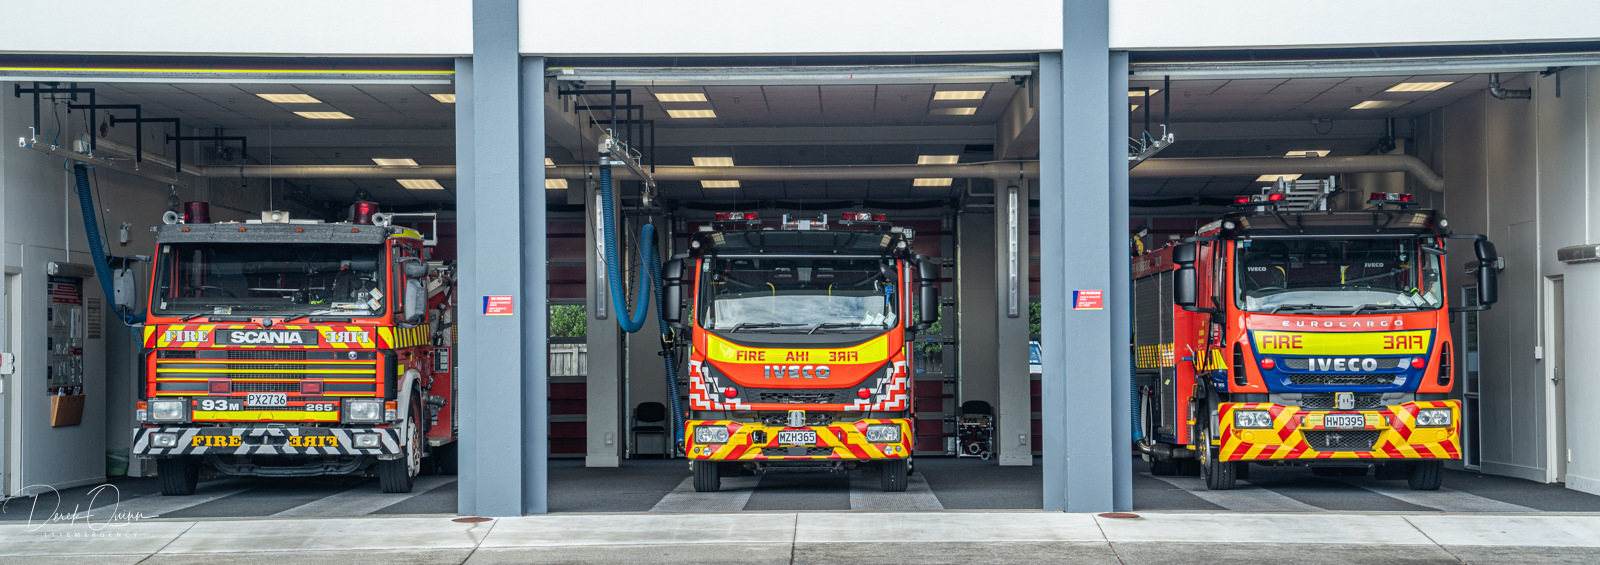
| Photo by Caleb Morton | Photo by Caleb Morton | Photo by Derek Quinn |
 |
 |
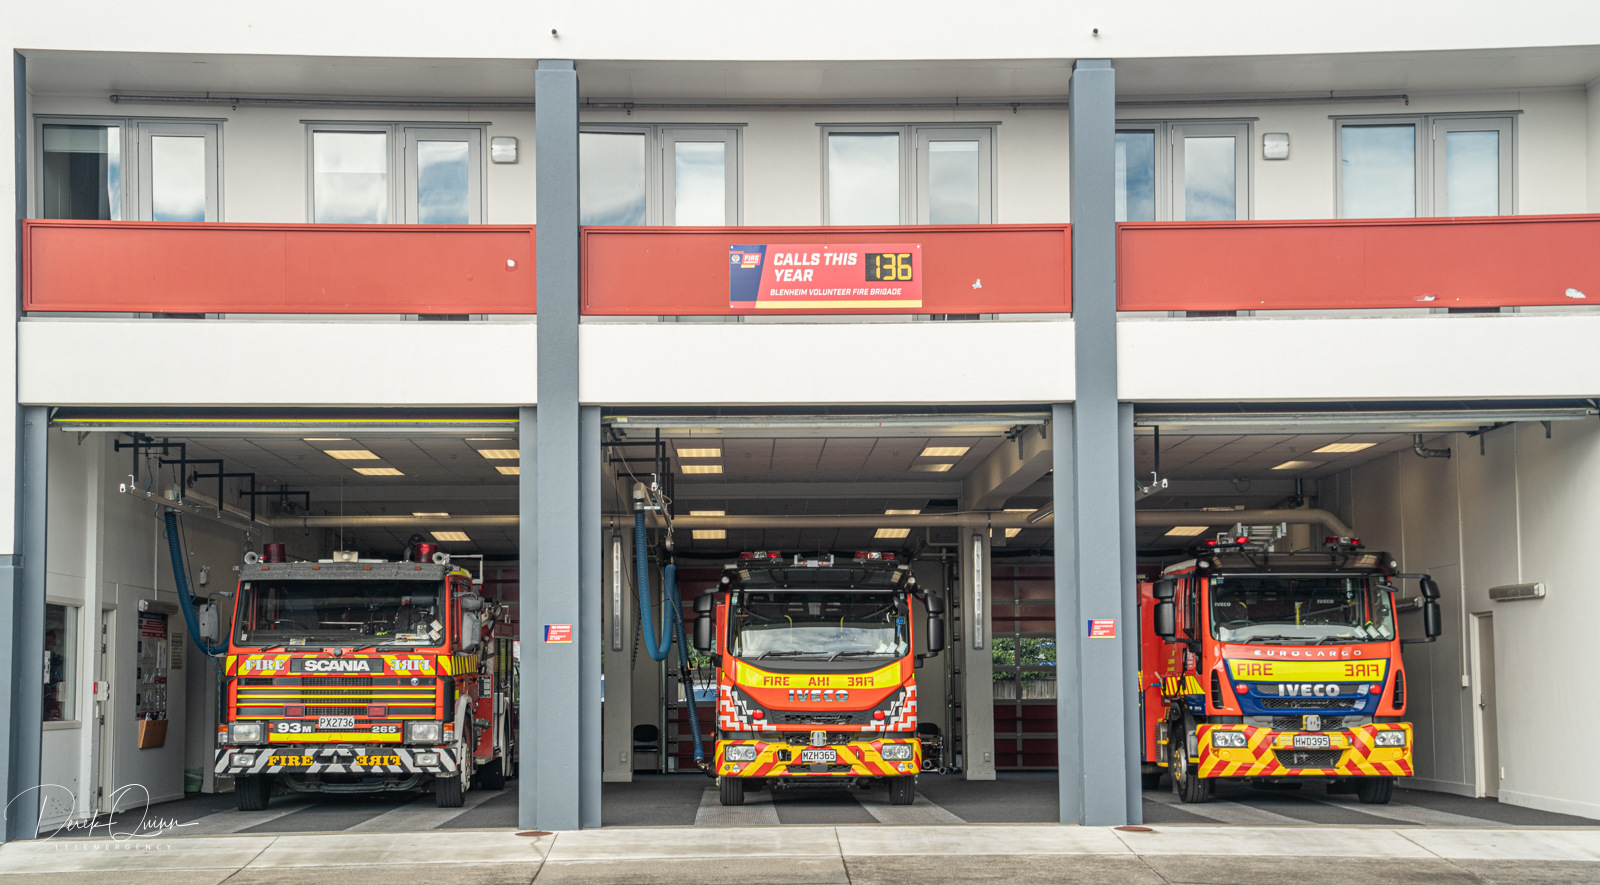 |
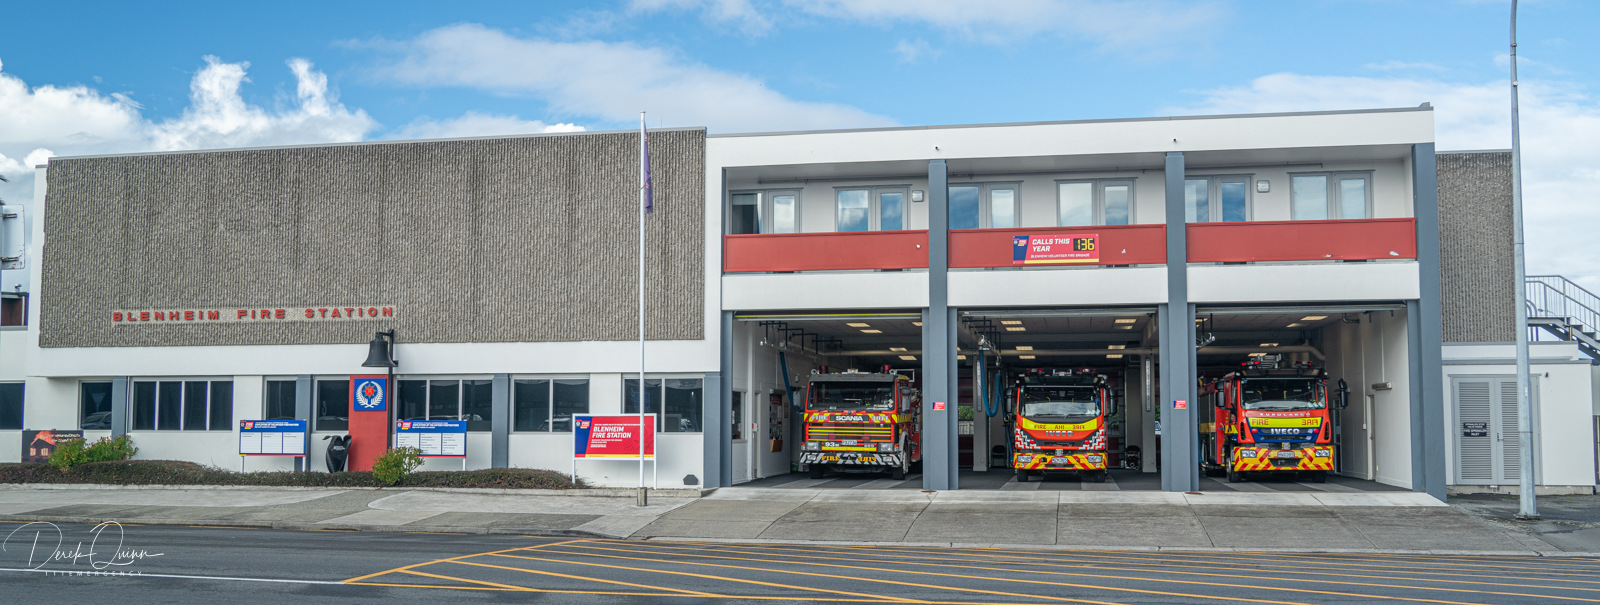
| Photo by Derek Quinn | Photo by Derek Quinn | Photo by Derek Quinn |
 |
 |
|
| Photo by Derek Quinn | Photo by Derek Quinn |
