HUKANUI 9017
Formerly CHARTWELL 4217
1994 Isuzu Elf
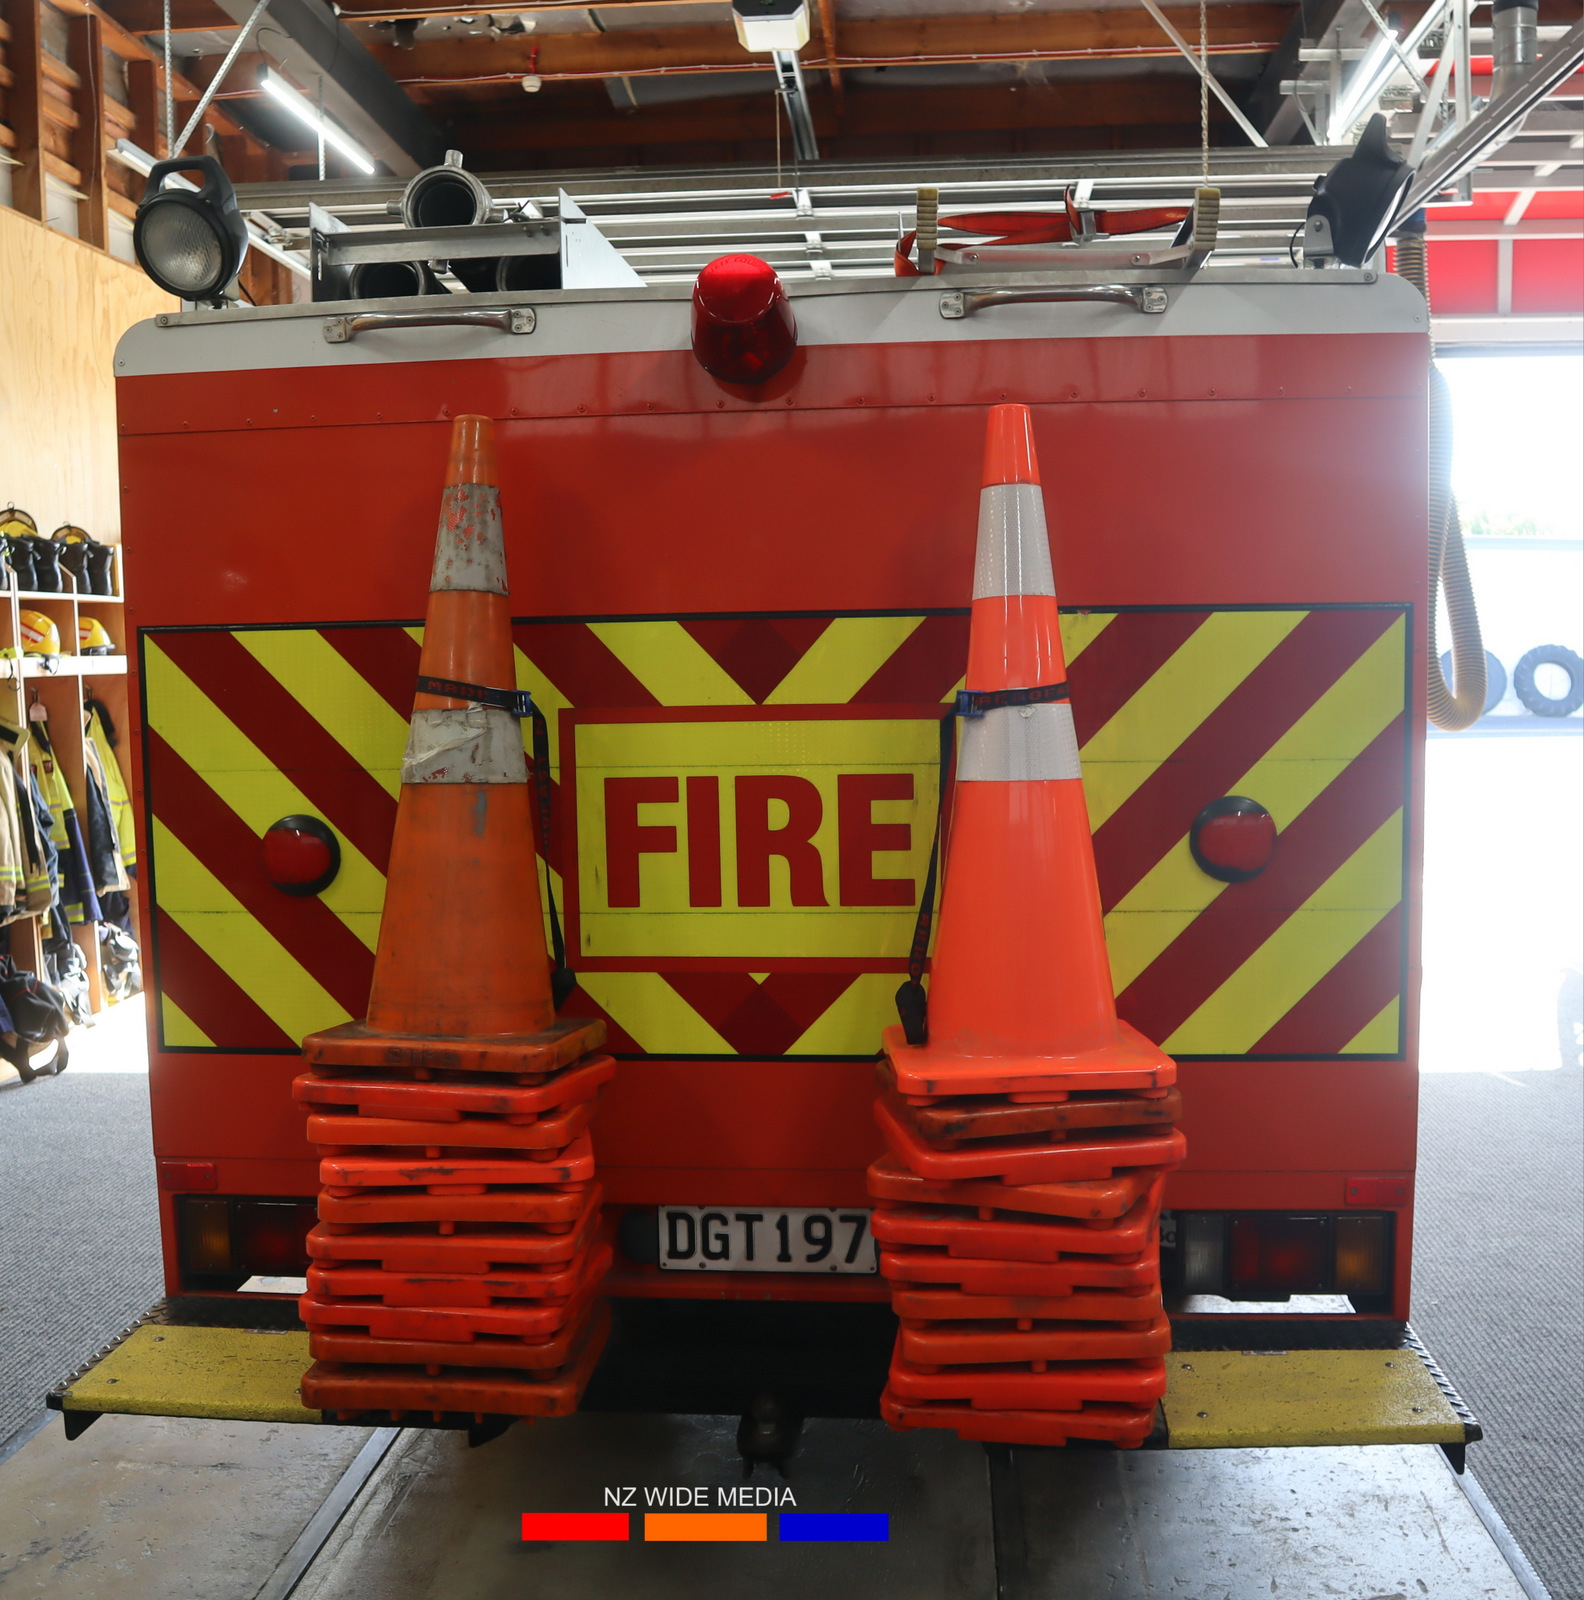
DGT 197
 |
 |
 |
| Photo by Bruce Nilson | Photo by Bruce Nilson | Photo by Bruce Nilson |
 |
 |
 |
| Photo by Scott Bayer | Photo by Scott Bayer | Photo by Scott Bayer |
 |
 |
 |
| Photo by Scott Bayer | Photo by Bruce Nilson | Anonymous Photographer |
 |
 |
 |
| Anonymous Photographer | Photo by Ian Bettridge | Anonymous Photographer |
 |
 |
 |
| Photo by James Everaarts | Photo by James Everaarts | Photo by James Everaarts |
 |
 |
 |
| Photo by James Everaarts | Photo by Hamilton Emergency | Photo by Hamilton Emergency |
 |
 |
 |
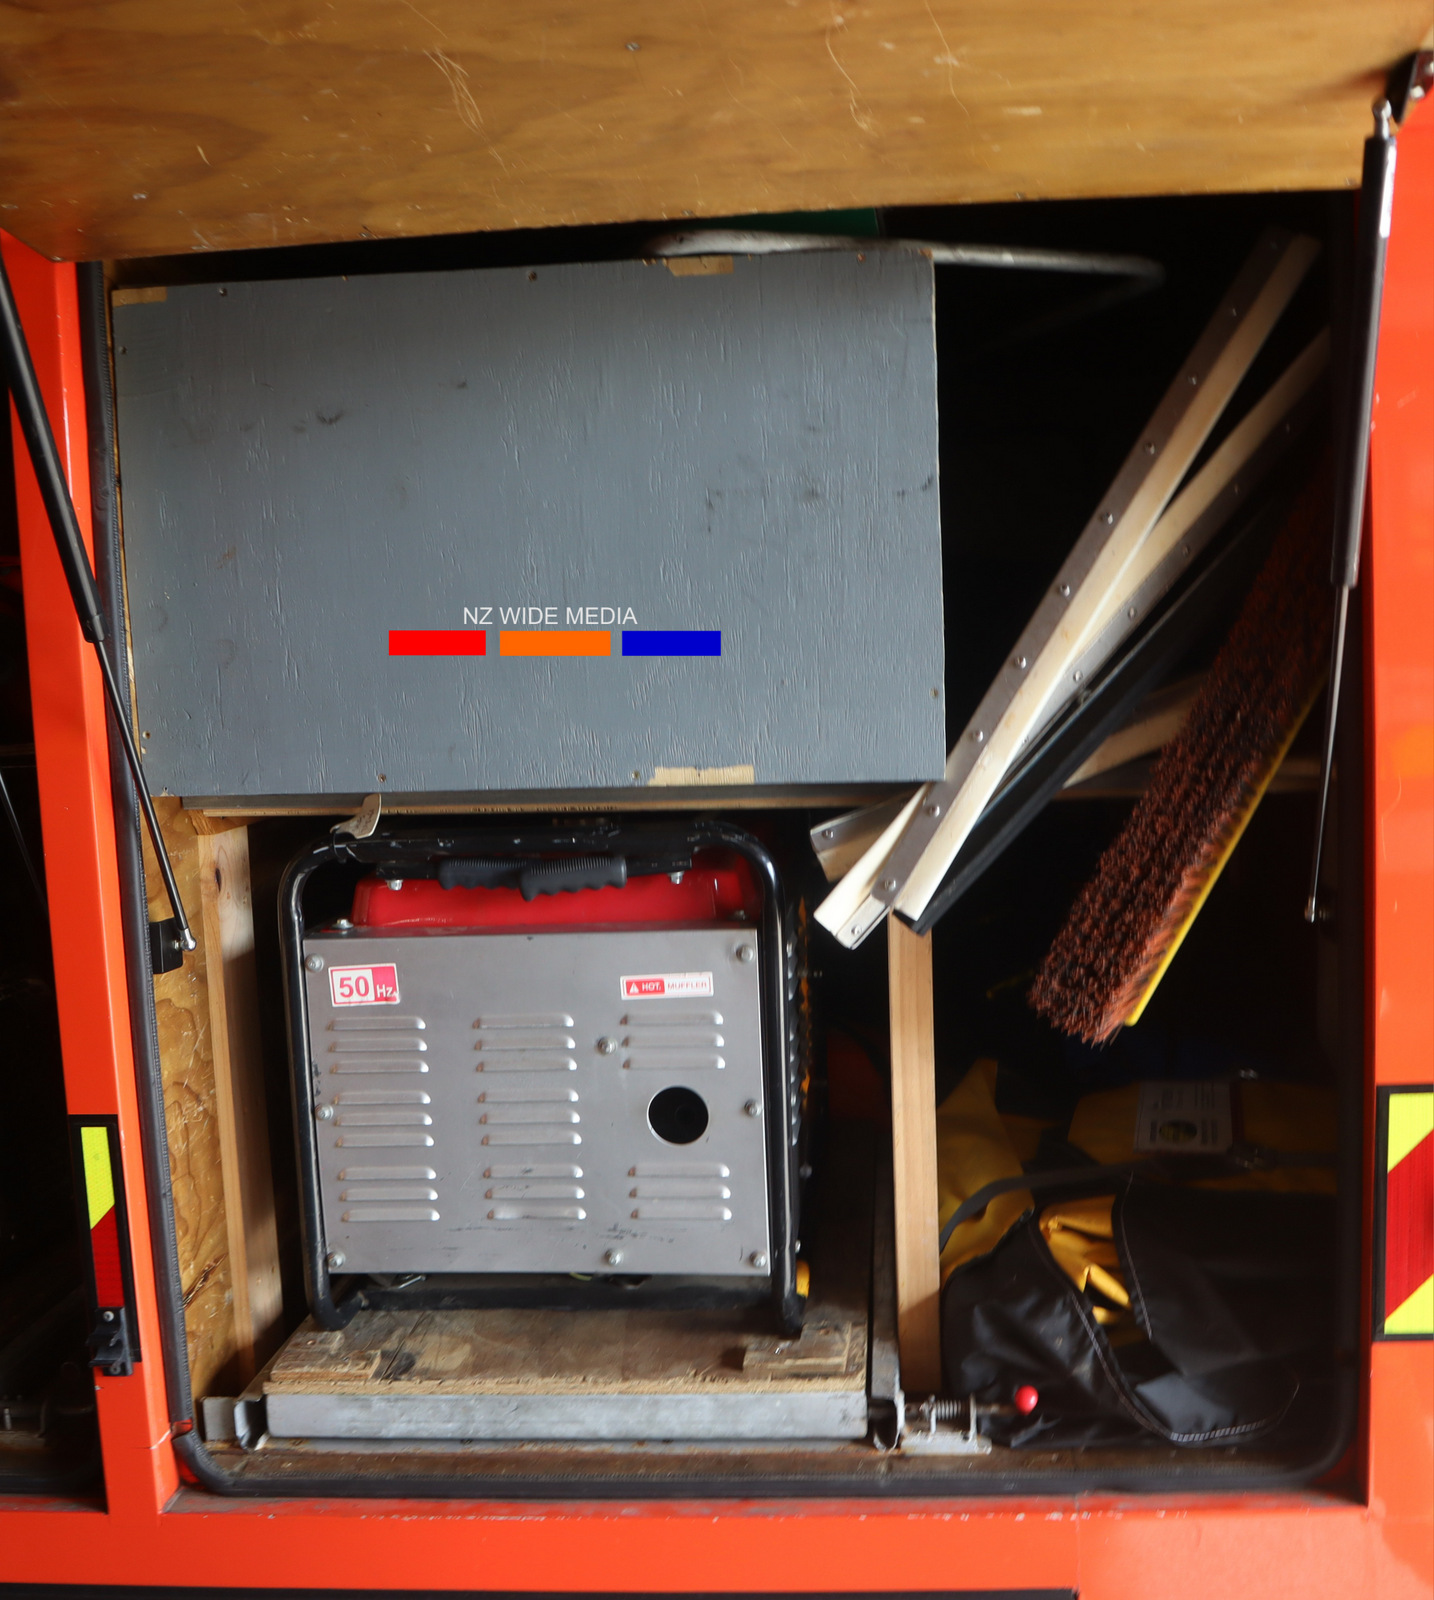
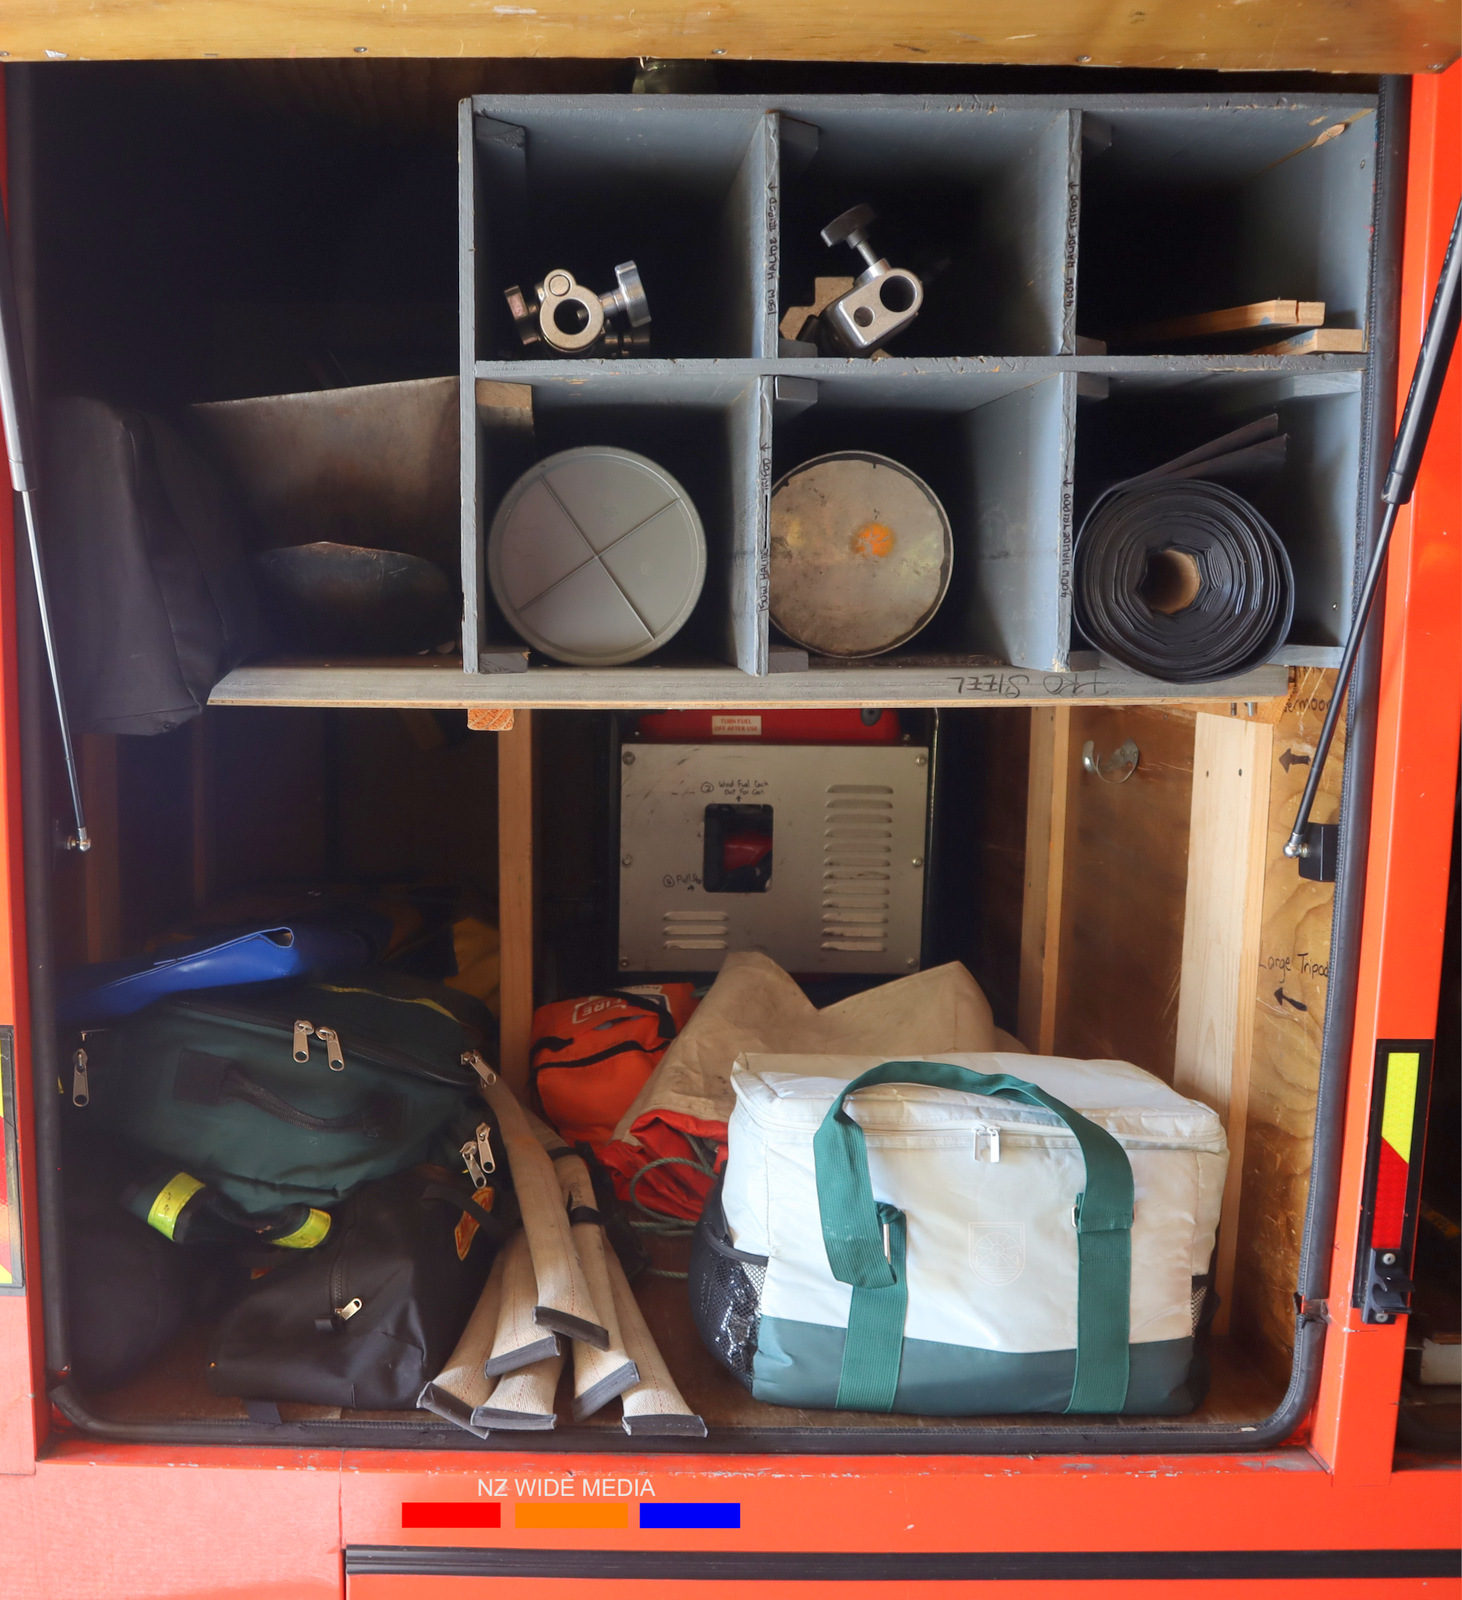
| Photo by NZ Wide Media | Photo by NZ Wide Media | Photo by NZ Wide Media |
 |
 |
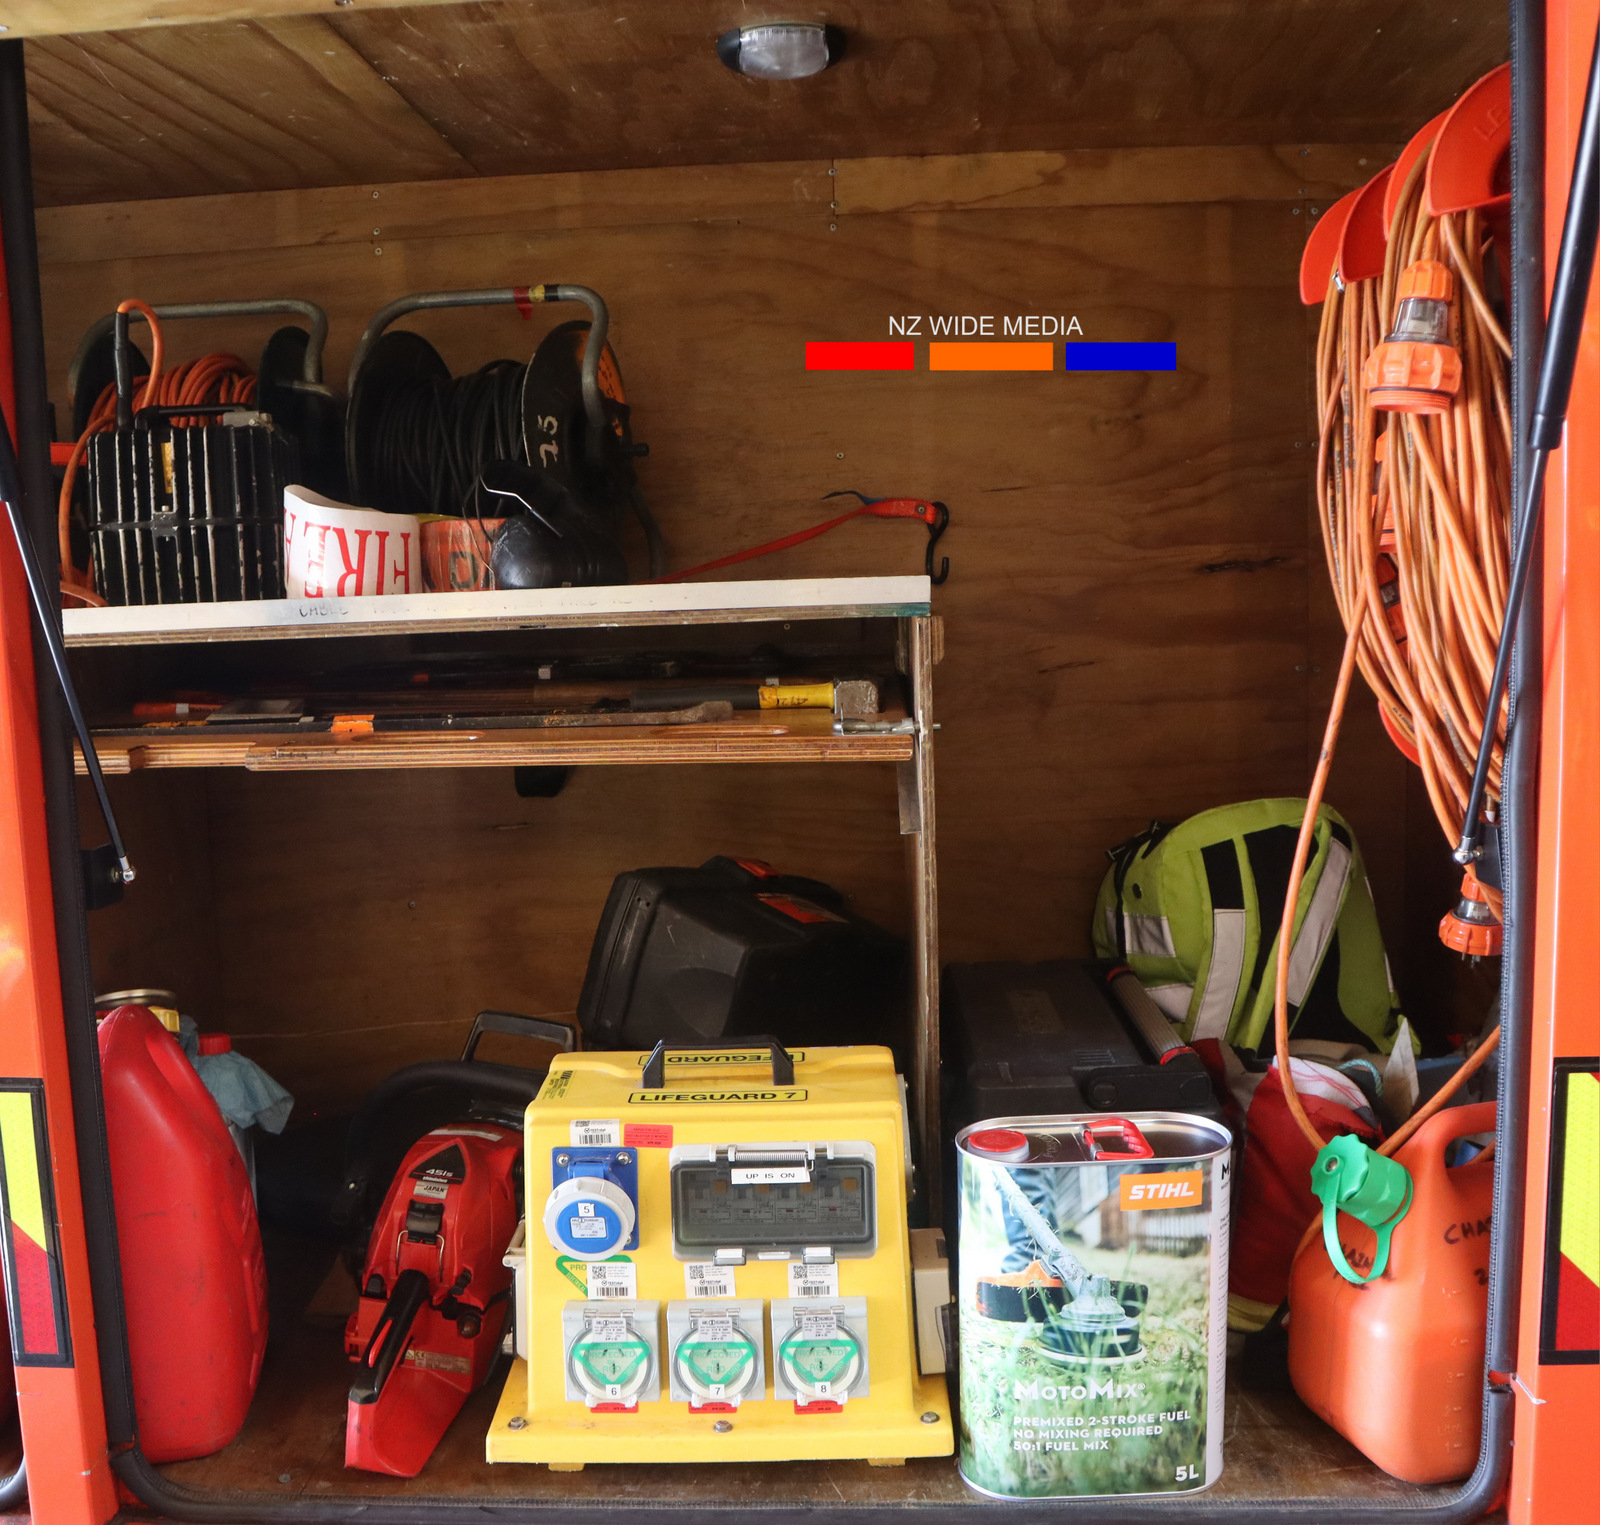 |
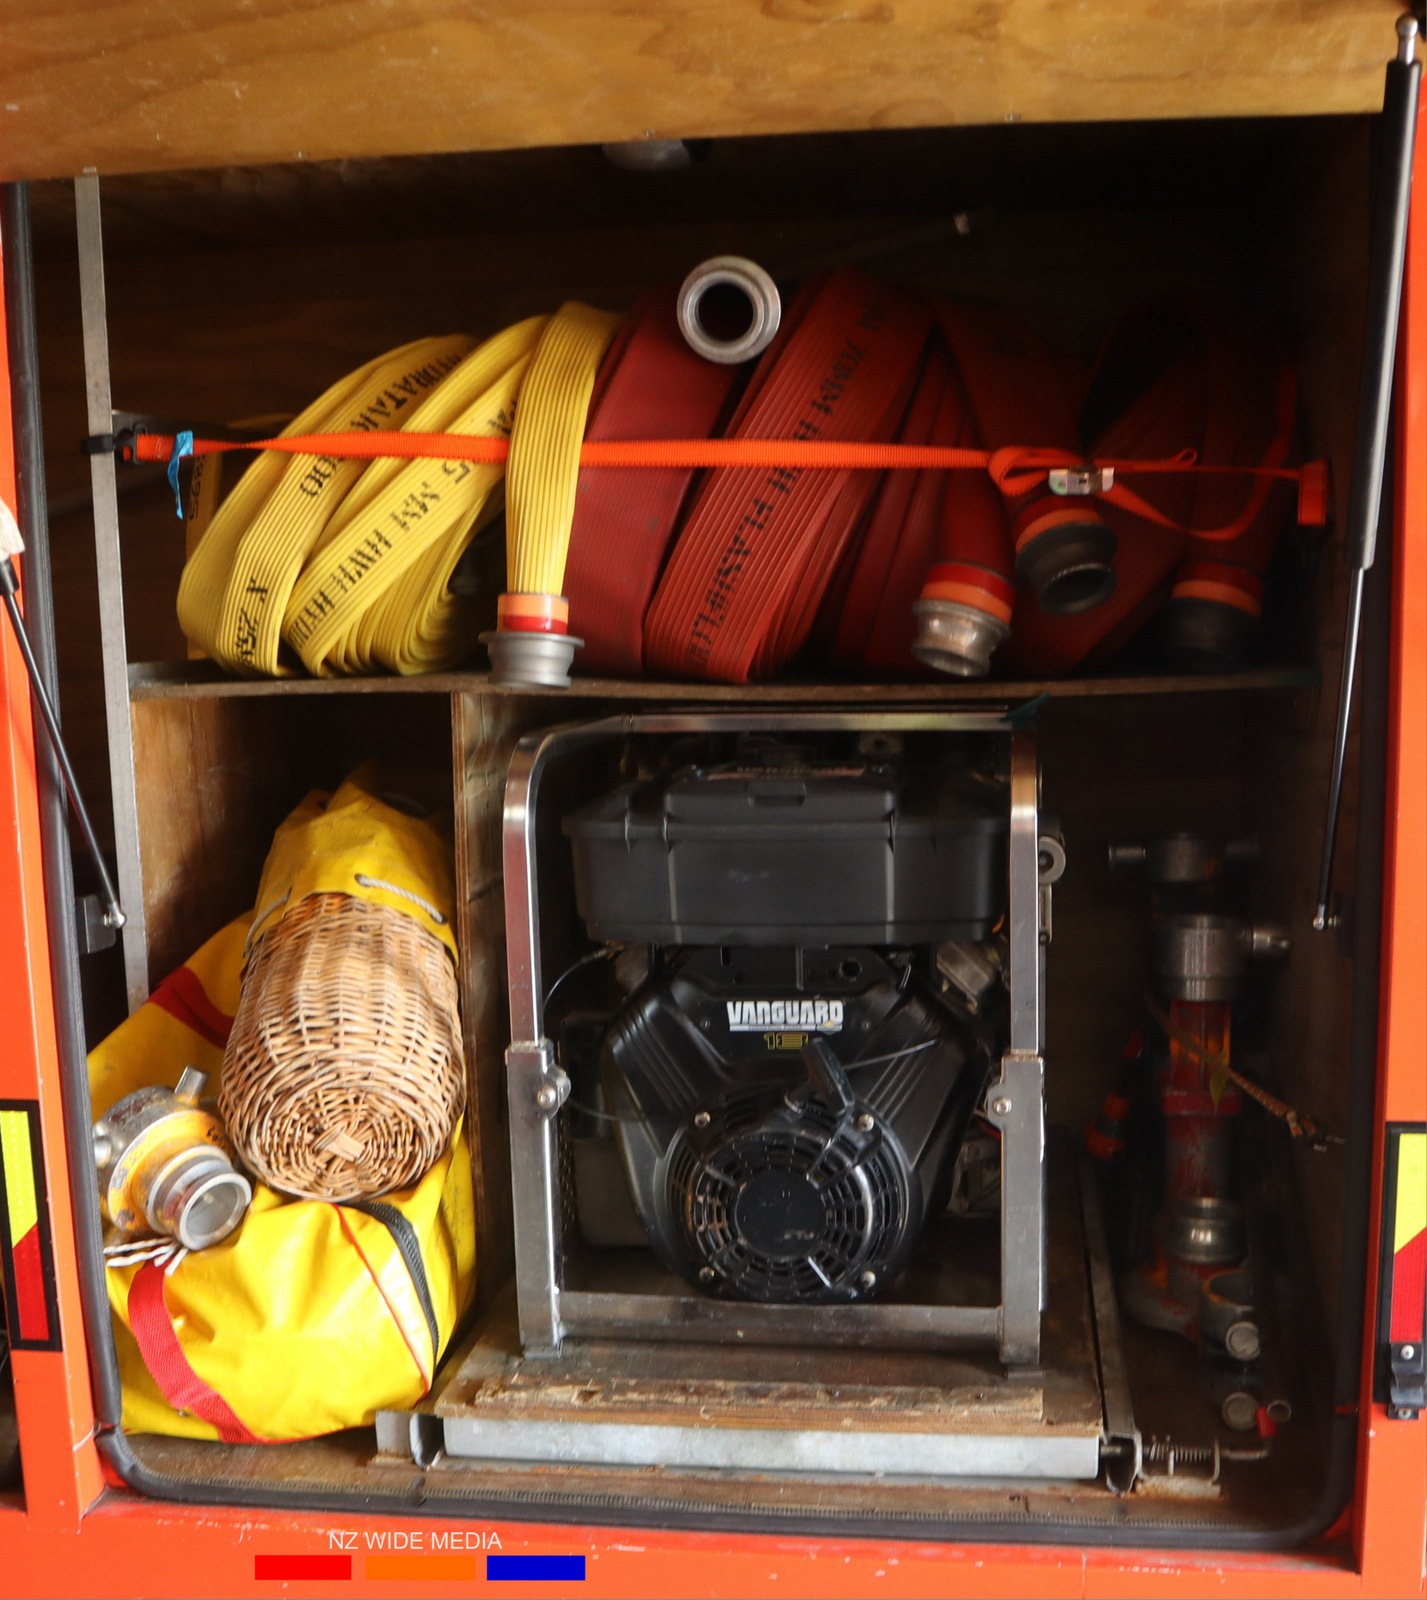
| Photo by NZ Wide Media | Photo by NZ Wide Media | Photo by NZ Wide Media |
 |
 |
 |
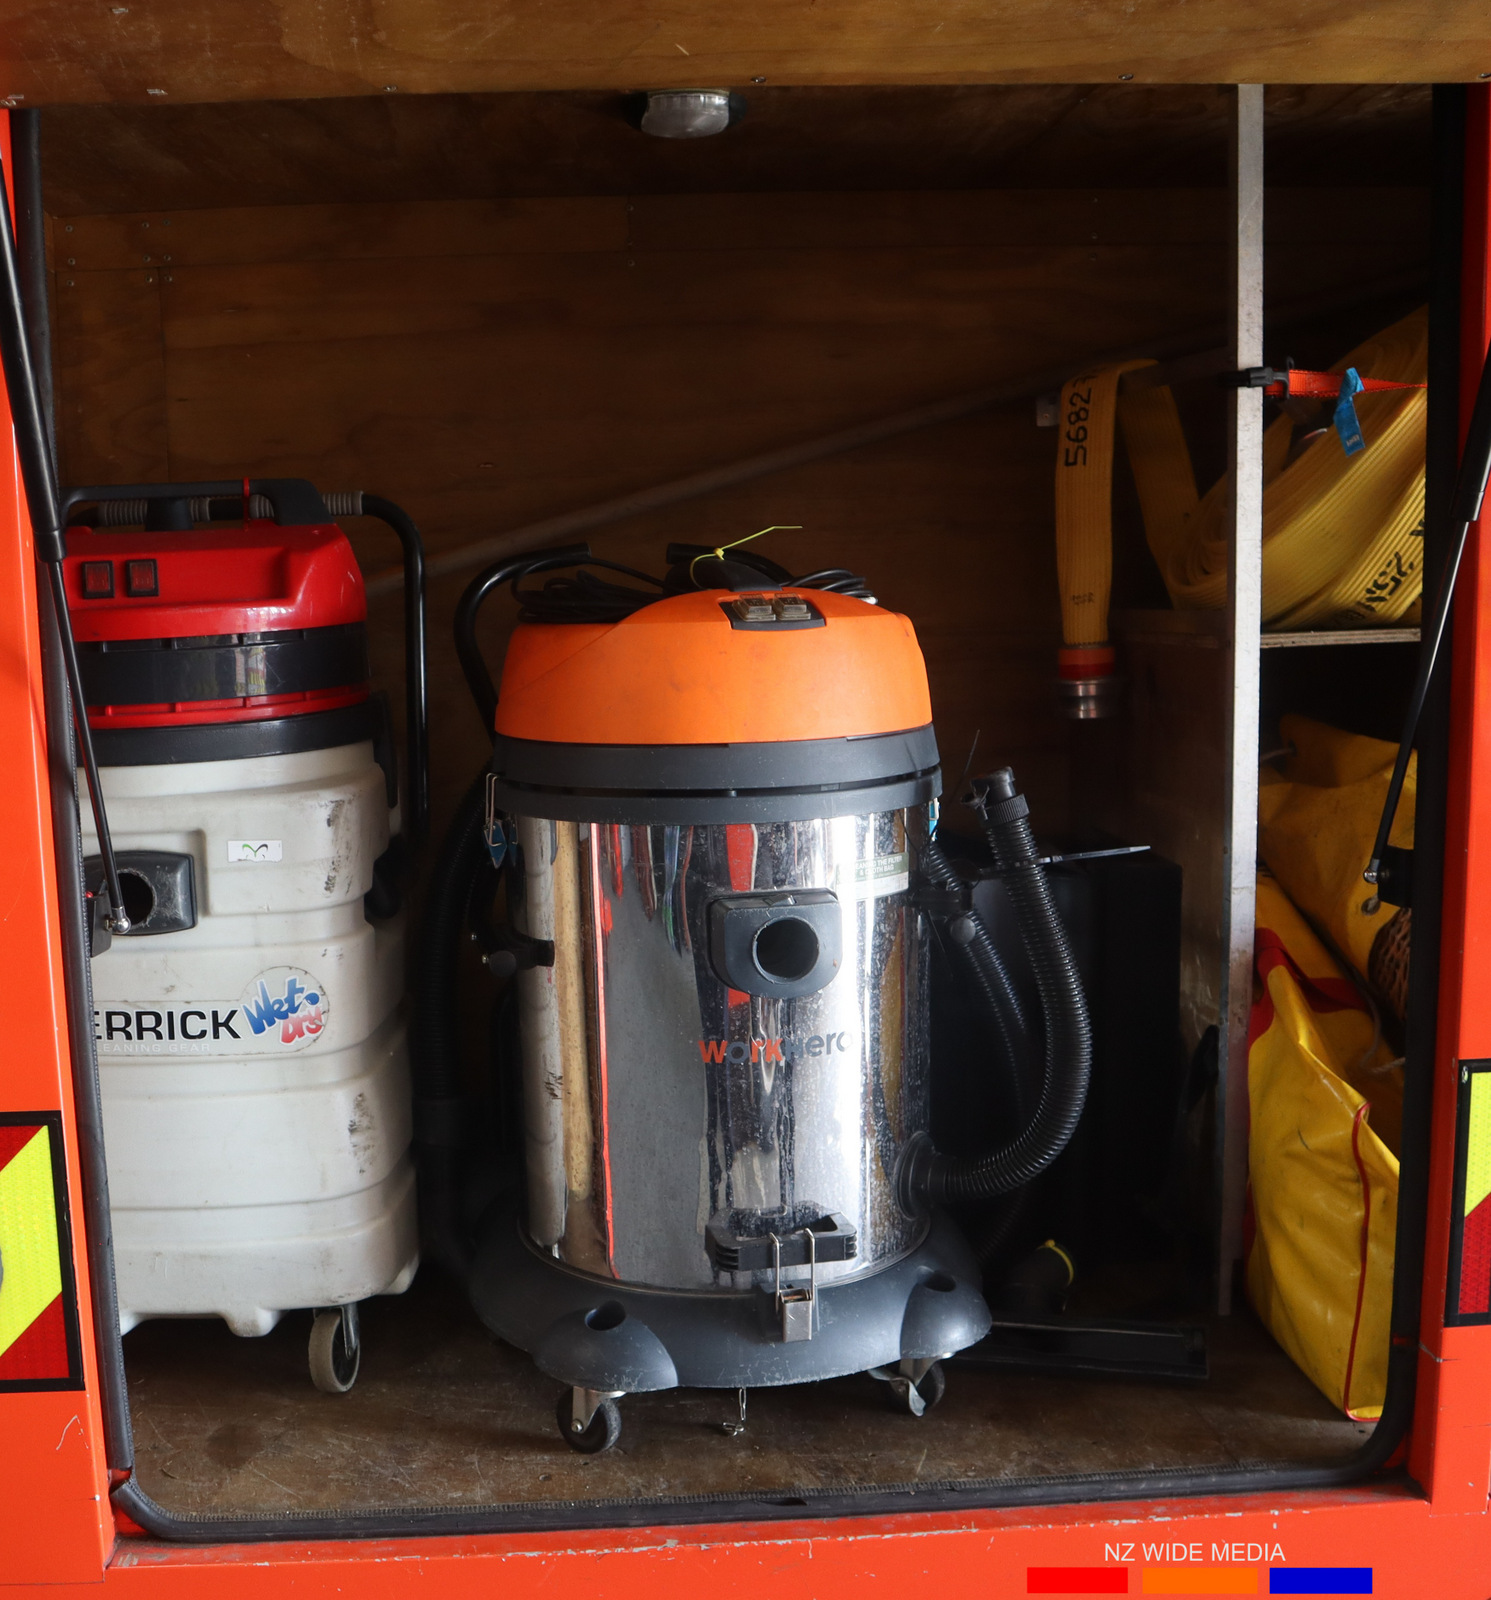
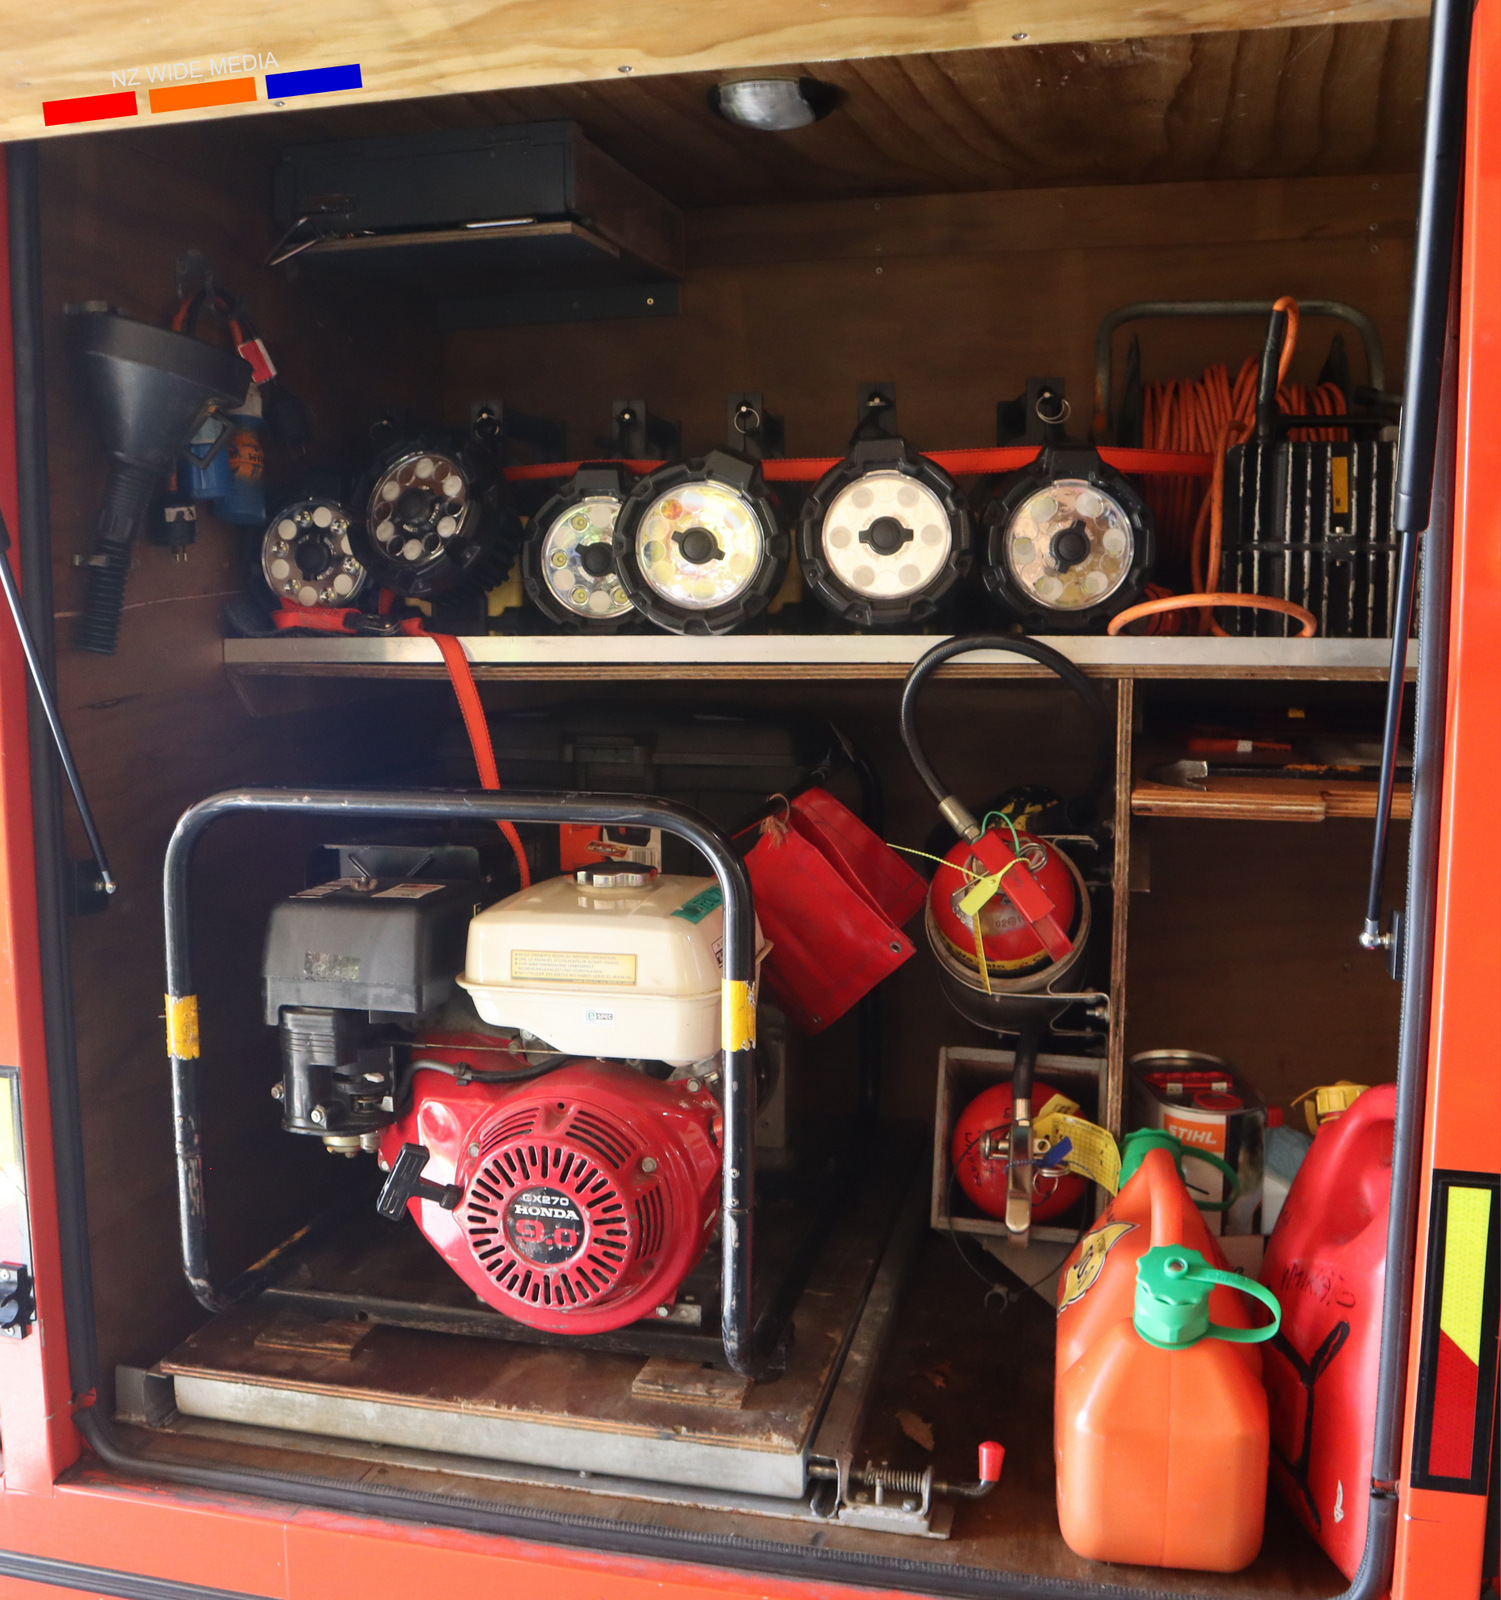
| Photo by NZ Wide Media | Photo by NZ Wide Media | Photo by NZ Wide Media |
Return to Nga Tai Ki Te Puku Fire Region

© All photos / videos remain the property of the original photographer. Do not use them elsewhere without their written permission.