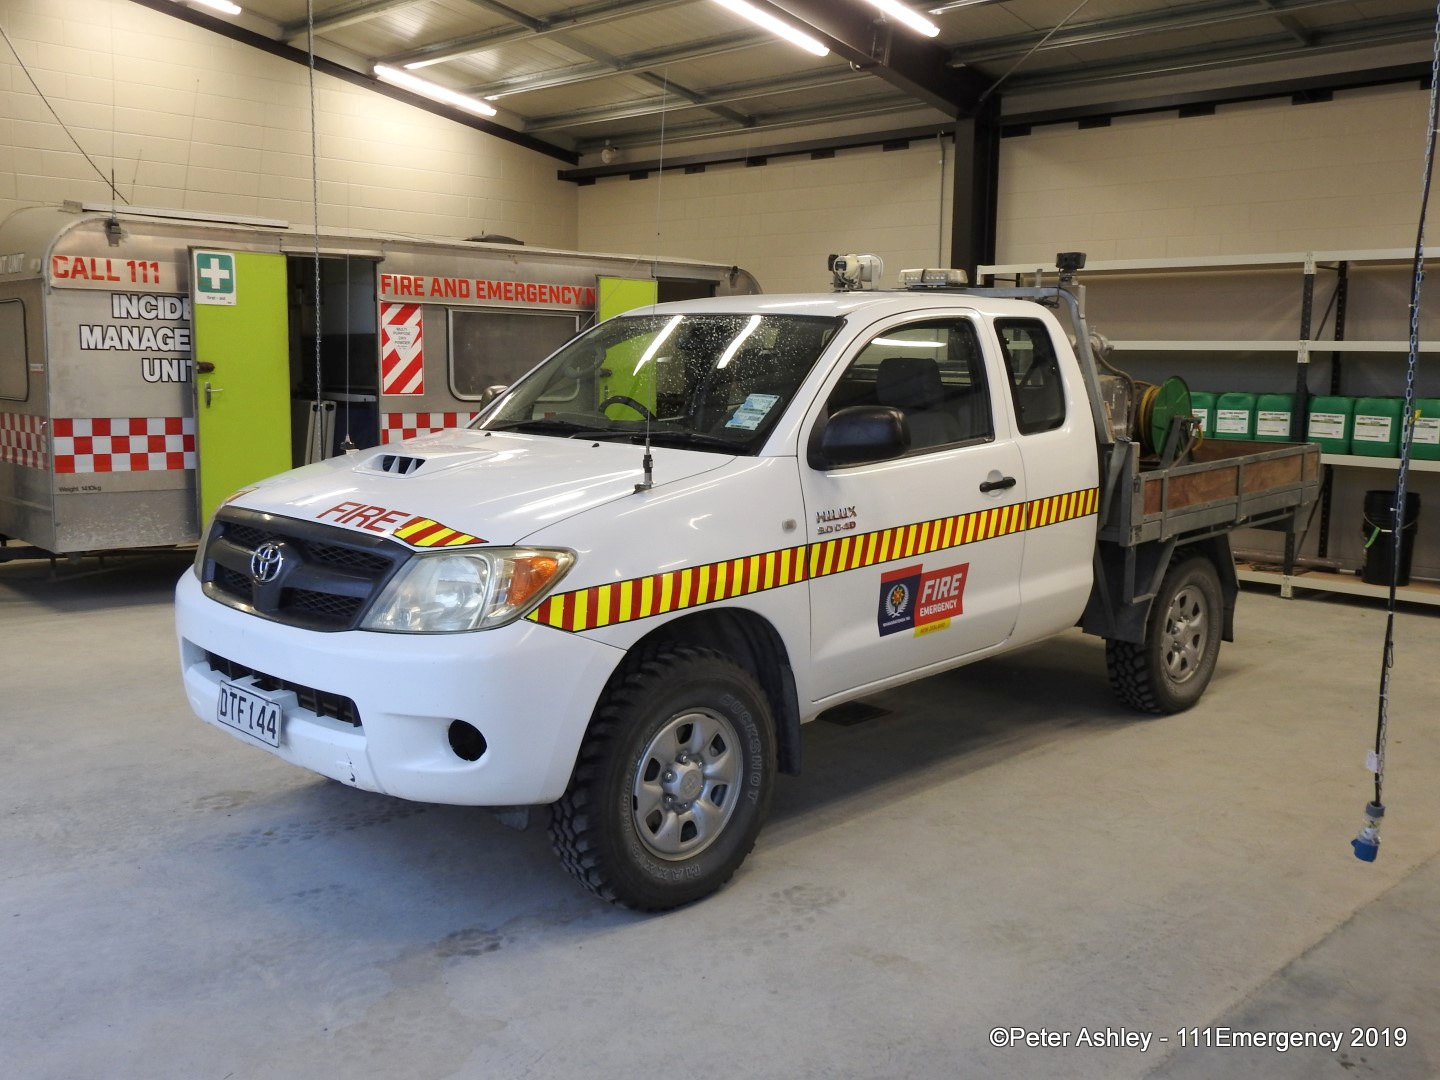
TWIZEL RURAL 6125
Ex. AORANGI RURAL FIRE 5425, MACKENZIE 6125
2007 Toyota Hilux
DTF 144
 |
 |
 |
| Photo by Veronica Clifford | ||
 |
 |
 |
| Photo by Veronica Clifford | Photo by David Miller | Photo by David Miller |
 |
 |
 |
| Photo by David Miller | Photo by David Miller | Photo by David Miller |
 |
 |
 |
| Photo by David Miller | Photo by David Miller | Photo by David Miller |
 |
 |
 |
| Photo by David Miller | Photo by David Miller | Photo by Rodney Foster |
 |
 |
 |
| Photo by David Miller | Photo by Peter Ashley | Photo by David Miller |

© All photos / videos remain the property of the original photographer. Do not use them elsewhere without their written permission.