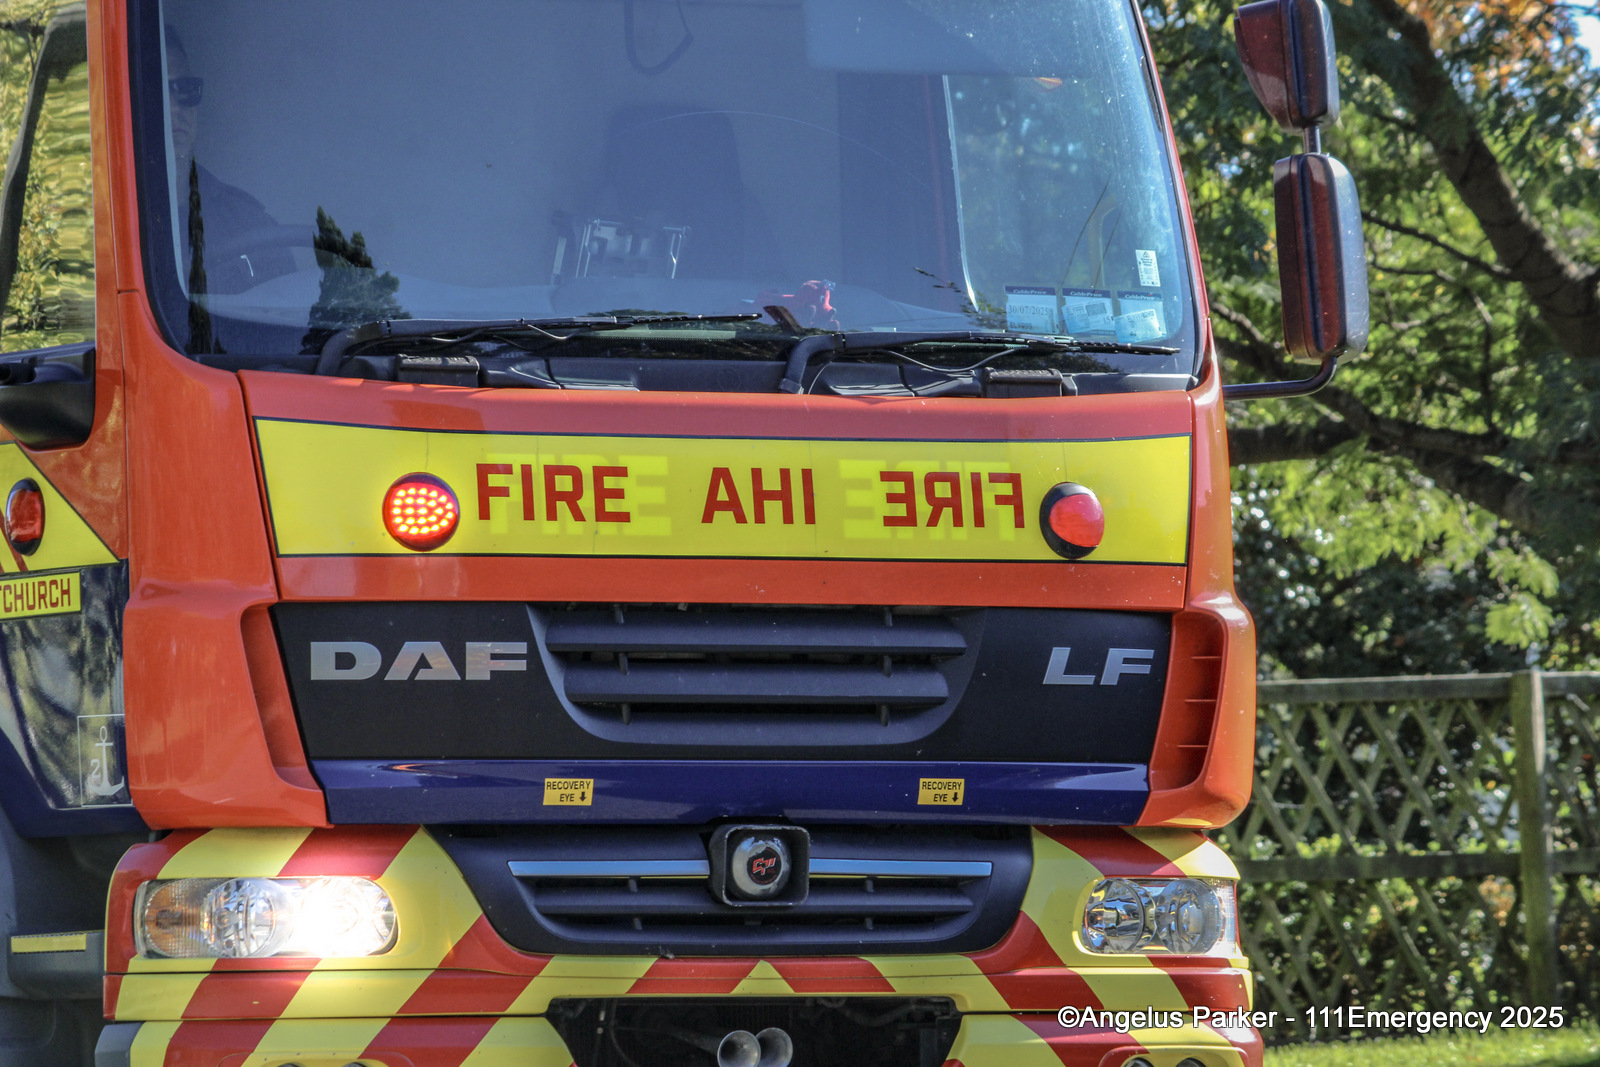
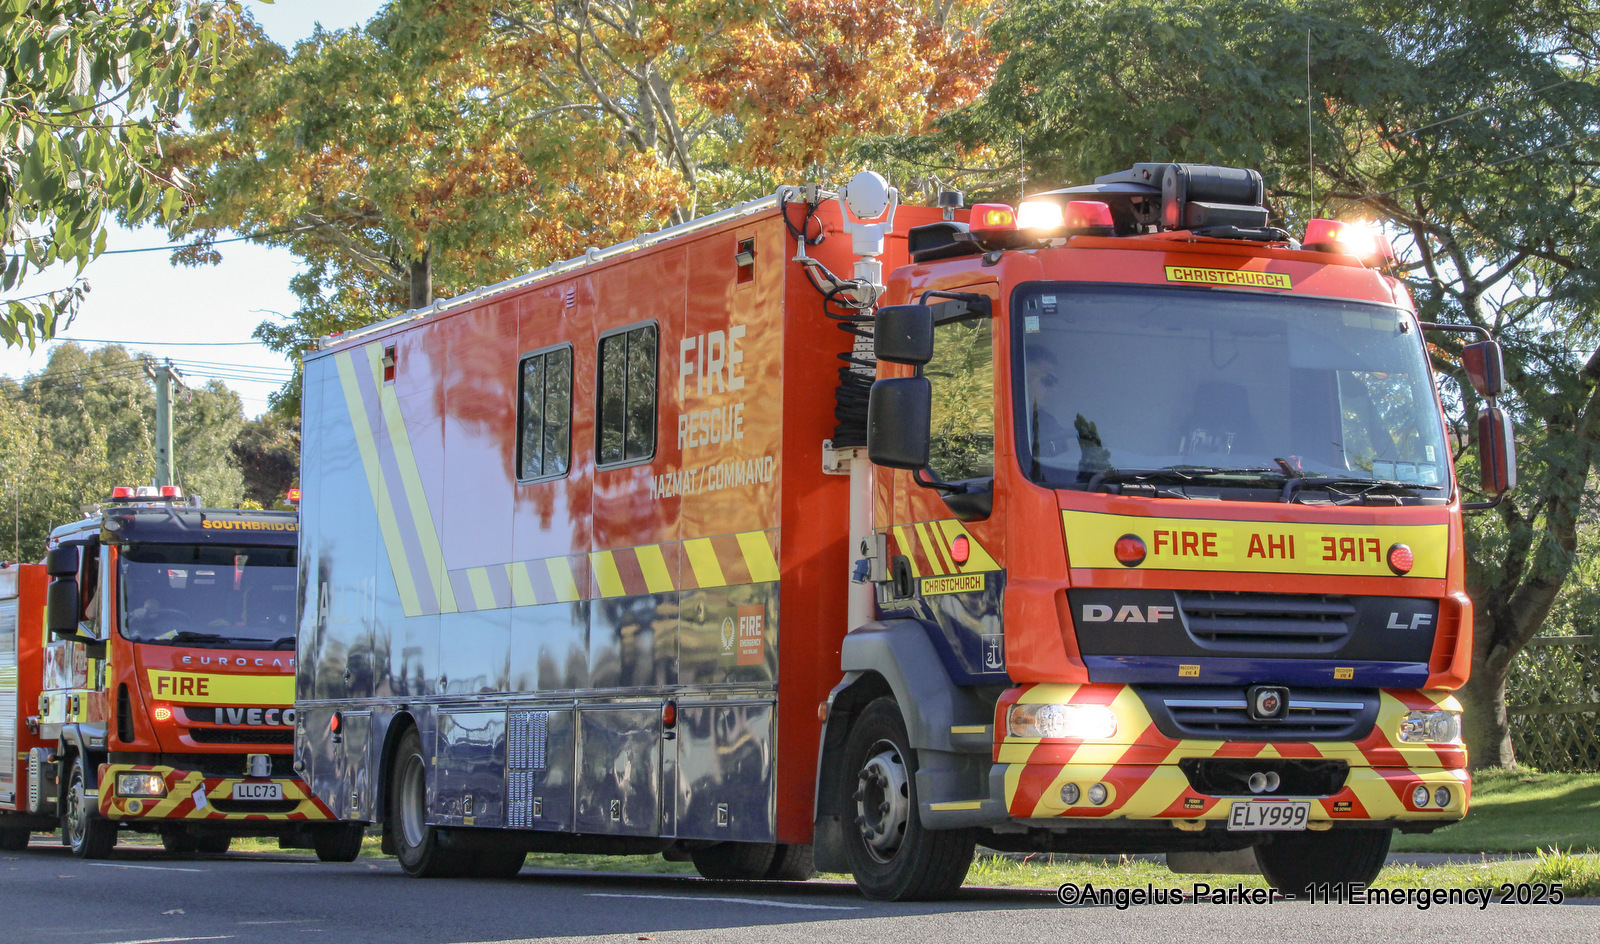
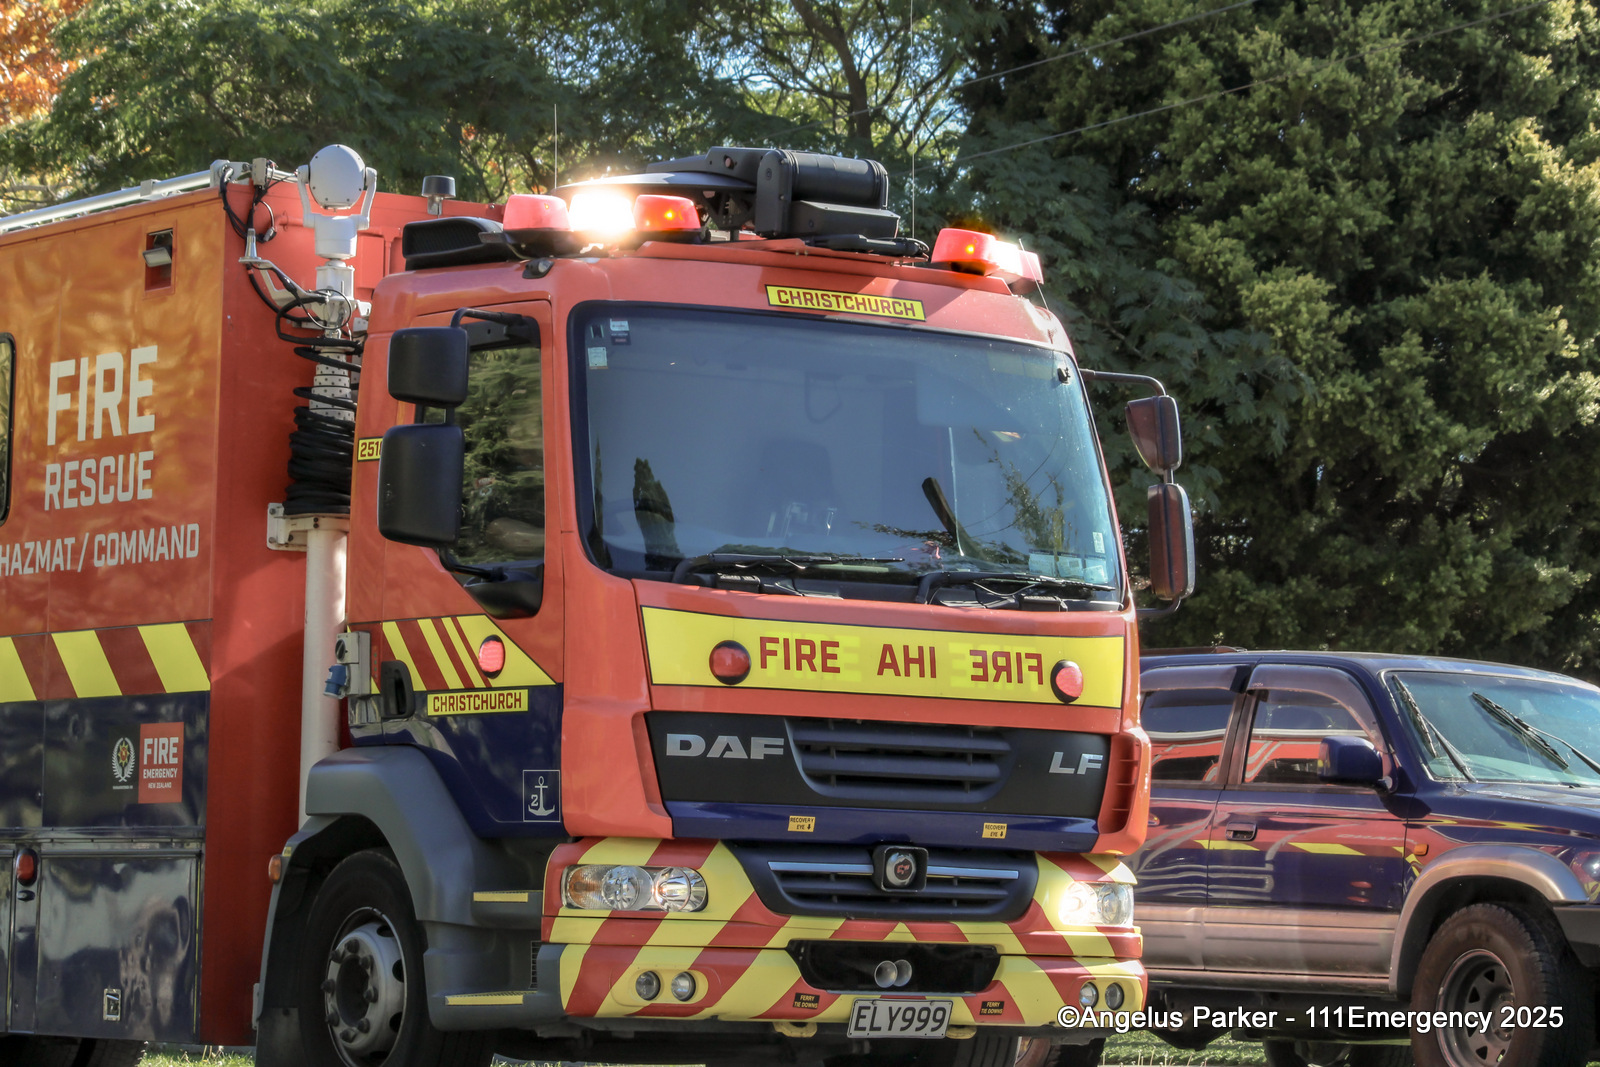
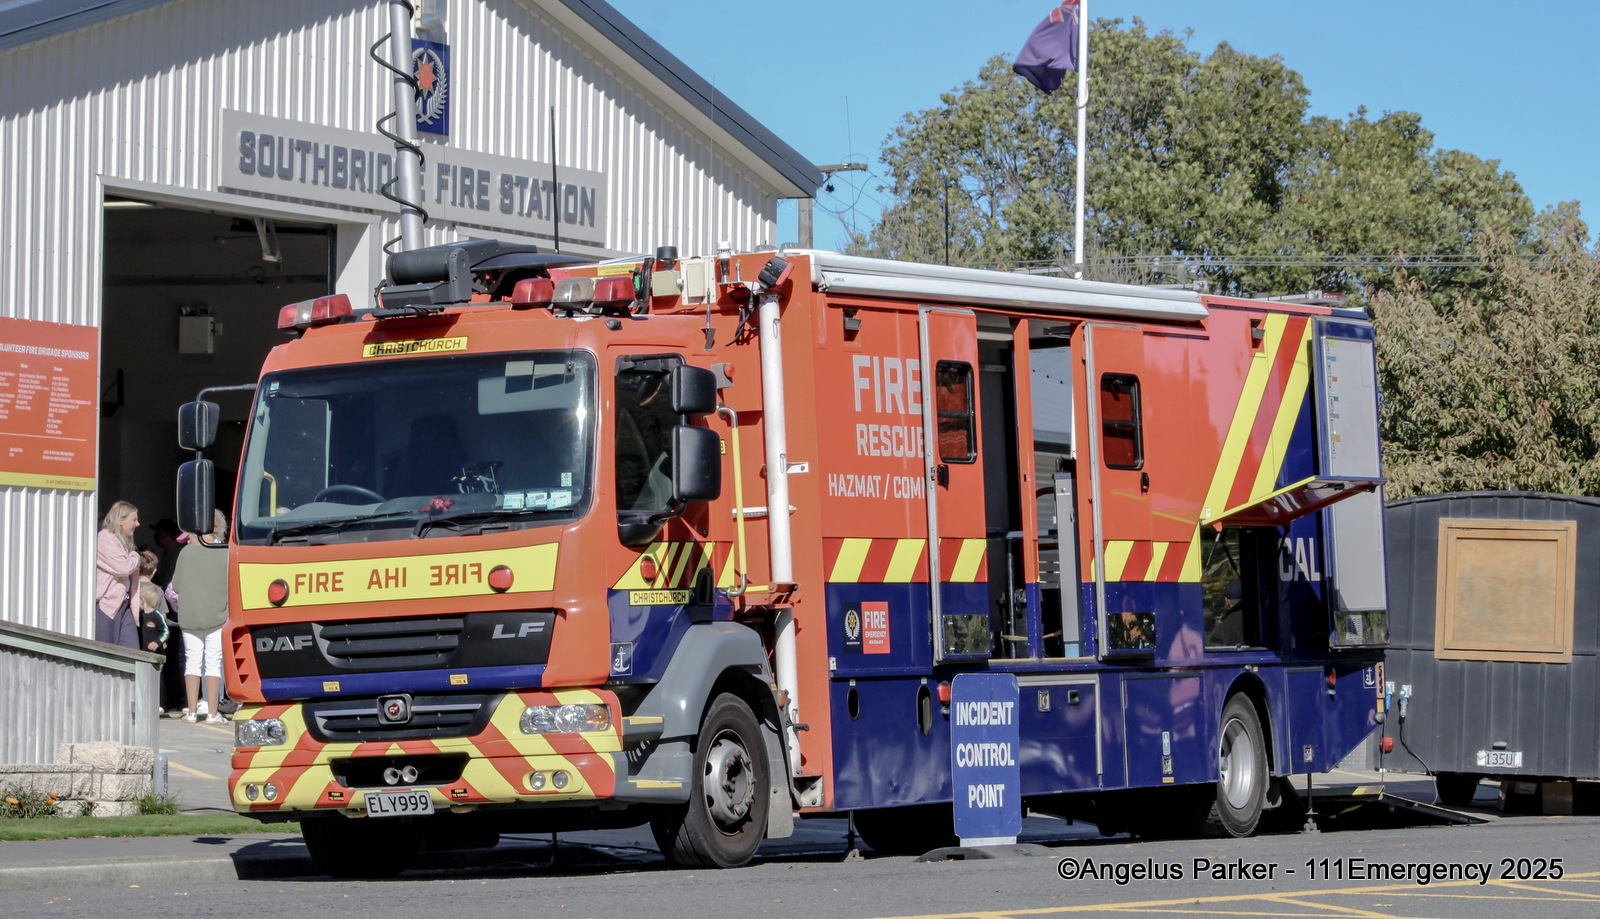
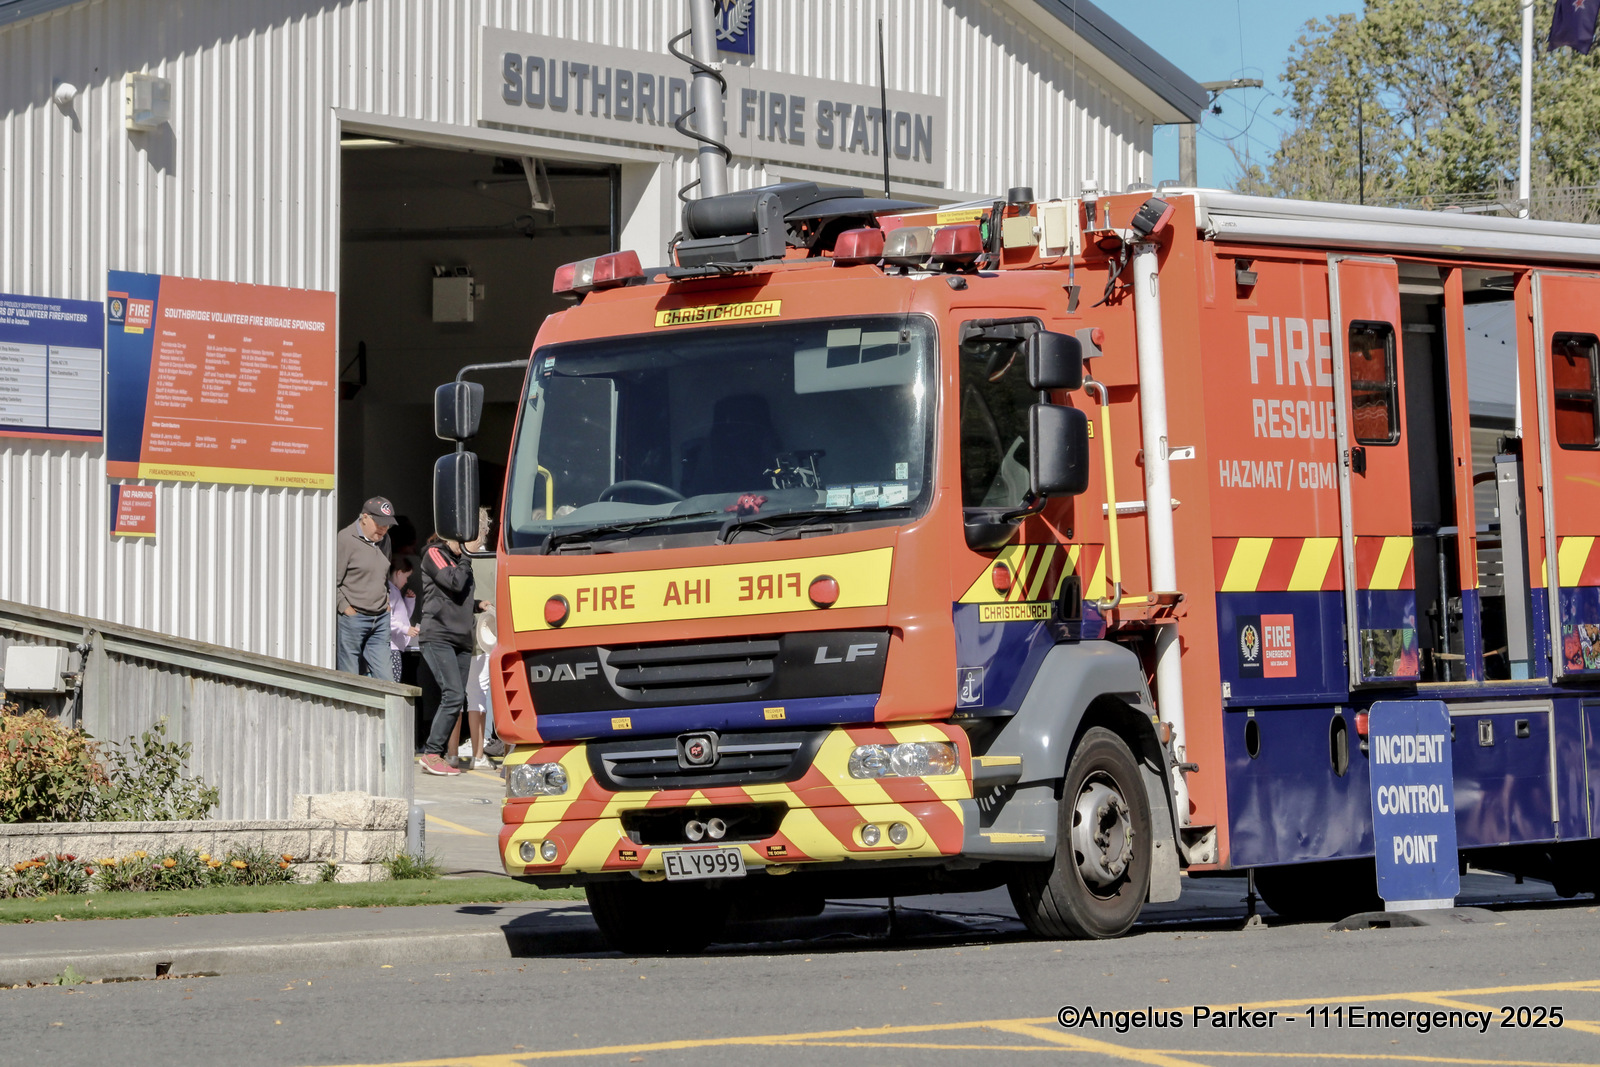
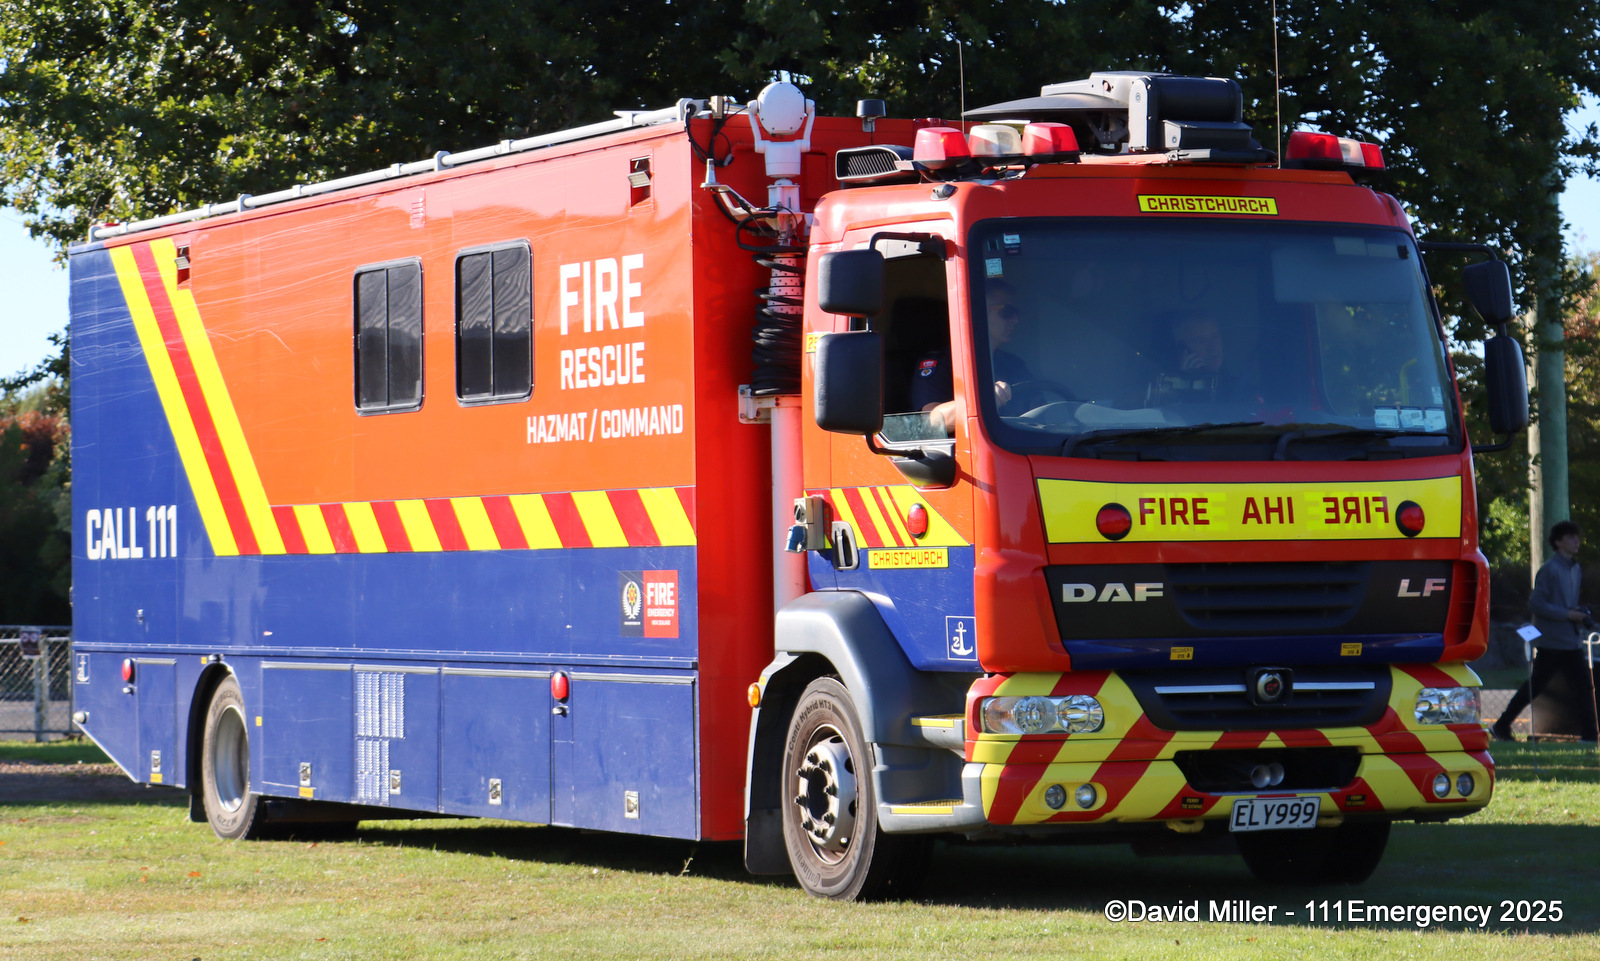
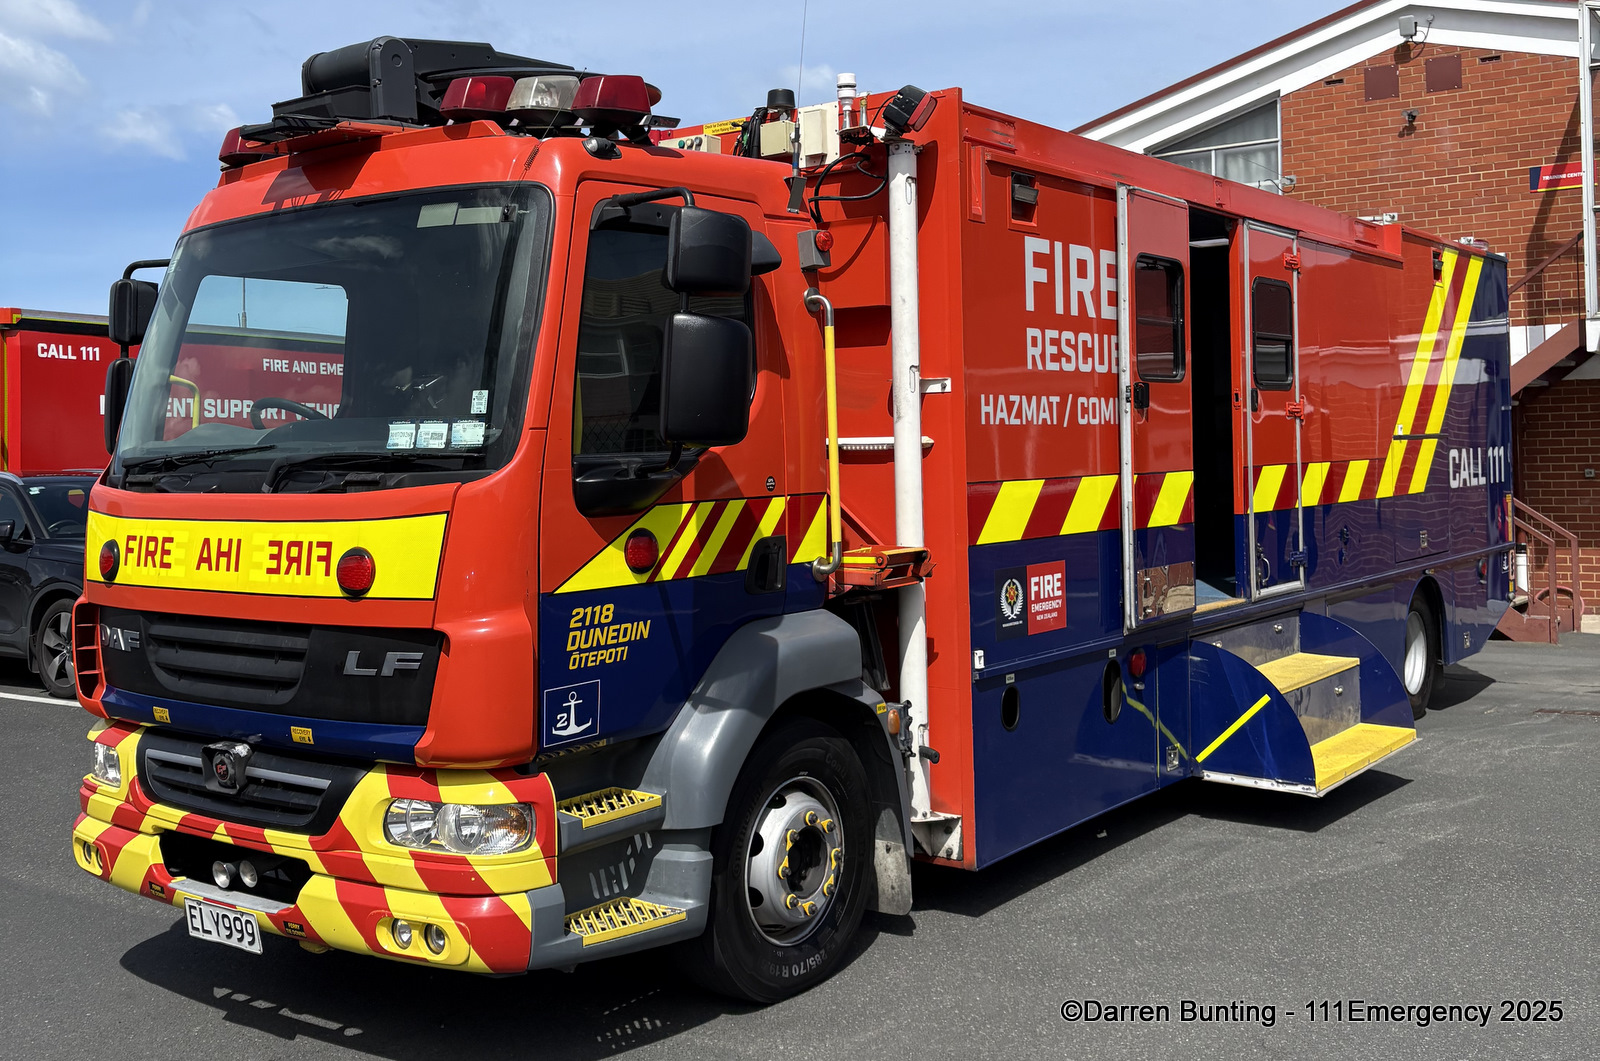
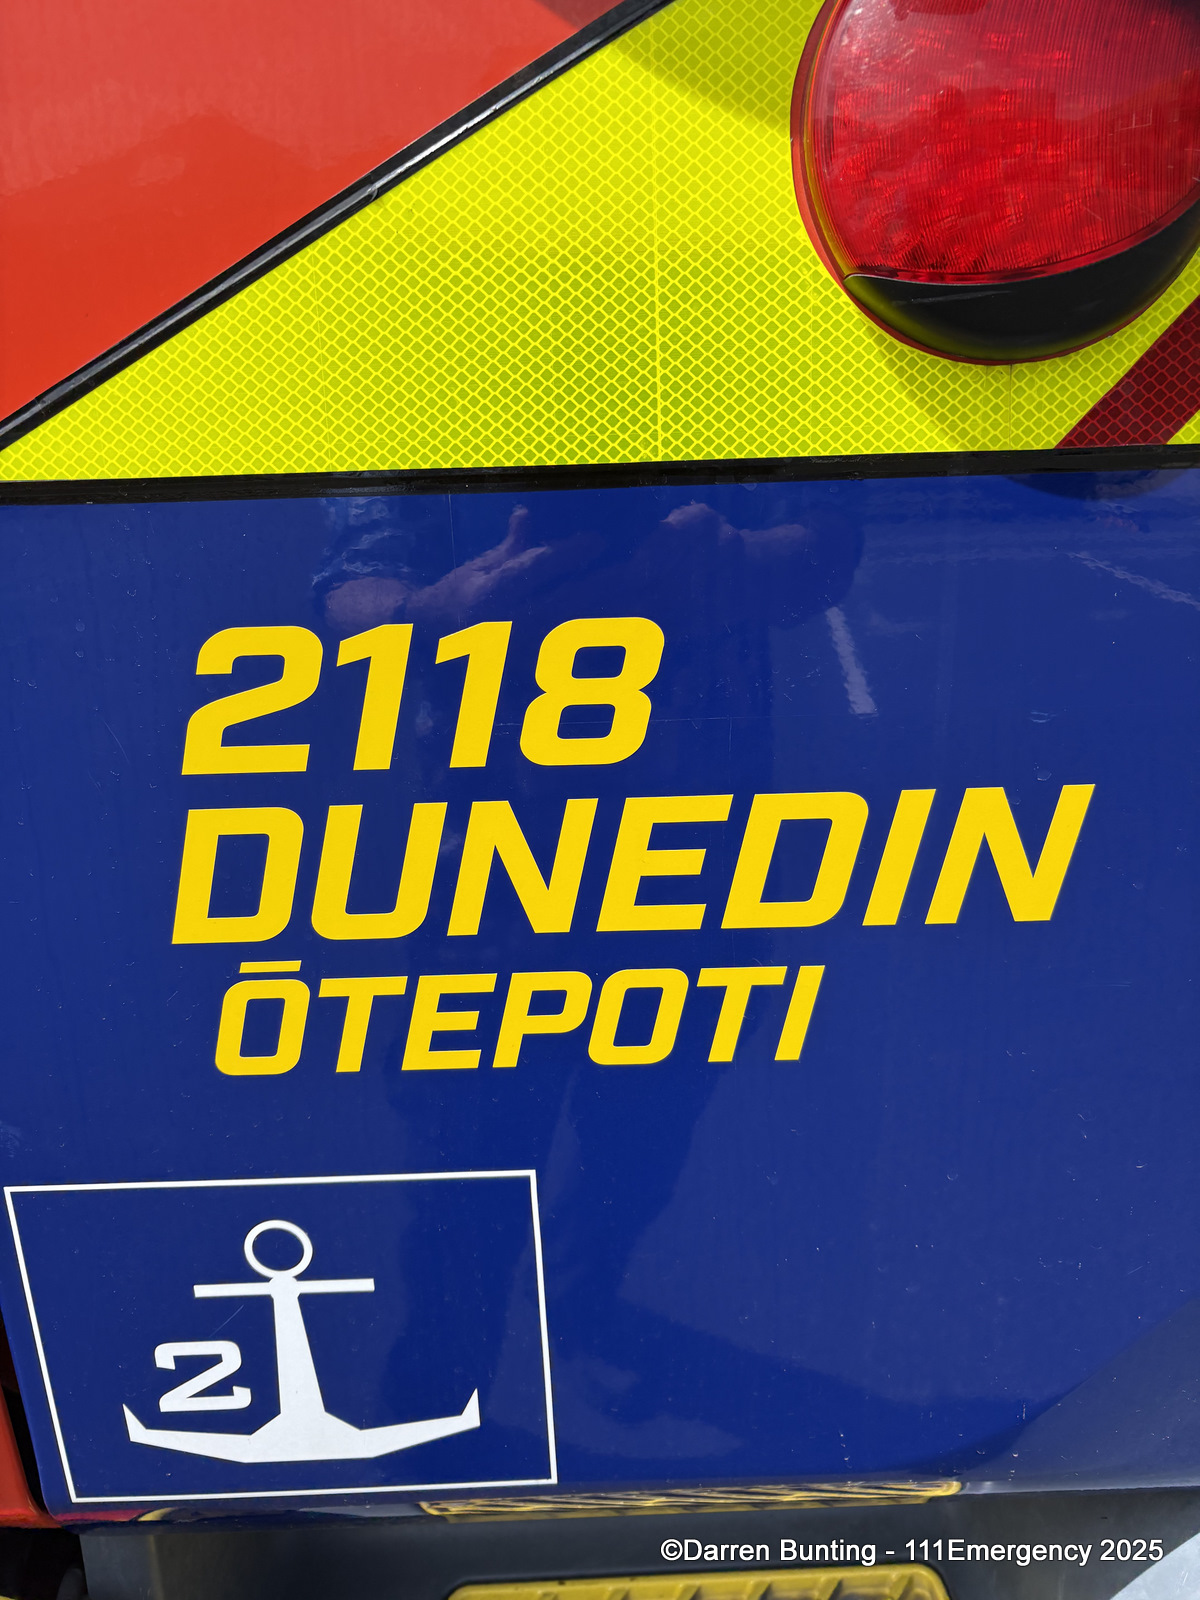
DUNEDIN 2118
Ex. CHRISTCHURCH 2118, SOCKBURN 2518, CHRISTCHURCH 2518
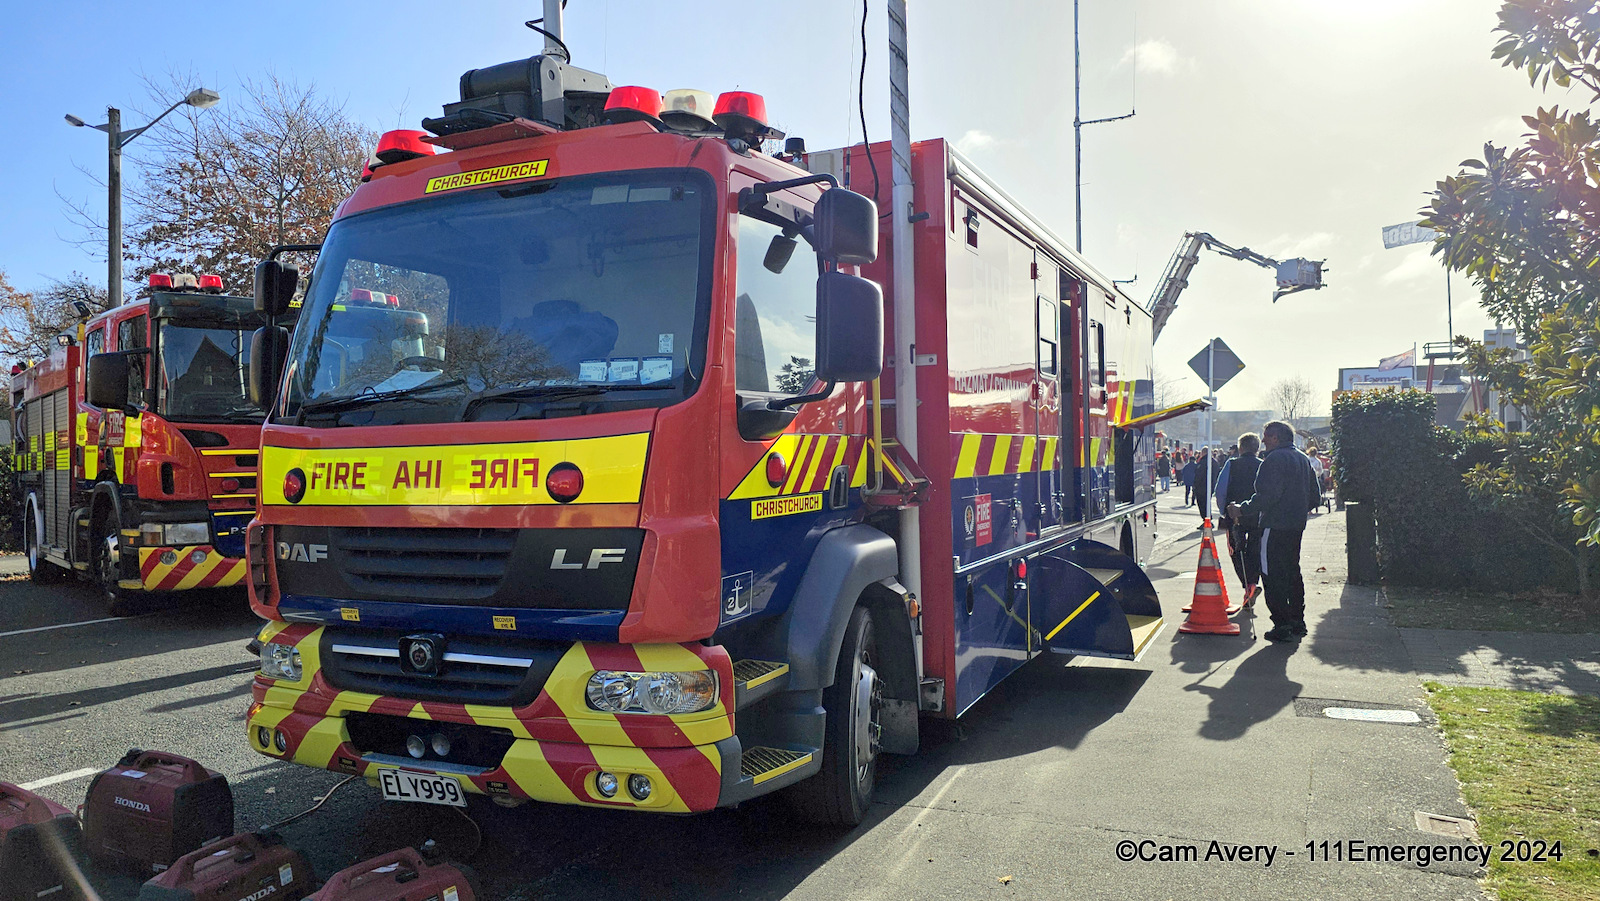
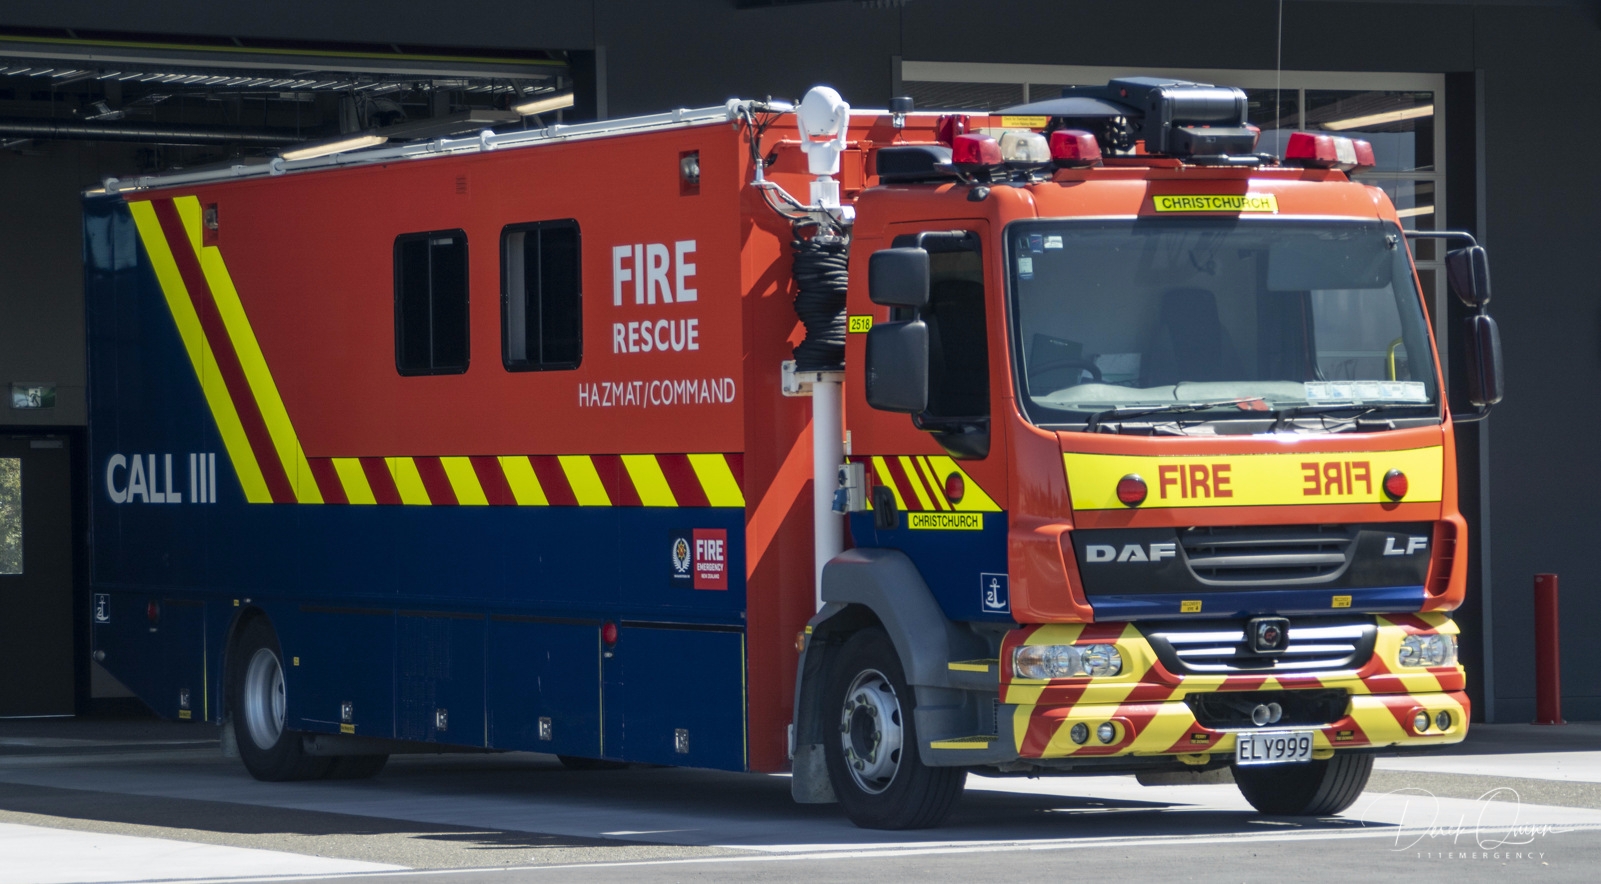
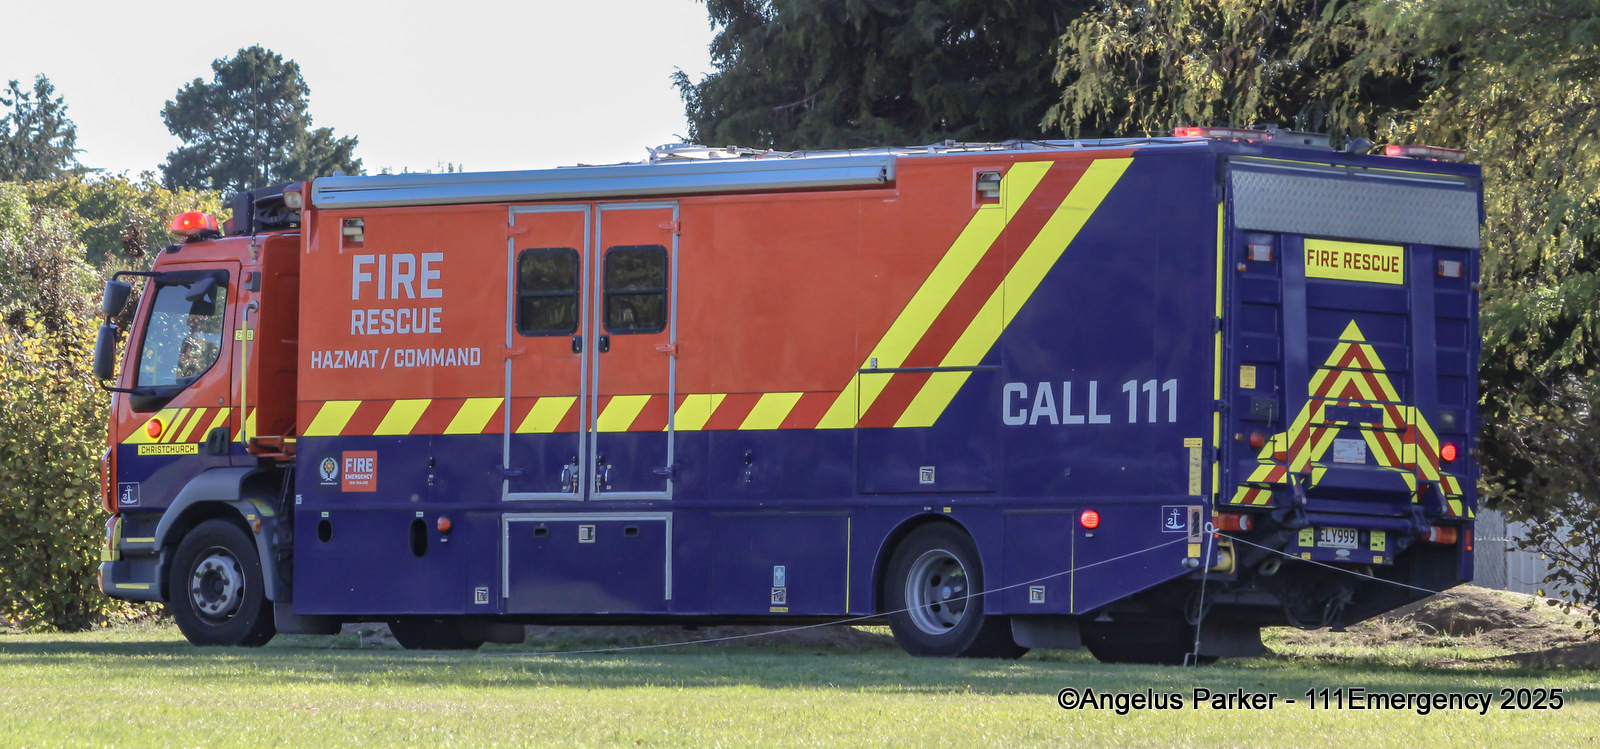
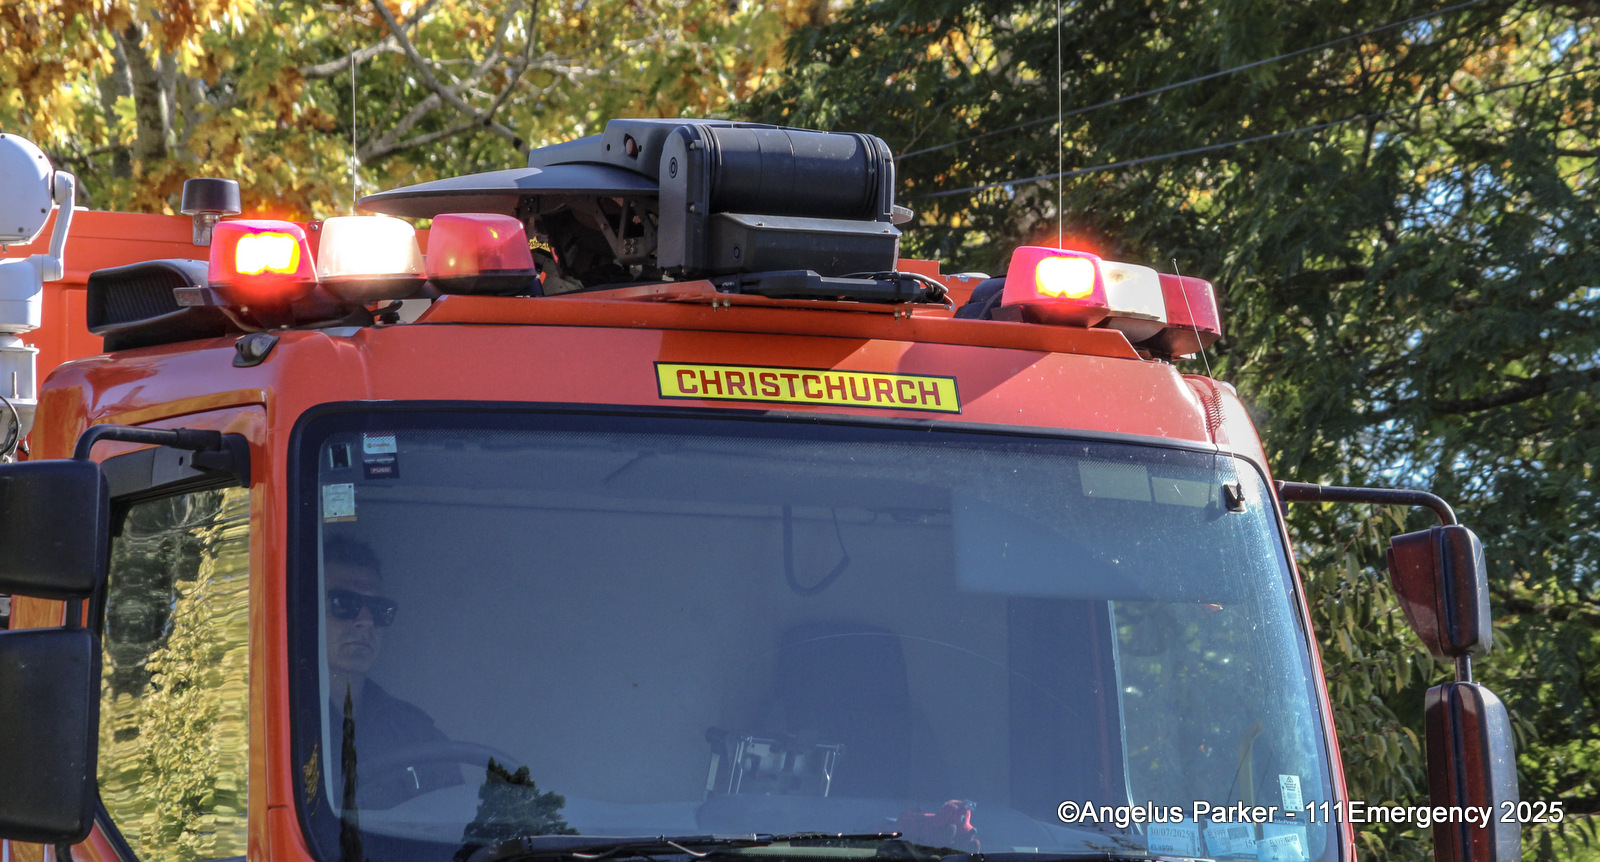
2008 DAF LF
ELY 999
 |
 |
 |
 |
 |
 |
 |
 |
 |
 |
 |
 |
 |
 |
 |
 |
 |
 |
 |
 |
 |
 |
 |
 |
 |
 |
 |
 |
 |
 |
 |
 |
 |
 |
 |
 |
 |
 |
 |
 |
 |
 |
 |
 |
 |
 |
 |
 |
 |
 |
 |
 |
 |
 |
 |
 |
 |
 |
 |
 |
 |
 |
 |
| Photo by Scott Matthews | Photo by Scott Matthews | Photo by Scott Matthews |
 |
 |
 |
| Photo by David Miller | Photo by David Miller | |
 |
 |
 |
| Photo by David Miller | Photo by David Miller | Photo by David Miller |
 |
 |
 |
| Photo by David Miller | Photo by David Miller | Photo by David Miller |
 |
 |
 |
| Photo by David Miller | Photo by David Miller | Photo by David Miller |
 |
 |
 |
| Photo by David Miller | Unknown Photographer | |
 |
 |
 |
 |
 |
 |
| Photo by Kirk Gillam | ||
 |
 |
 |
| Photo by Kirk Gillam | Photo by David Miller | Photo by David Miller |
 |
 |
 |
| Photo by David Miller | Photo by David Miller | Photo by David Miller |
 |
 |
 |
| Photo by David Miller | Photo by David Miller | Photo by David Miller |
 |
 |
 |
| Photo by David Miller | Photo by Kirk Gillam | Photo by David Miller |
 |
 |
 |
 |
 |
 |
 |
 |
 |
| Photo by David Miller | ||
 |
 |
 |
| Photo by David Miller | Photo by David Miller | Photo by David Miller |
 |
 |
 |
| Photo by David Miller | Photo by David Miller | Photo by Cam Avery |
 |
 |
 |
| Photo by Angelus Parker | Photo by Angelus Parker | |
 |
 |
 |
| Photo by Angelus Parker | Photo by Angelus Parker | Photo by Angelus Parker |
 |
 |
 |
| Photo by Angelus Parker | Photo by Angelus Parker | Photo by Angelus Parker |
 |
 |
 |
| Photo by Angelus Parker | Photo by David Miller | Photo by Jackson Sharkie |
 |
 |
 |
| Photo by Angelus Parker | Photo by Darren Bunting | Photo by Darren Bunting |
 |
||
| Photo by Darren Bunting |
Return to Te Kei Fire Region page

© All photos / videos remain the property of the original photographer. Do not use them elsewhere without their written permission.