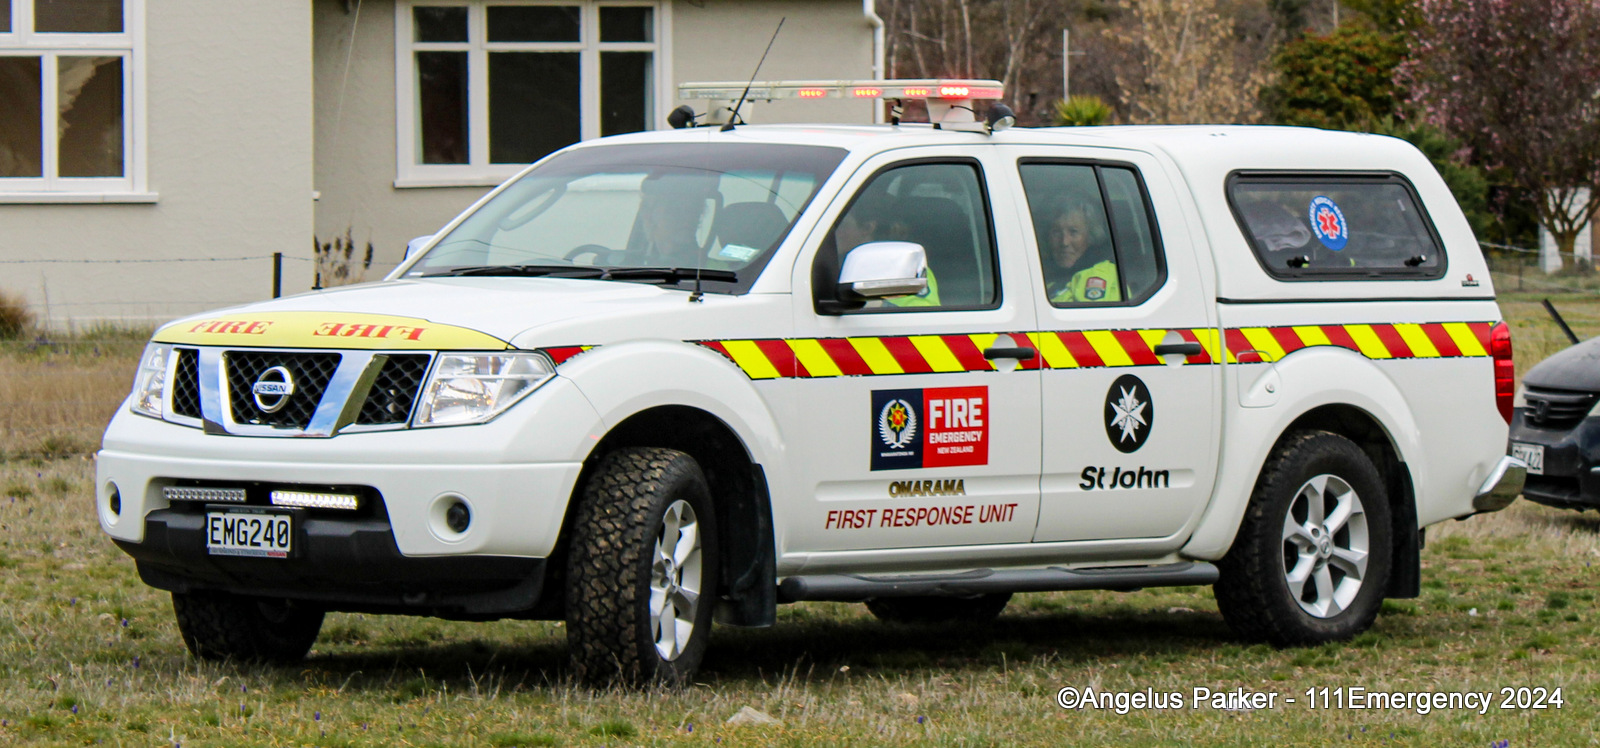
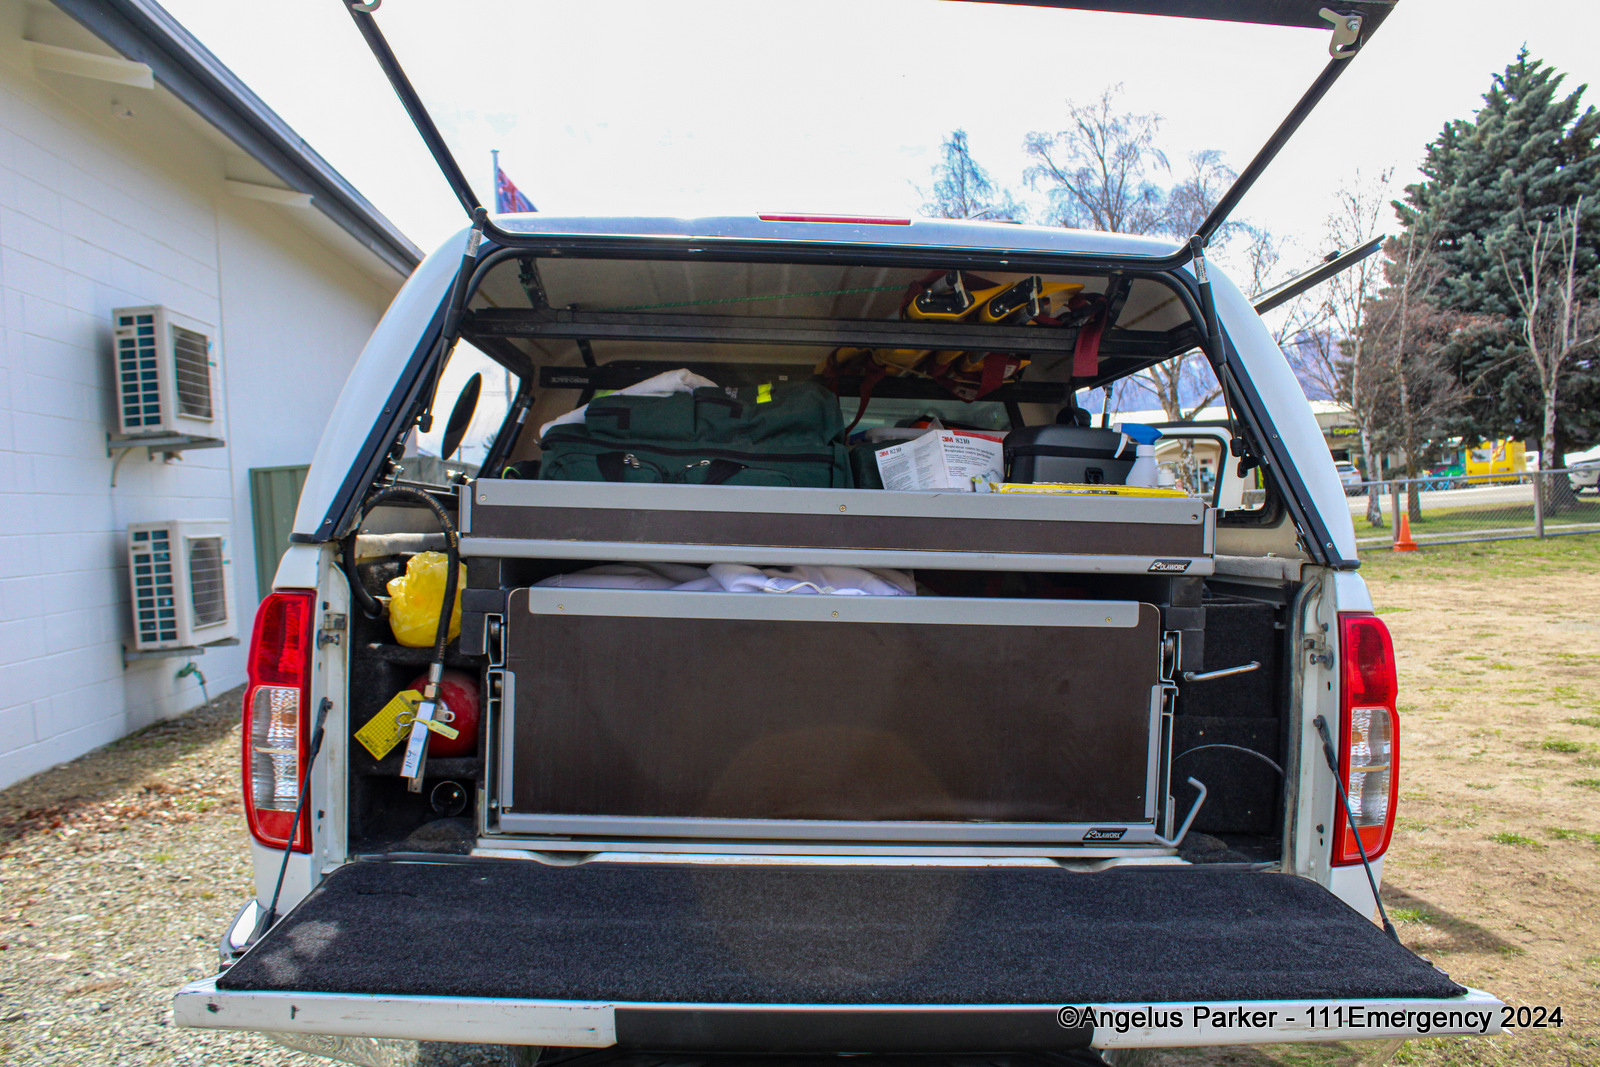
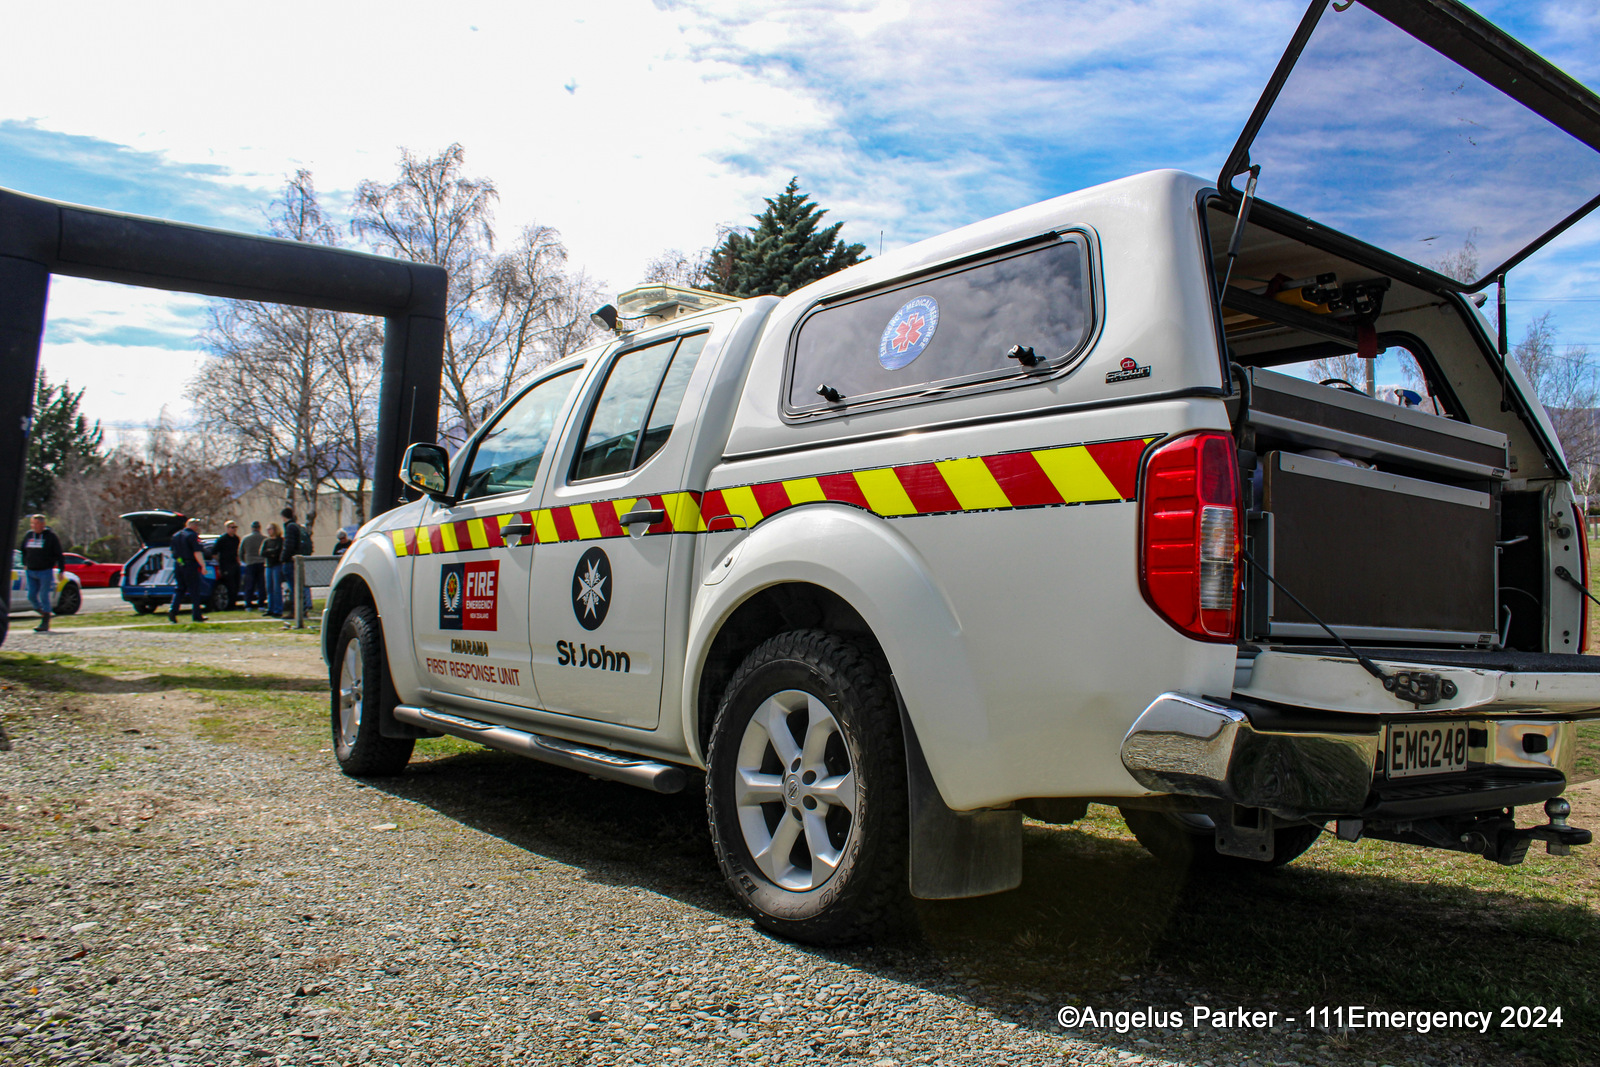
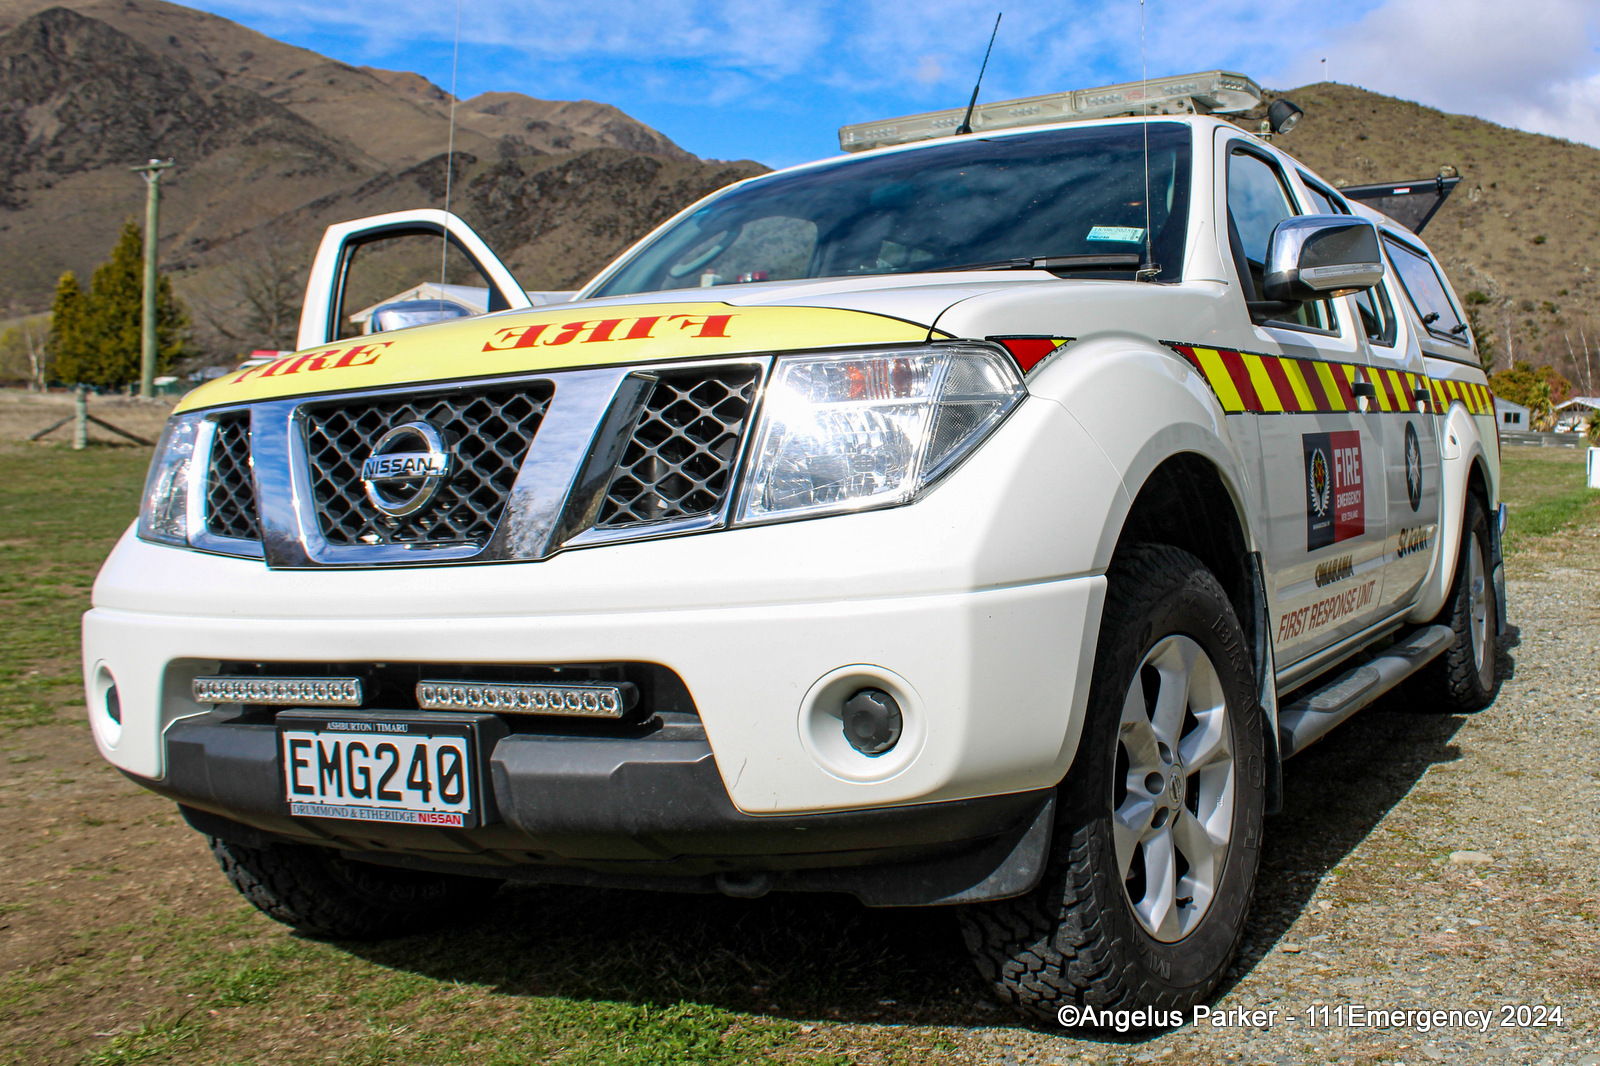
20087 Nissan Navara
EMG 240
 |
 |
 |
| Photo by Mark Hutton | Photo by Mark Hutton | Photo by Mark Hutton |
 |
 |
 |
| Photo by Mark Hutton | Anonymous Photographer | Photo by David Miller |
 |
 |
 |
| Photo by David Miller | Photo by David Miller | Photo by David Miller |
 |
 |
 |
| Photo by David Miller | Photo by David Miller | Photo by David Miller |
 |
 |
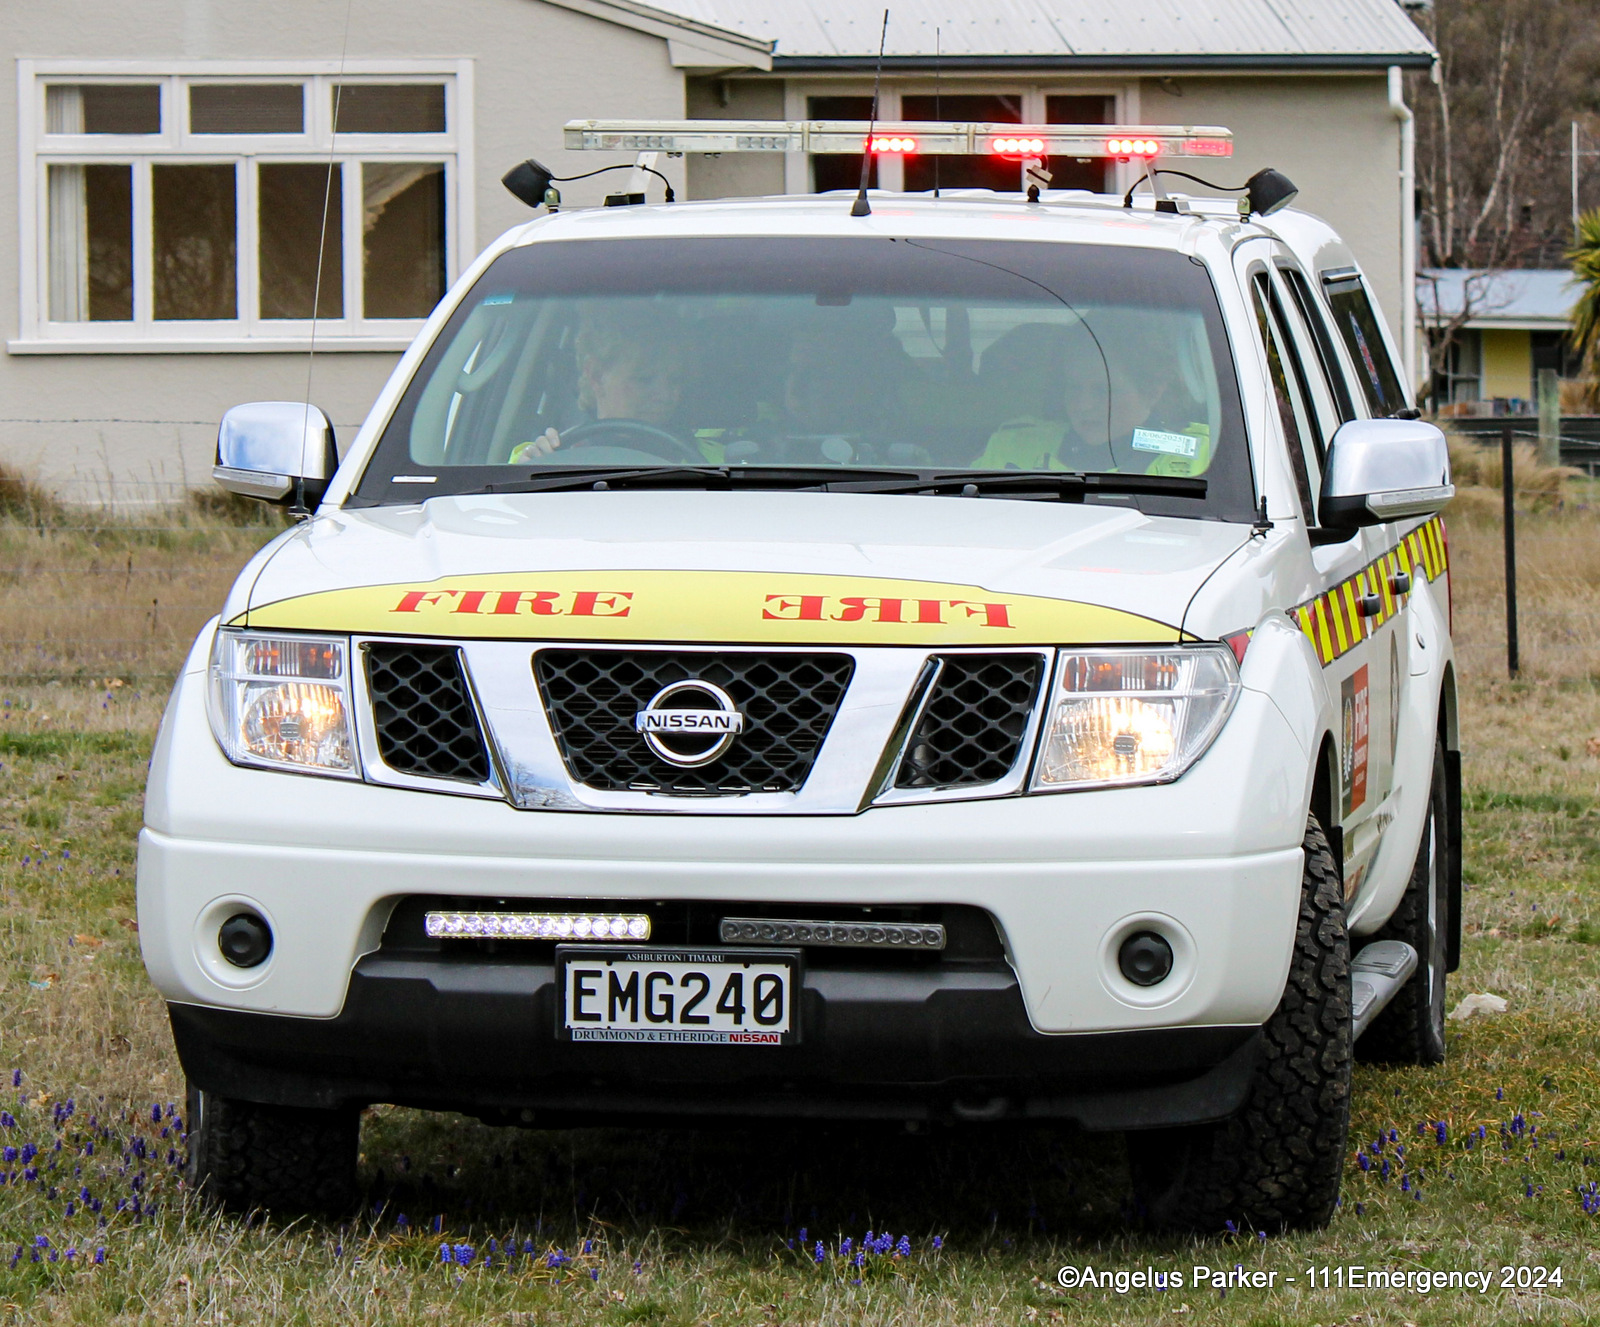 |
| Photo by Phoenix Clarkson | Photo by Angelus Parker | Photo by Angelus Parker |
 |
 |
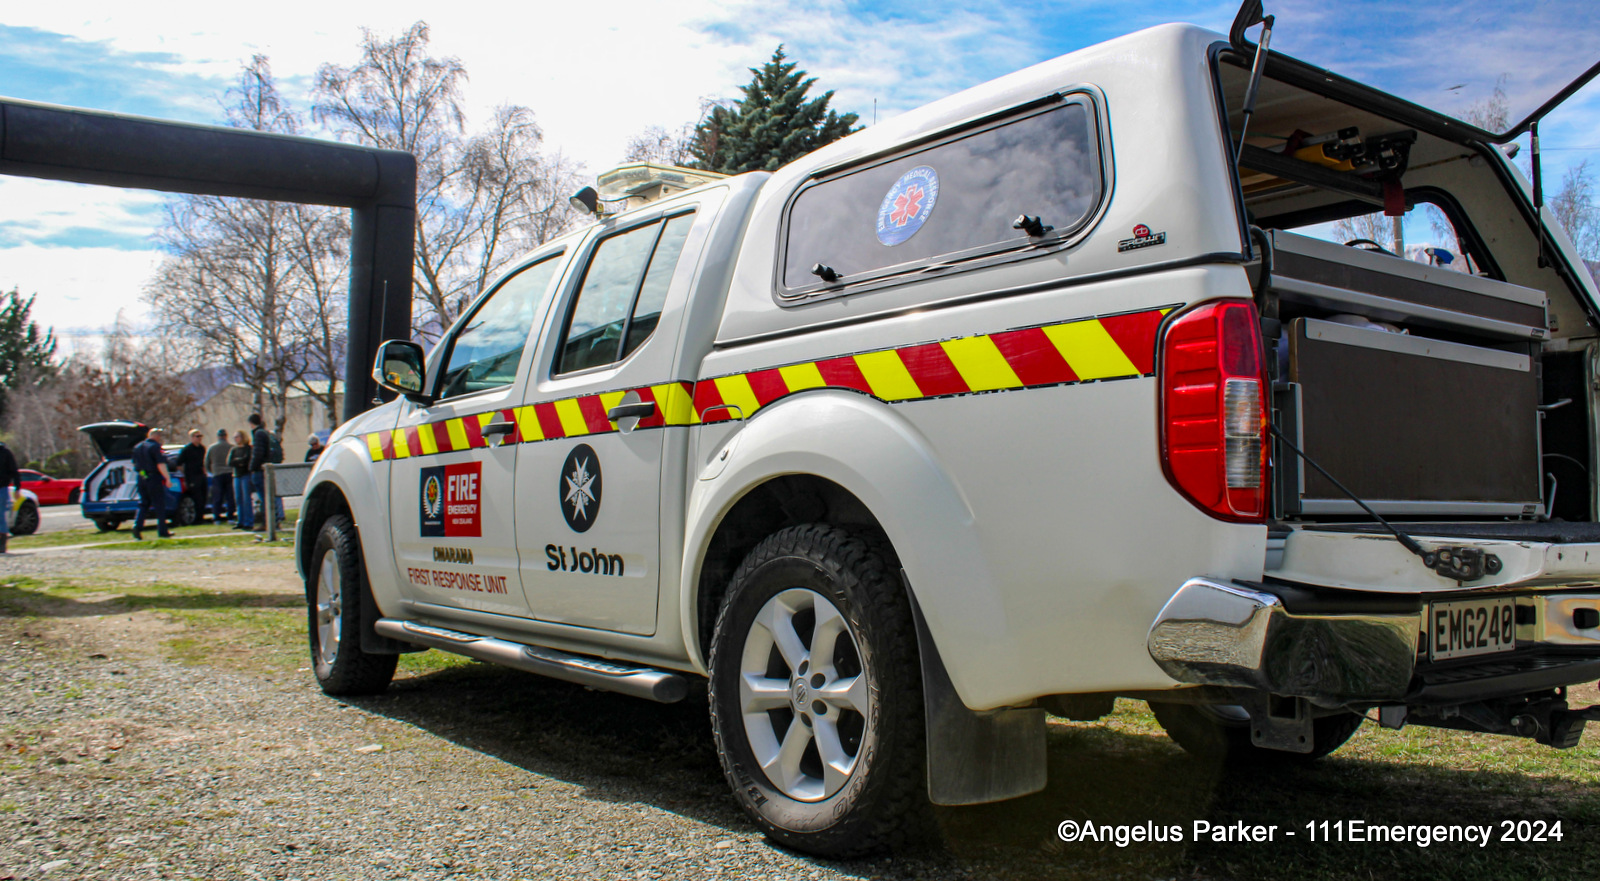 |
| Photo by Angelus Parker | Photo by Angelus Parker | Photo by Angelus Parker |
 |
||
| Photo by Angelus Parker |

© All photos / videos remain the property of the original photographer. Do not use them elsewhere without their written permission.
|
If these photos belong to you please email me so I can add credits to you
|
Any comments? Email: derek@111Emergency.co.nz |
|