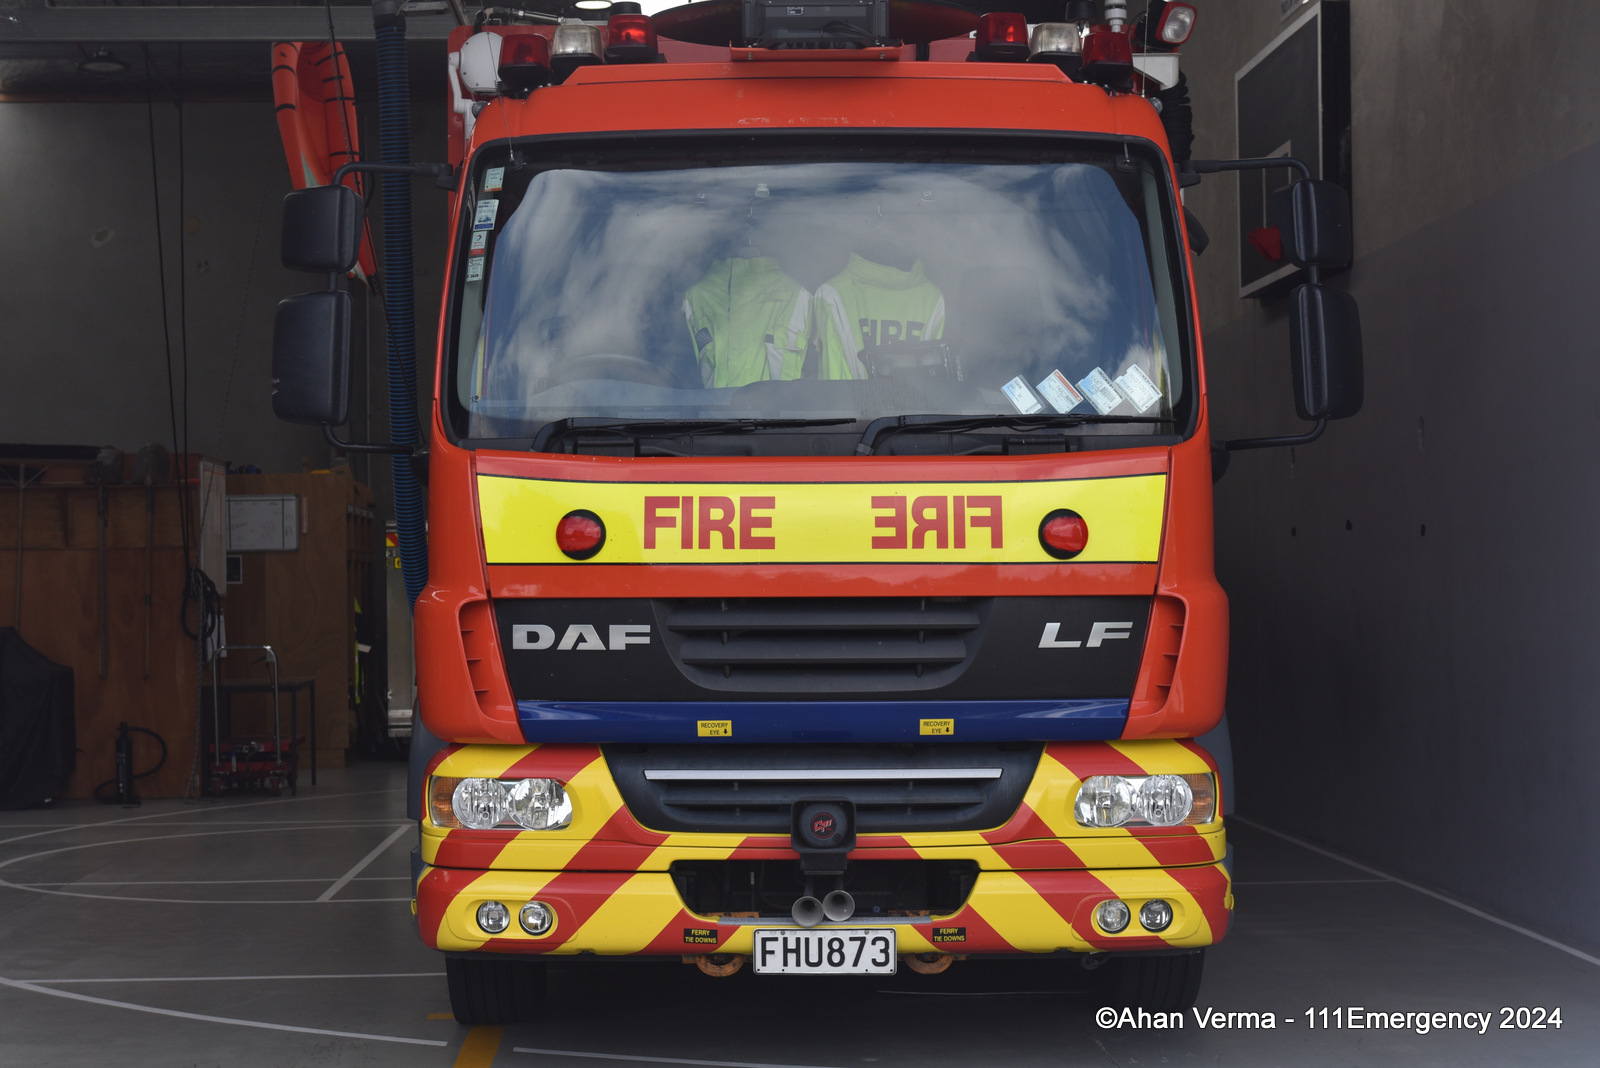
GREERTON 7518
2010 DAF LF55
FHU 873
 |
 |
 |
 |
 |
 |
 |
 |
 |
| Photo by Ian King | Photo by Ian King | Photo by Ian King |
 |
 |
 |
| Photo by Ian King | Photo by Bruce Nilson | Photo by Bruce Nilson |
 |
 |
 |
| Photo by Cameron Avery | Photo by Cameron Avery | Photo by Cameron Avery |
 |
 |
 |
| Photo by Cameron Avery | Photo by Daniel Capon | Photo by Daniel Capon |
 |
 |
 |
| Photo by Bay of Plenty Media | Photo by Bay of Plenty Media | Photo by Bay of Plenty Media |
 |
 |
 |
| Photo by Bay of Plenty Media | Photo by Bay of Plenty Media | Photo by Mark Eley |
 |
||
| Photo by Ahan Verma |
Return to Nga Tai Ki Te Puku Fire Region

© All photos / videos remain the property of the original photographer. Do not use them elsewhere without their written permission.