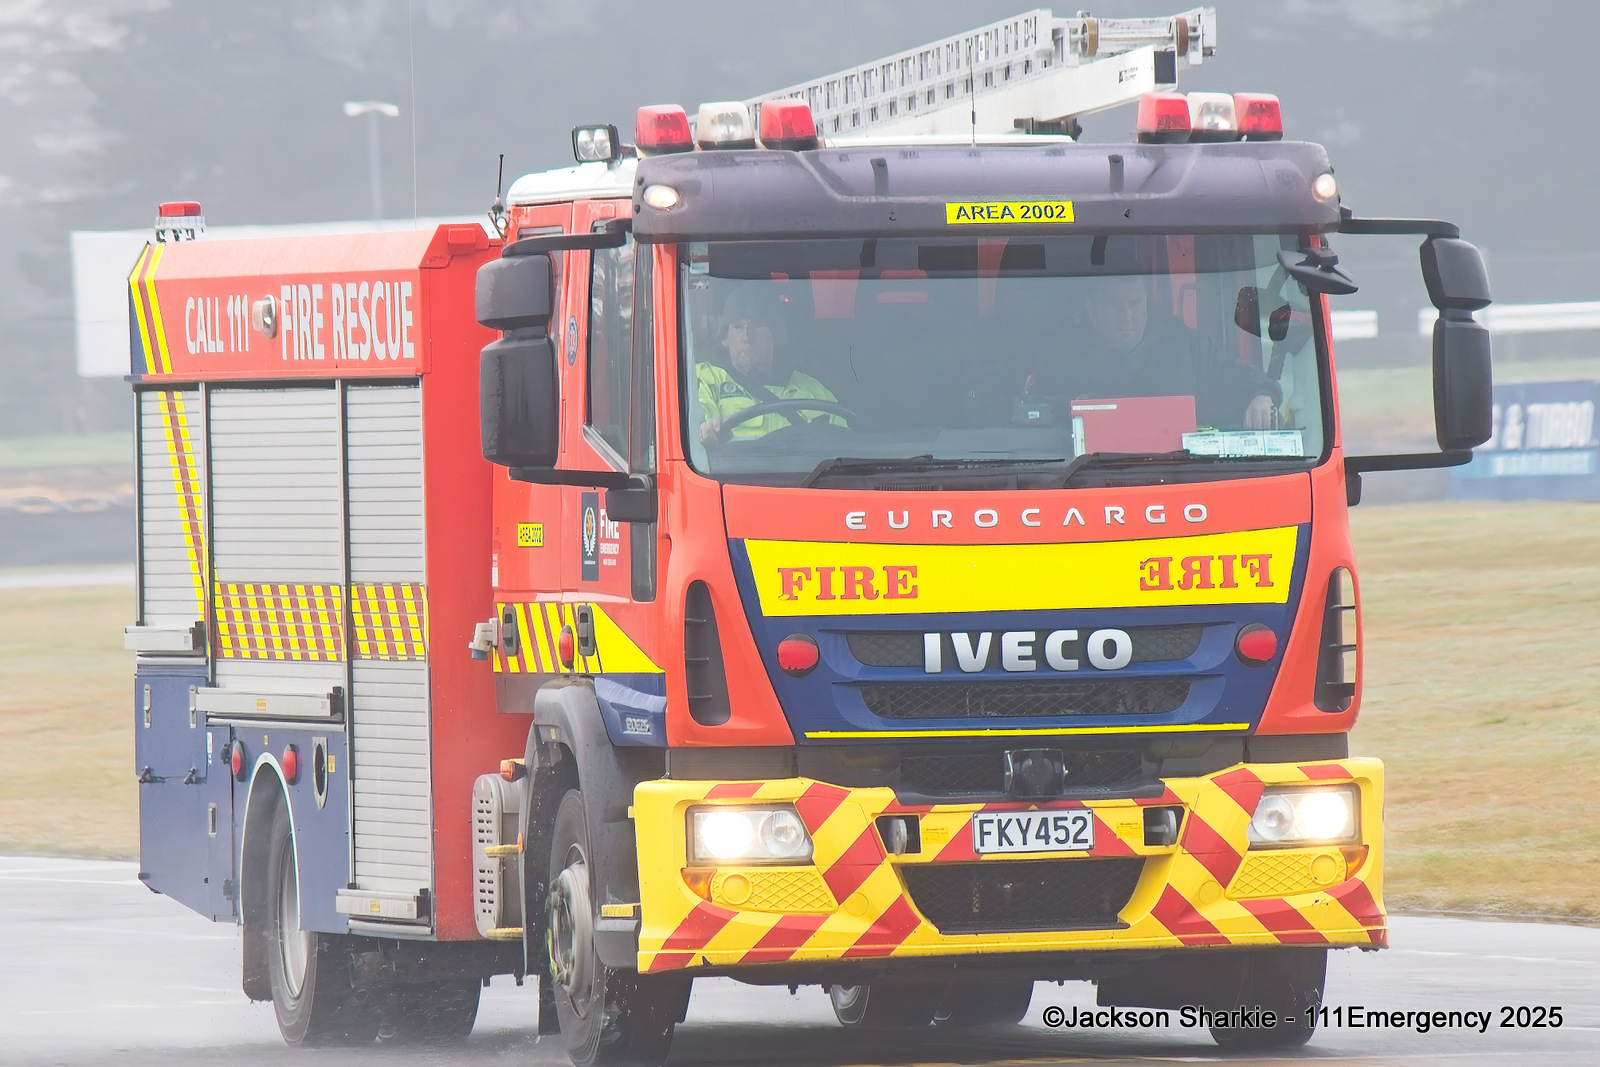
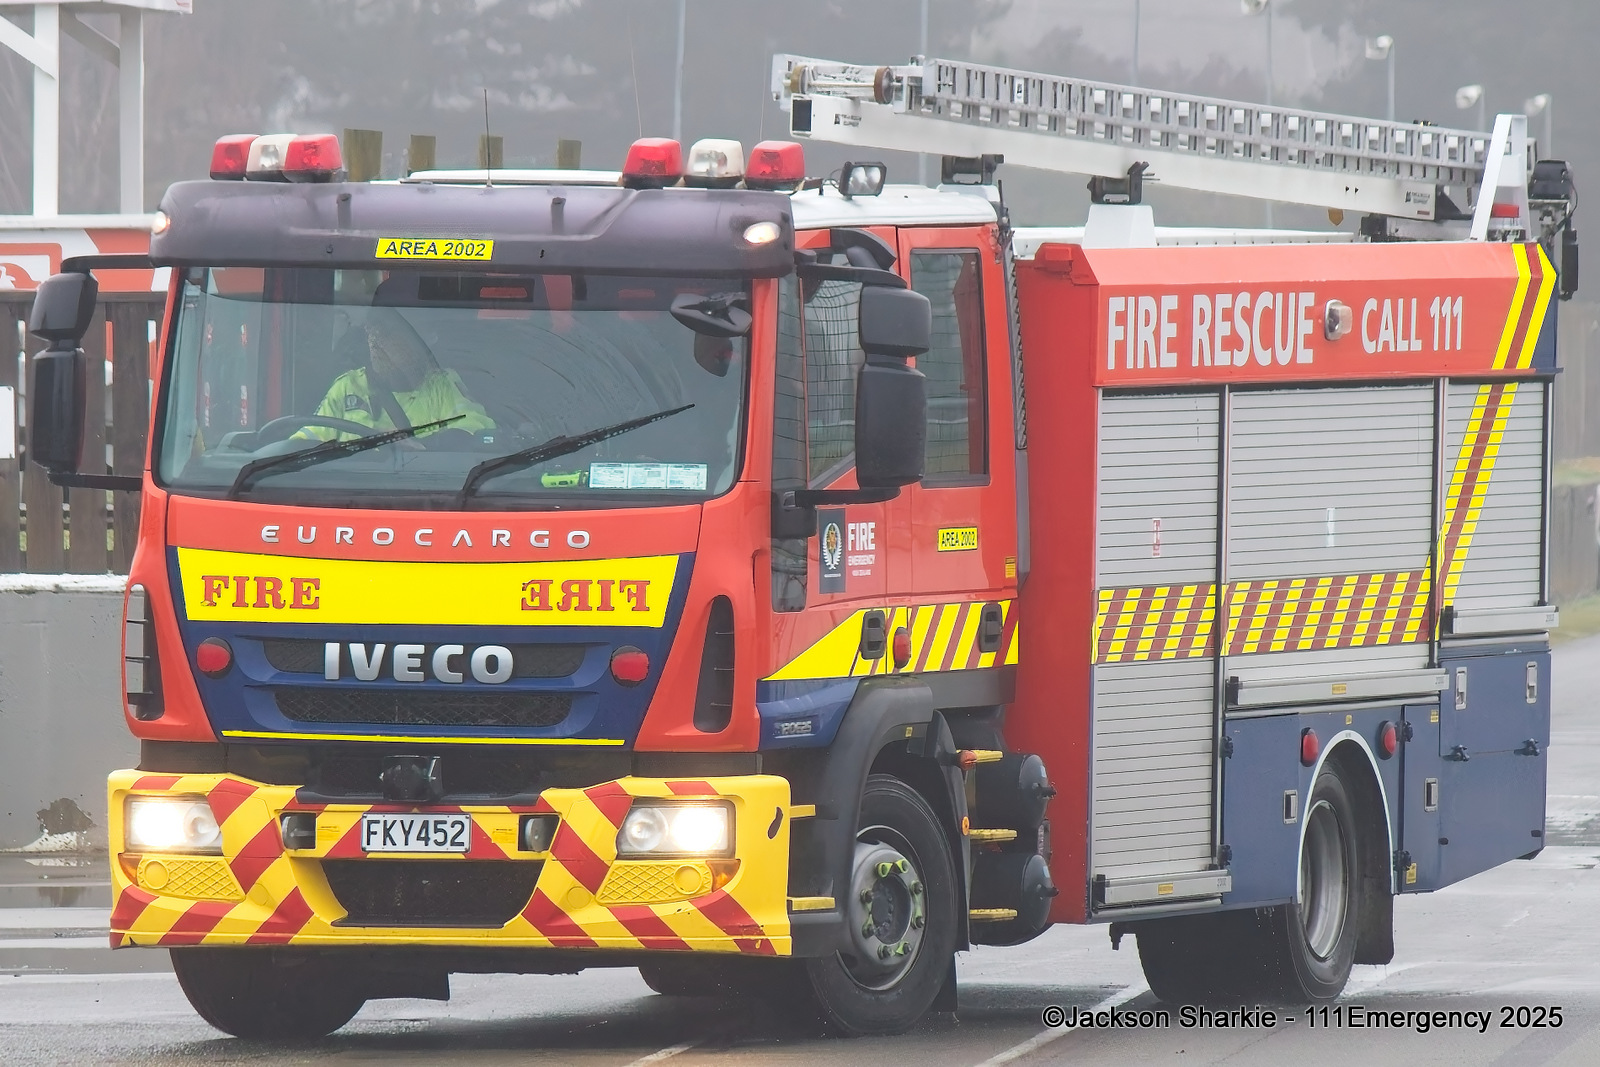
RLFTEIHU27
Ex. BLENHEIM 247, AREA2002
2010 Iveco EuroCargo ML120E25
FKY 452
 |
 |
 |
 |
 |
 |
 |
 |
 |
 |
 |
 |
 |
 |
 |
| Photo by Kirk Gillam | Photo by Kirk Gillam | |
 |
 |
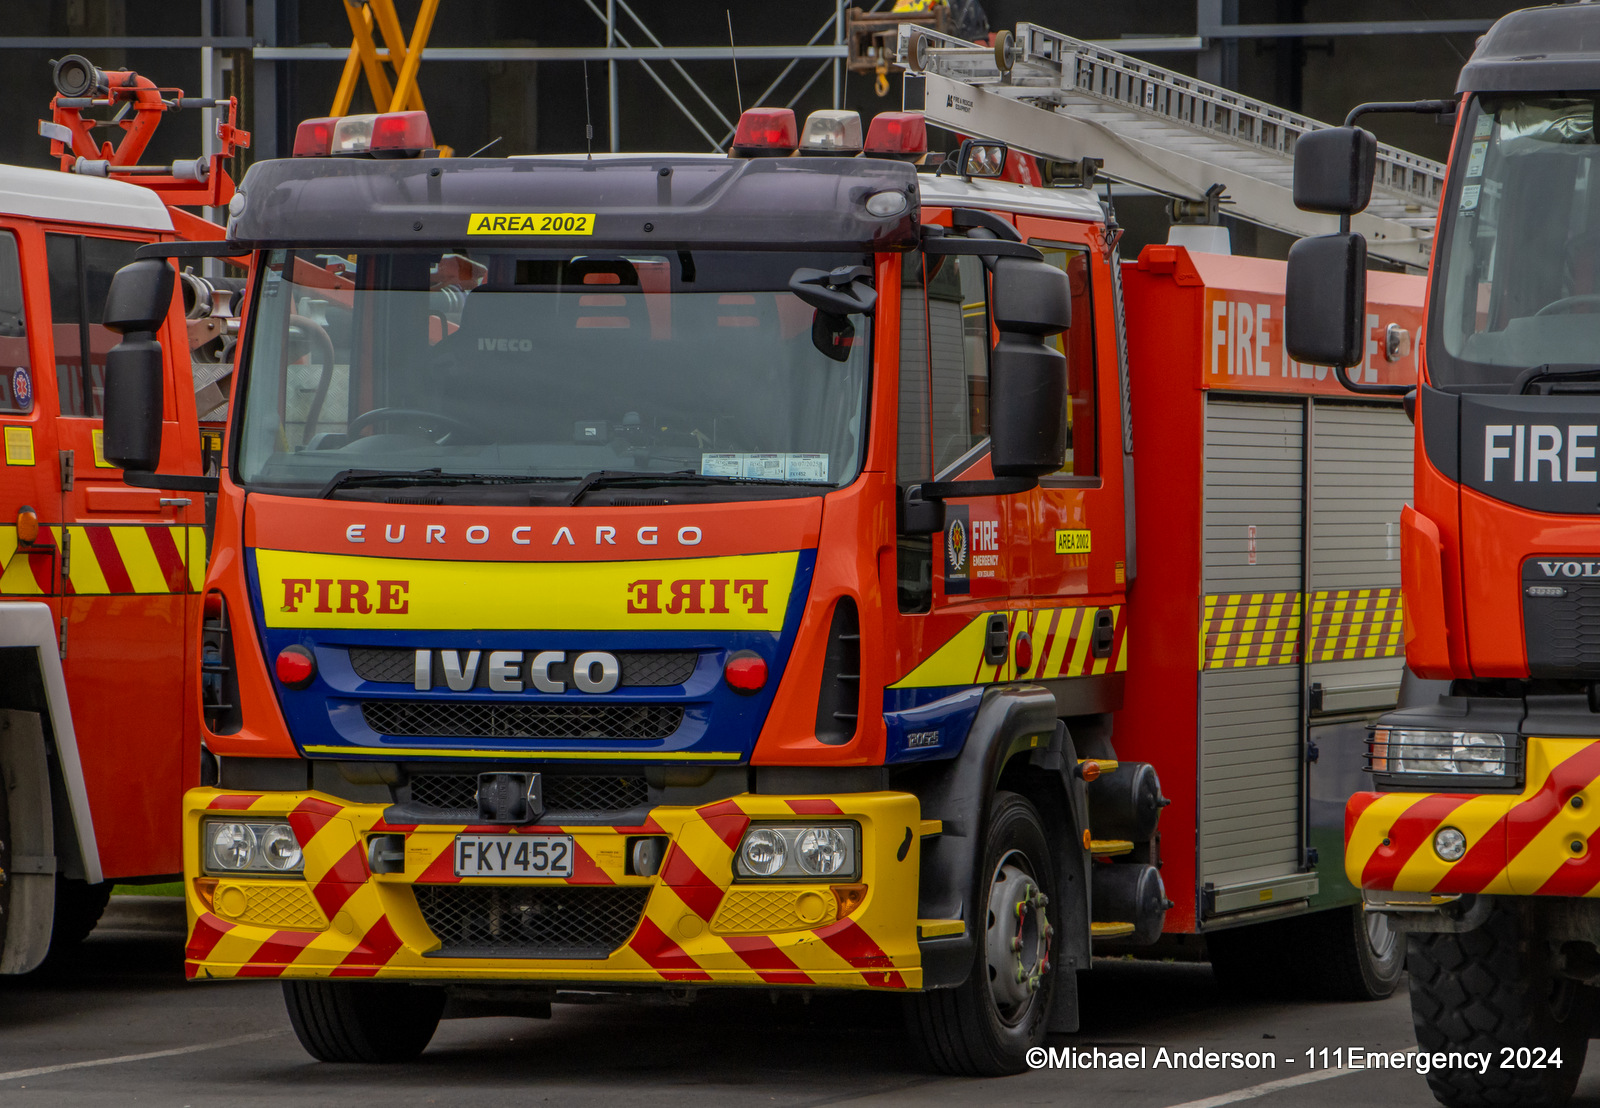 |
| Photo by Daniel Capon | Photo by Michael Anderson | |
 |
 |
|
| Photo by Jackson Sharkie | Photo by Jackson Sharkie |
Return to Te Ihu Fire Region pag

© All photos / videos remain the property of the original photographer. Do not use them elsewhere without their written permission.