HAAST 8329
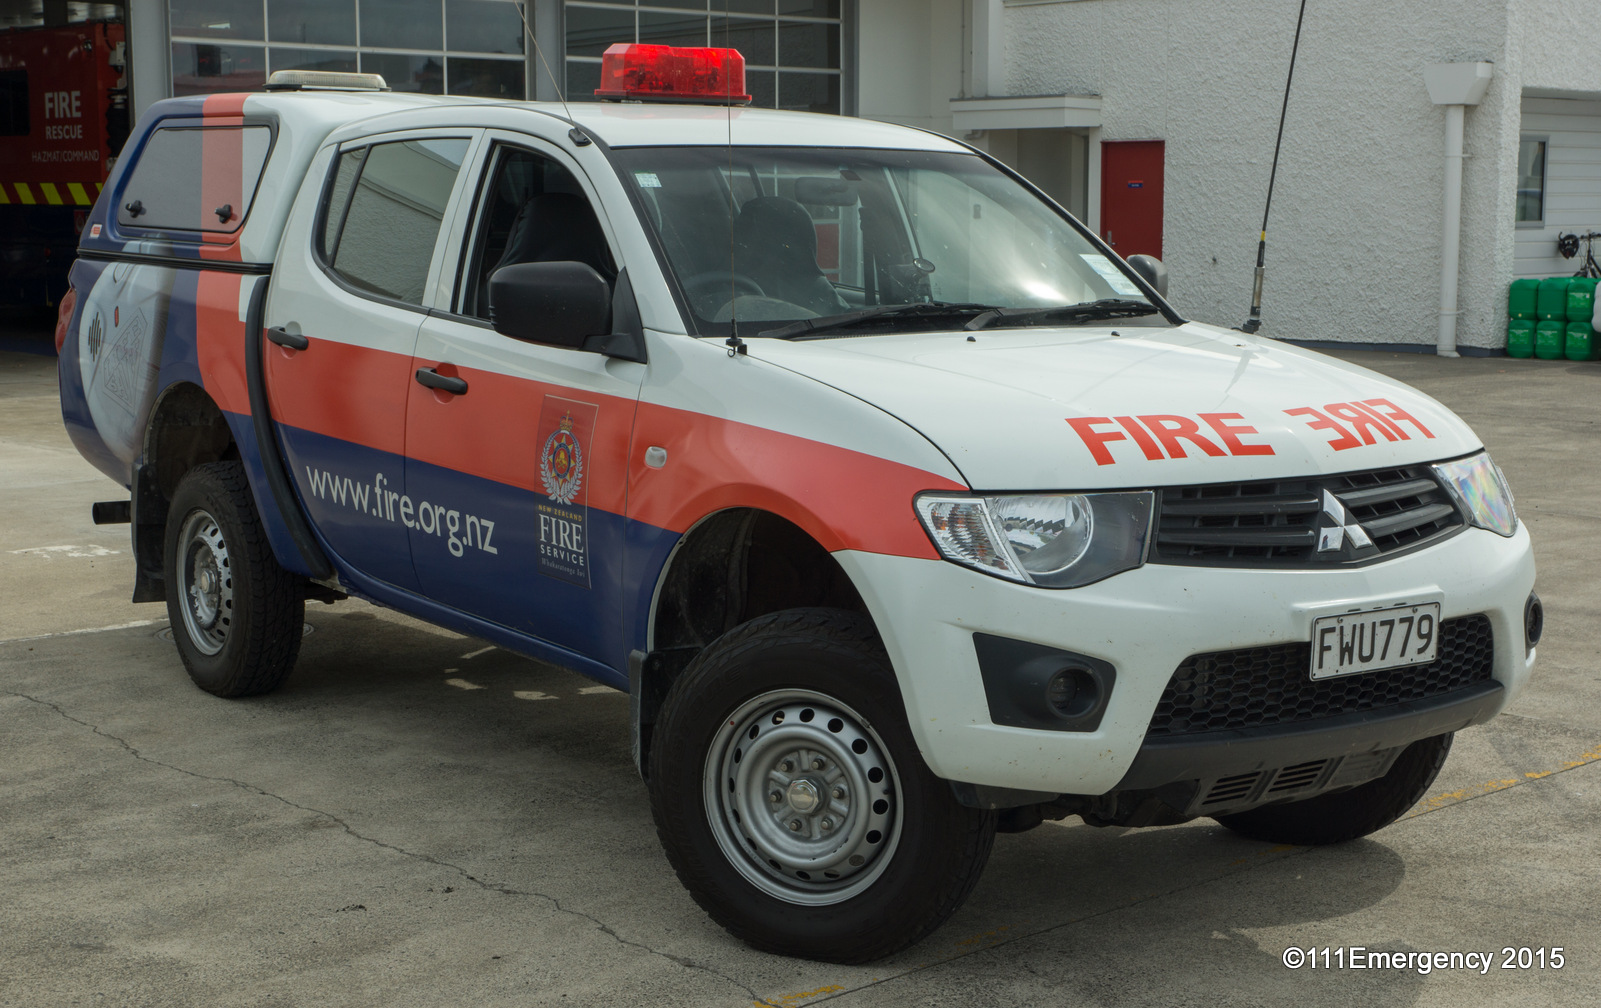
2011 Mitsubishi Triton
FWU 779
Ex. WHANGANUI 7129, REGN3TRNG6, HAAST 8325, ROSS 7733
 |
 |
 |
| Photo by Jeff Grant | Photo by Jeff Grant | Photo by Jeff Grant |
 |
 |
 |
 |
 |
 |
 |
 |
 |
 |
 |
 |
| Photo by Trevor O'Dea | Photo by Trevor O'Dea | Photo by Trevor O'Dea |
 |
 |
 |
| Photo by Trevor O'Dea | Photo by David Miller | Photo by David Miller |
 |
 |
 |
| Photo by David Miller | Photo by David Miller | Photo by David Miller |
|
|
||
| Photo by David Miller |

© All photos / videos remain the property of the original photographer. Do not use them elsewhere without their written permission.