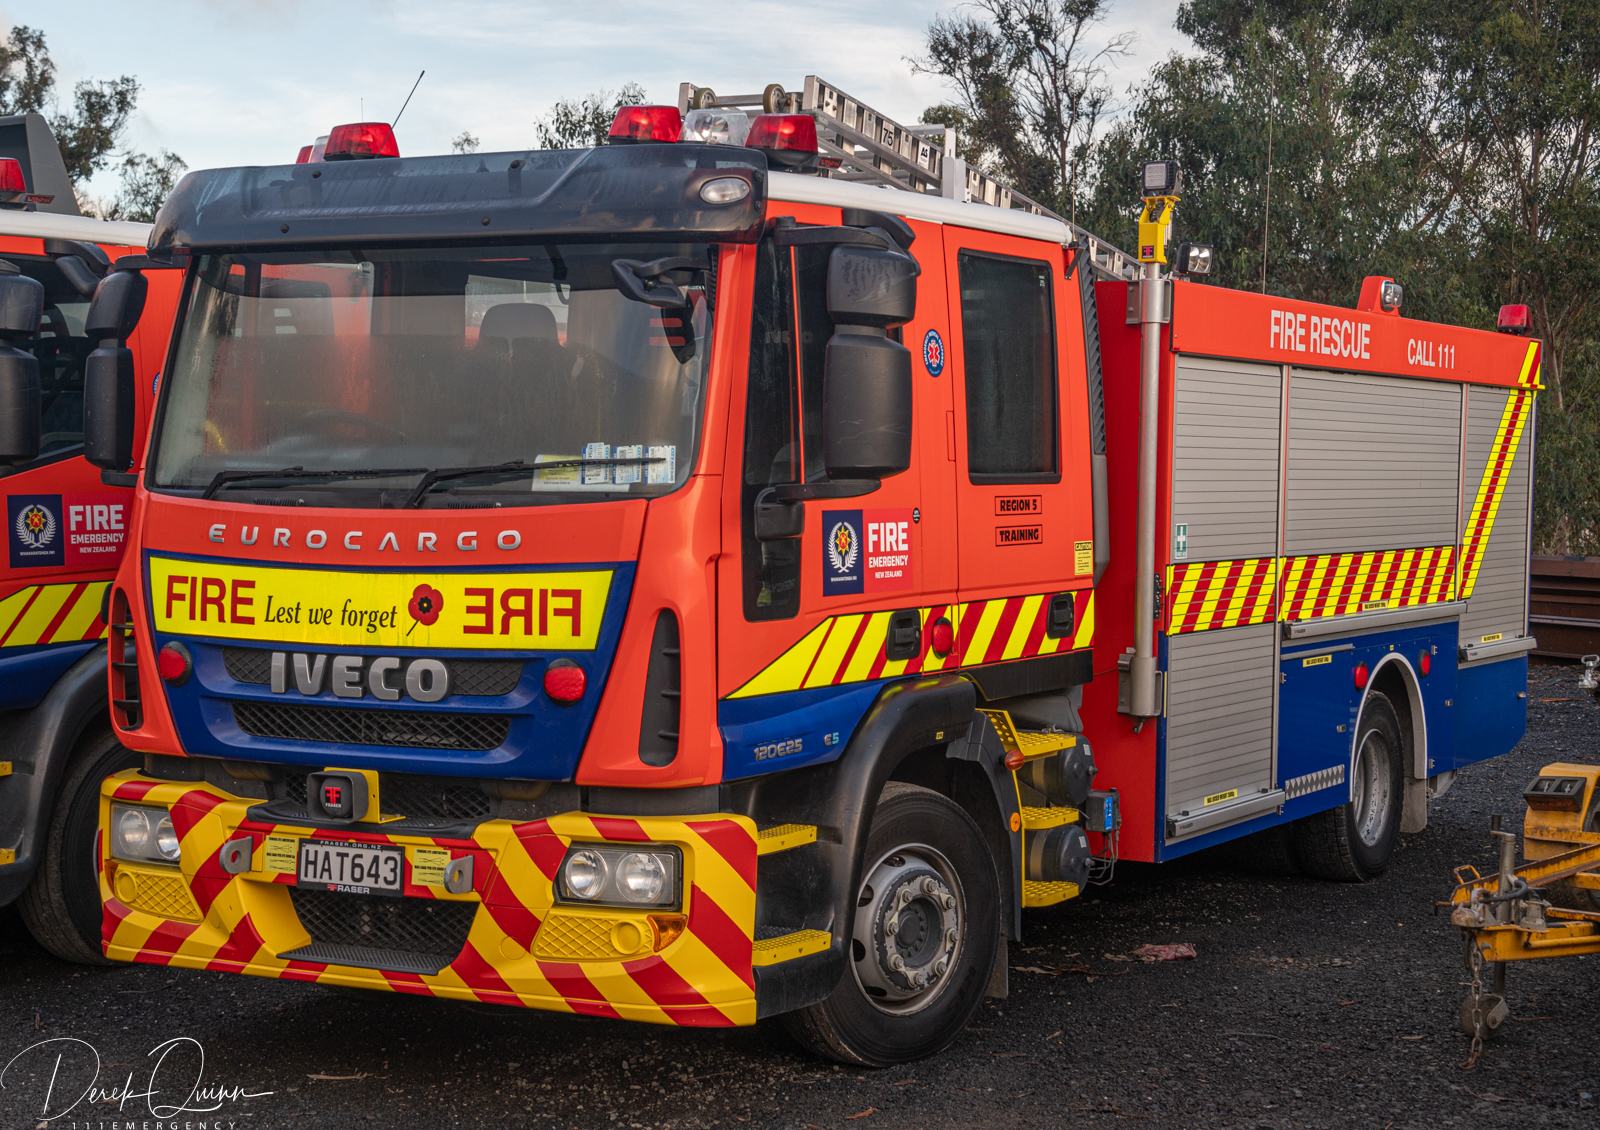
R5TRNG11
Ex. GORE 437, SOUTTRNG15
2013 Iveco Cargo ML120E25
HAT 643
 |
 |
 |
 |
 |
 |
 |
 |
 |
 |
 |
 |
| Photo by David Miller | ||
 |
 |
 |
| Photo by David Miller | Photo by David Miller | Photo by David Miller |
 |
 |
 |
| Photo by David Miller | ||
 |
 |
|
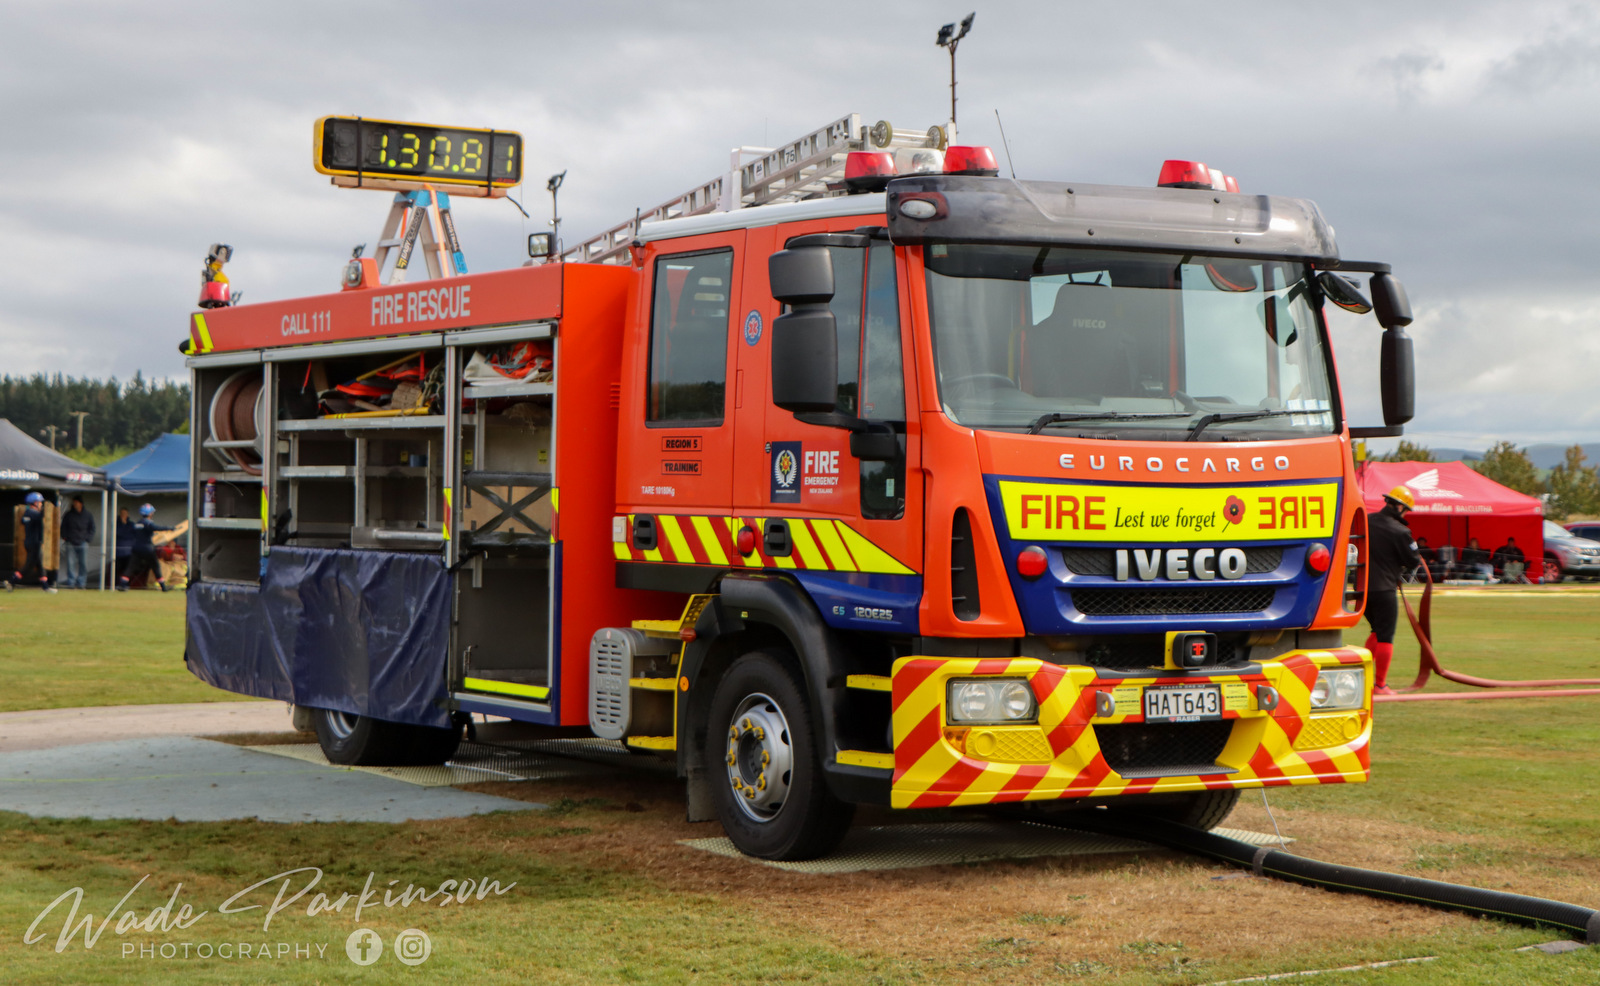
| Photo by Wade Parkinson |
Return to Te Kei Fire Region page
