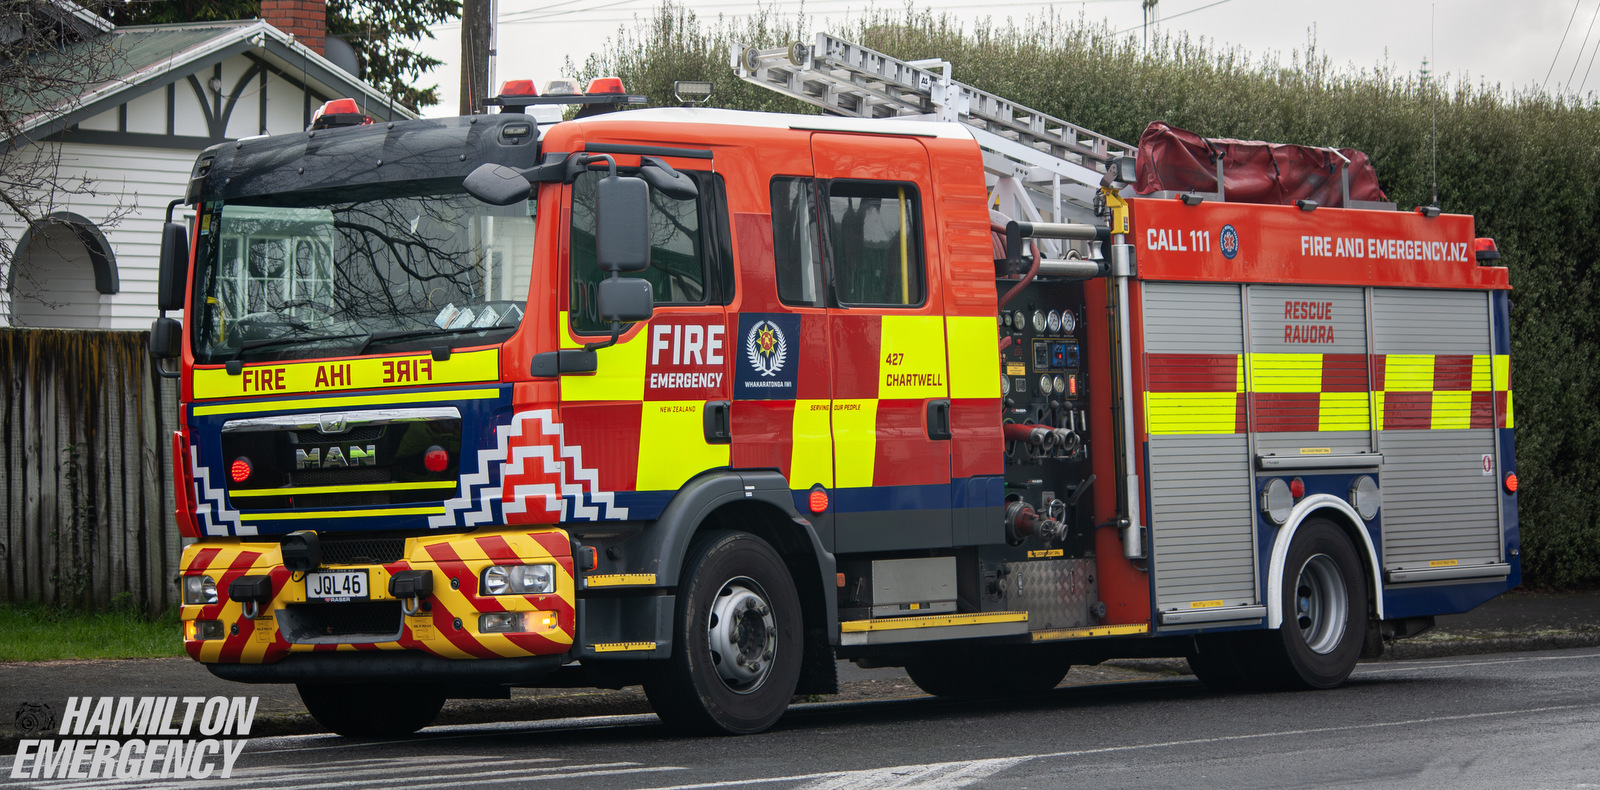
CHARTWELL 427
2016 MAN TGM
JQL 46
 |
 |
 |
 |
 |
 |
 |
 |
 |
| Photo by Daniel Casbolt | Photo by James Everaarts | |
 |
 |
 |
| Photo by James Everaarts | Photo by James Everaarts | Photo by James Everaarts |
 |
 |
 |
| Photo by Colin Vickery | Photo by Gustav Conradie | Photo by Hamilton Area Media |
 |
 |
 |
| Photo by Daniel Casbolt | Photo by Hamilton Emergency | Photo by Hamilton Emergency |
Return to Nga Tai Ki Te Puku Fire Region

© All photos / videos remain the property of the original photographer. Do not use them elsewhere without their written permission.