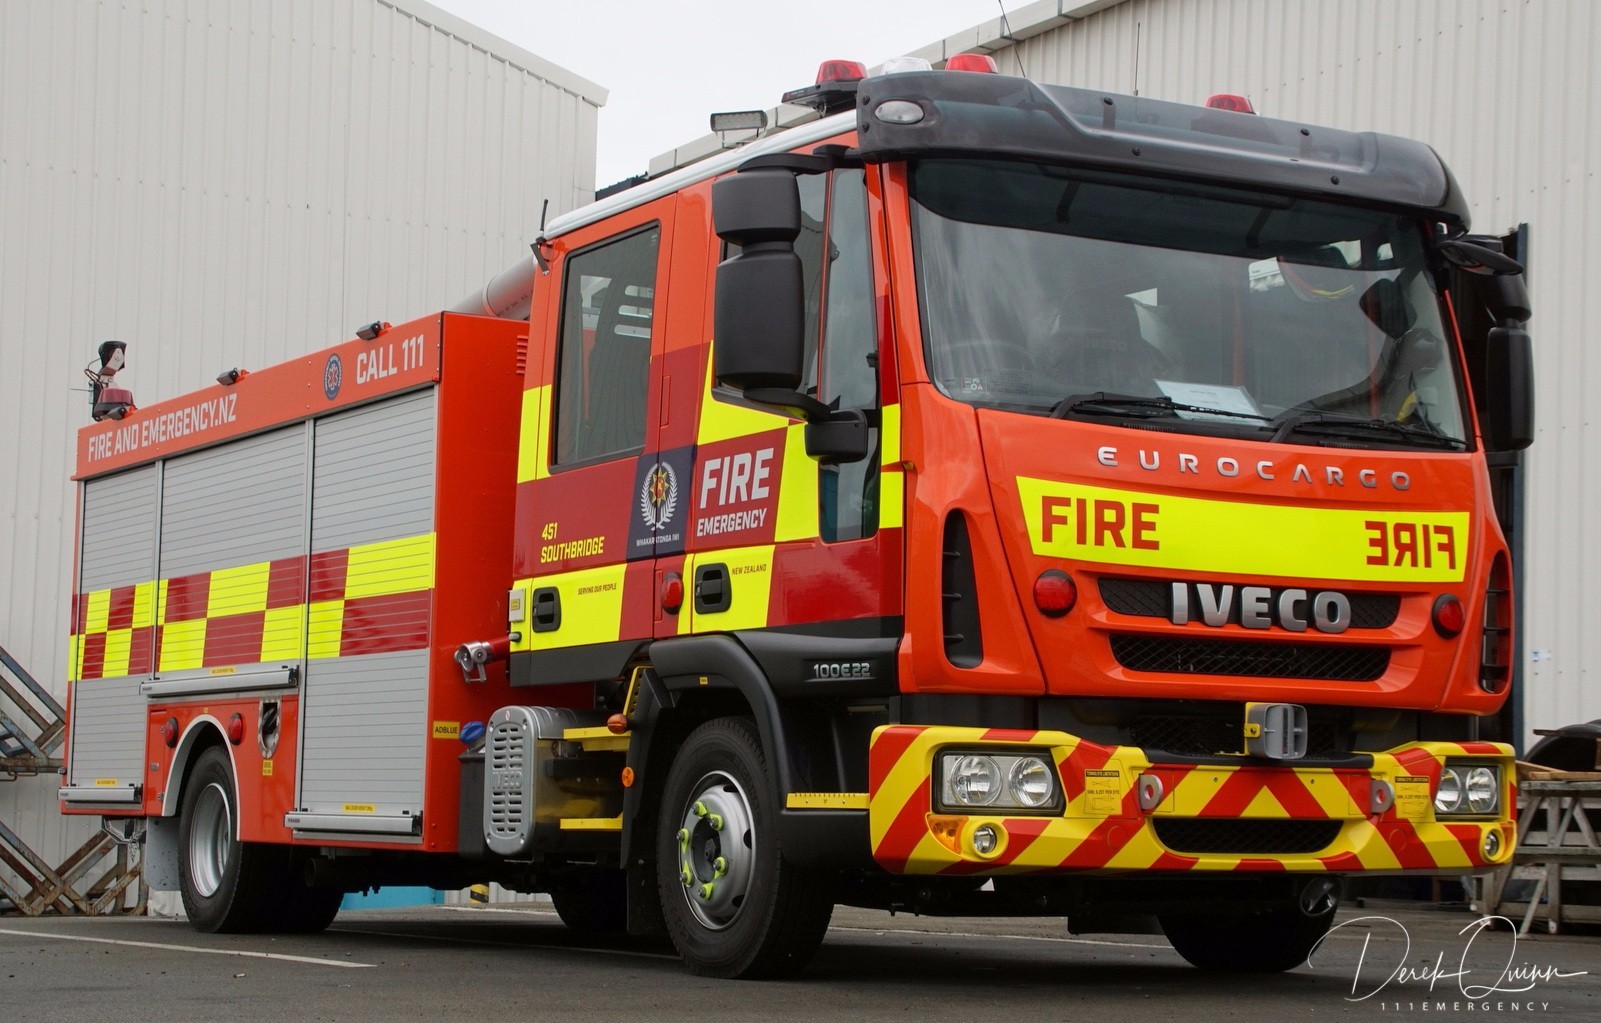
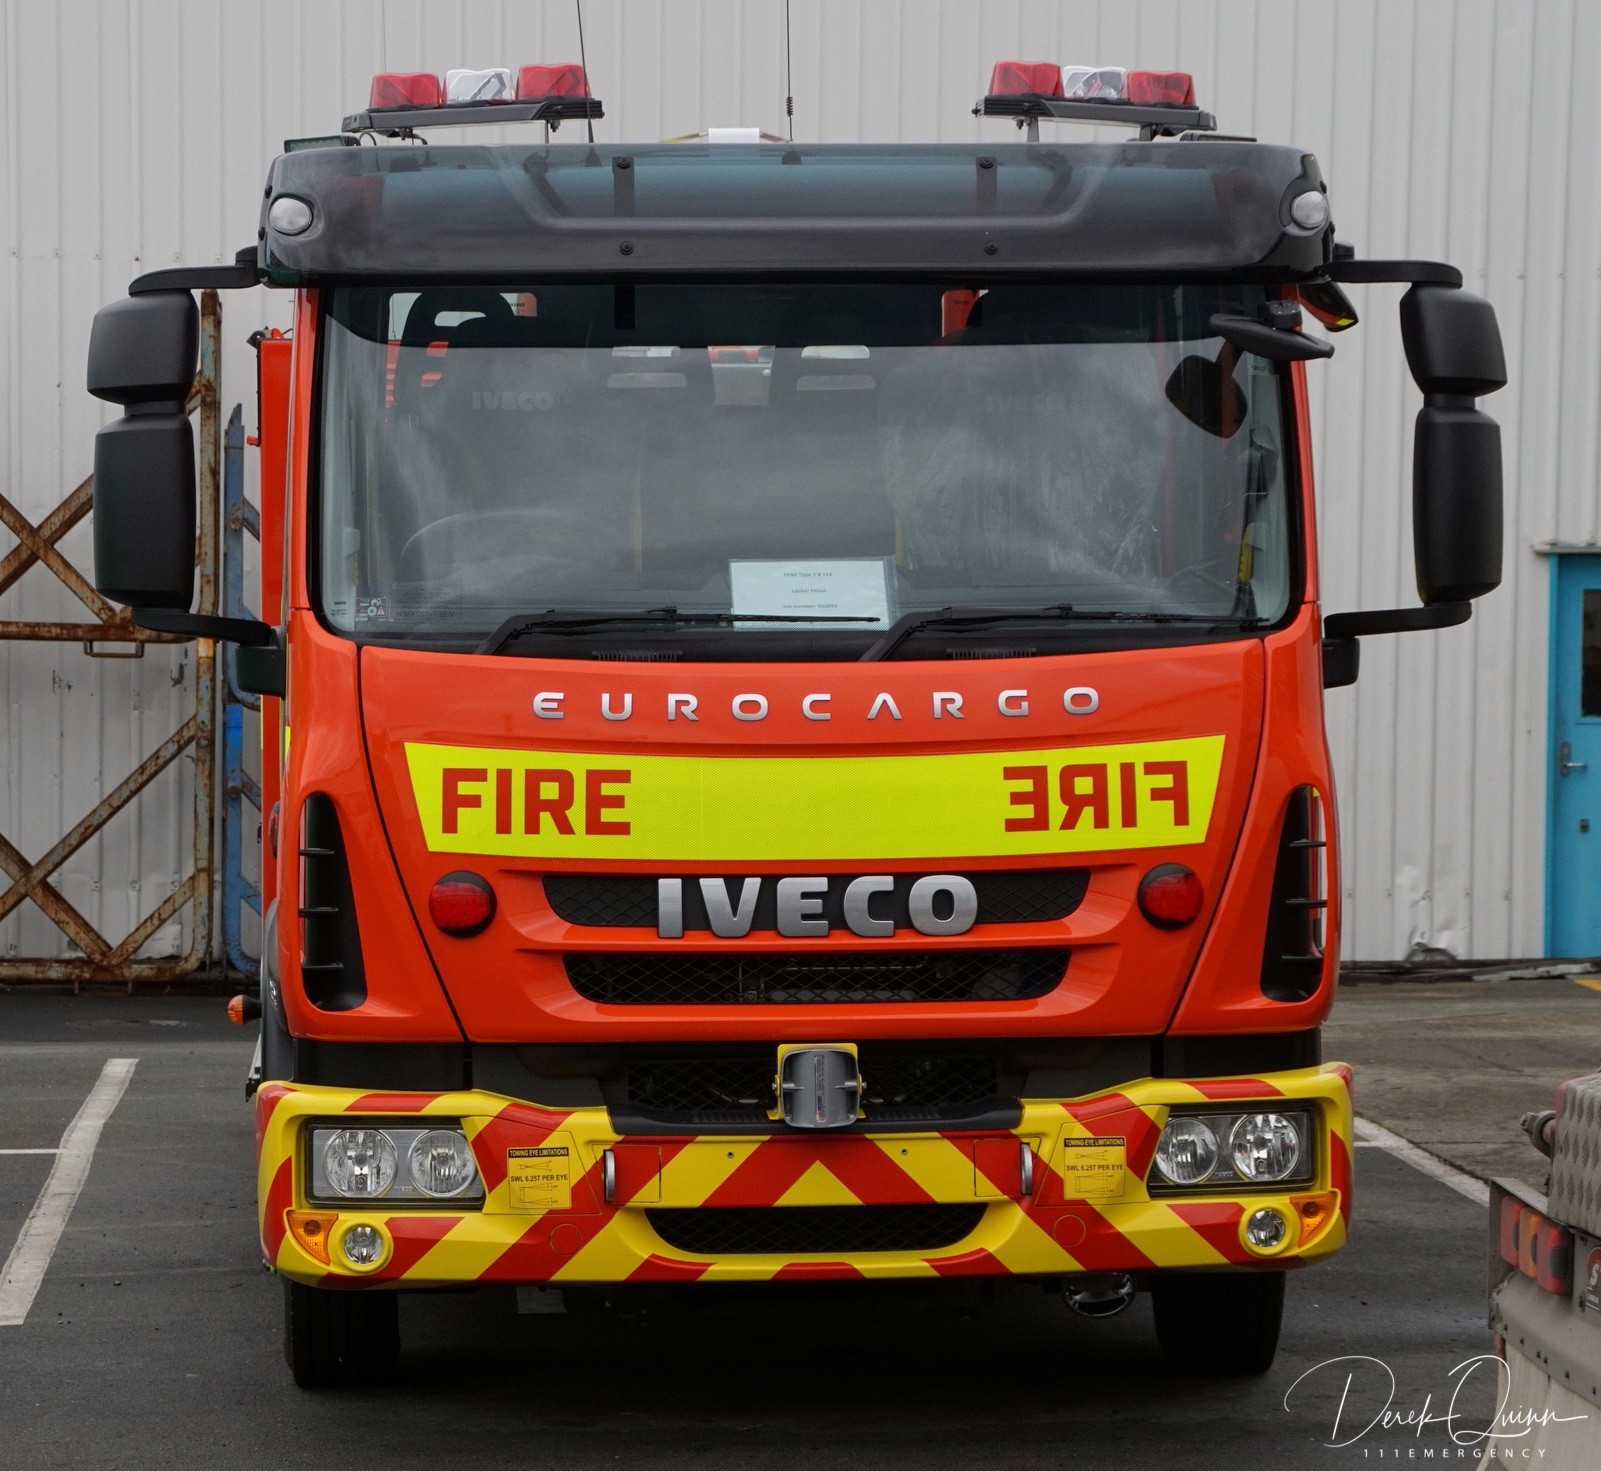
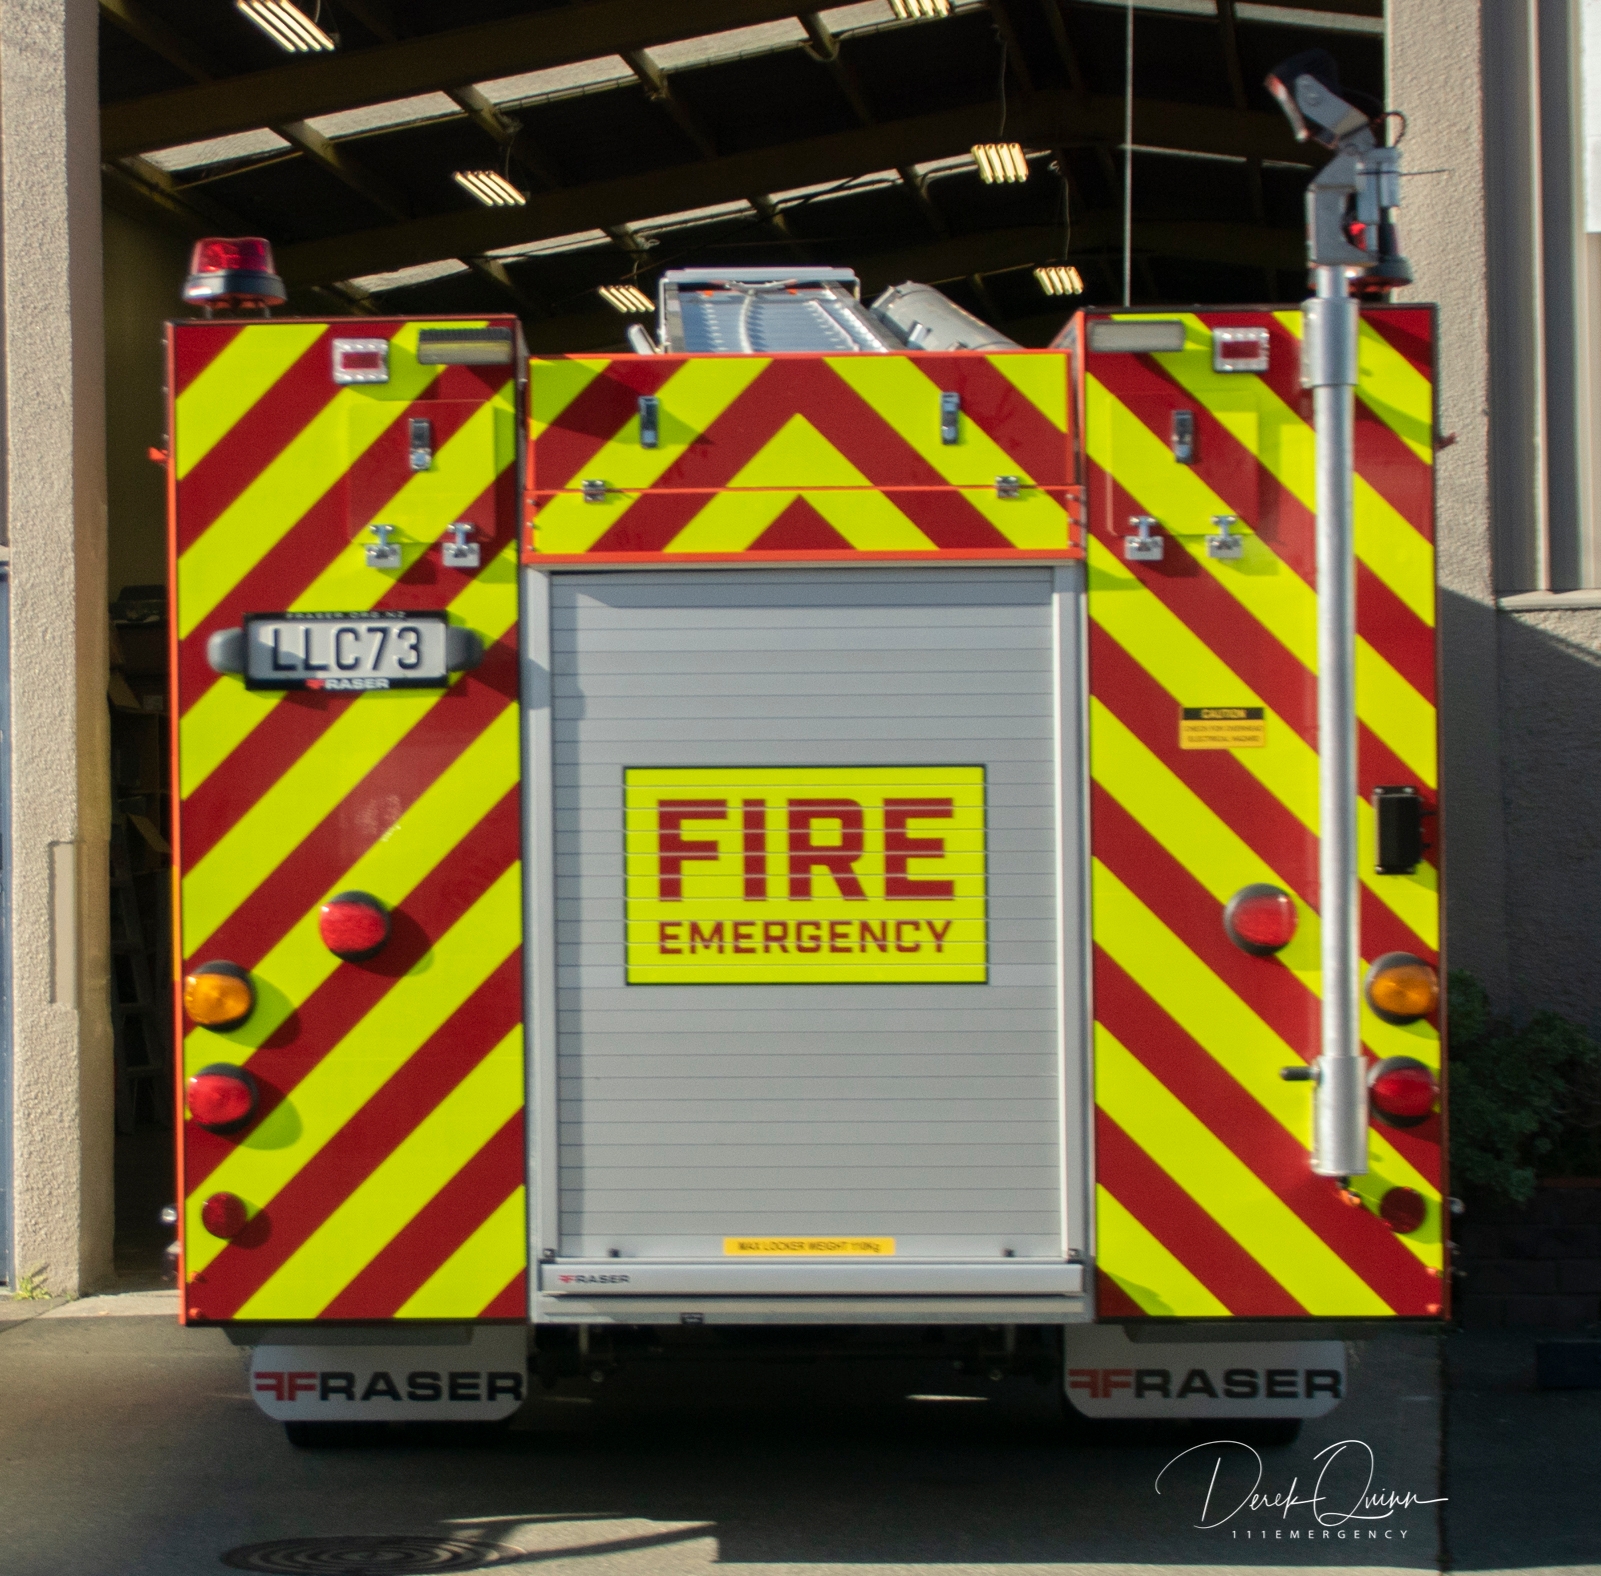
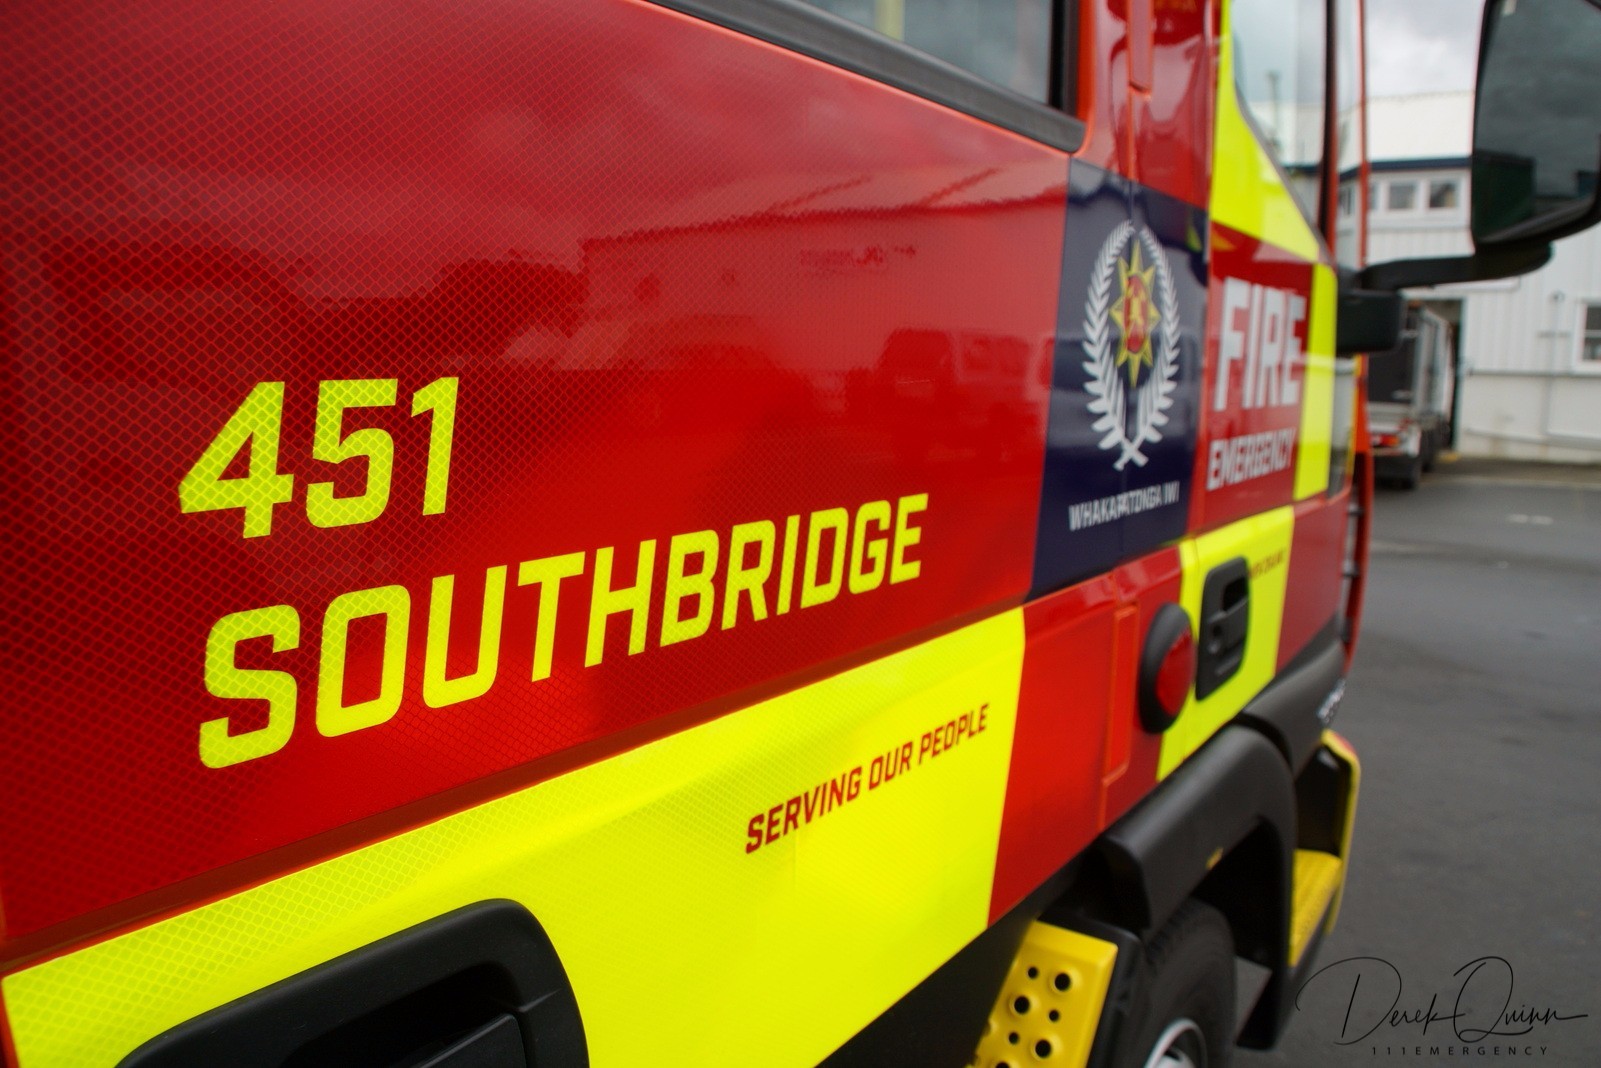
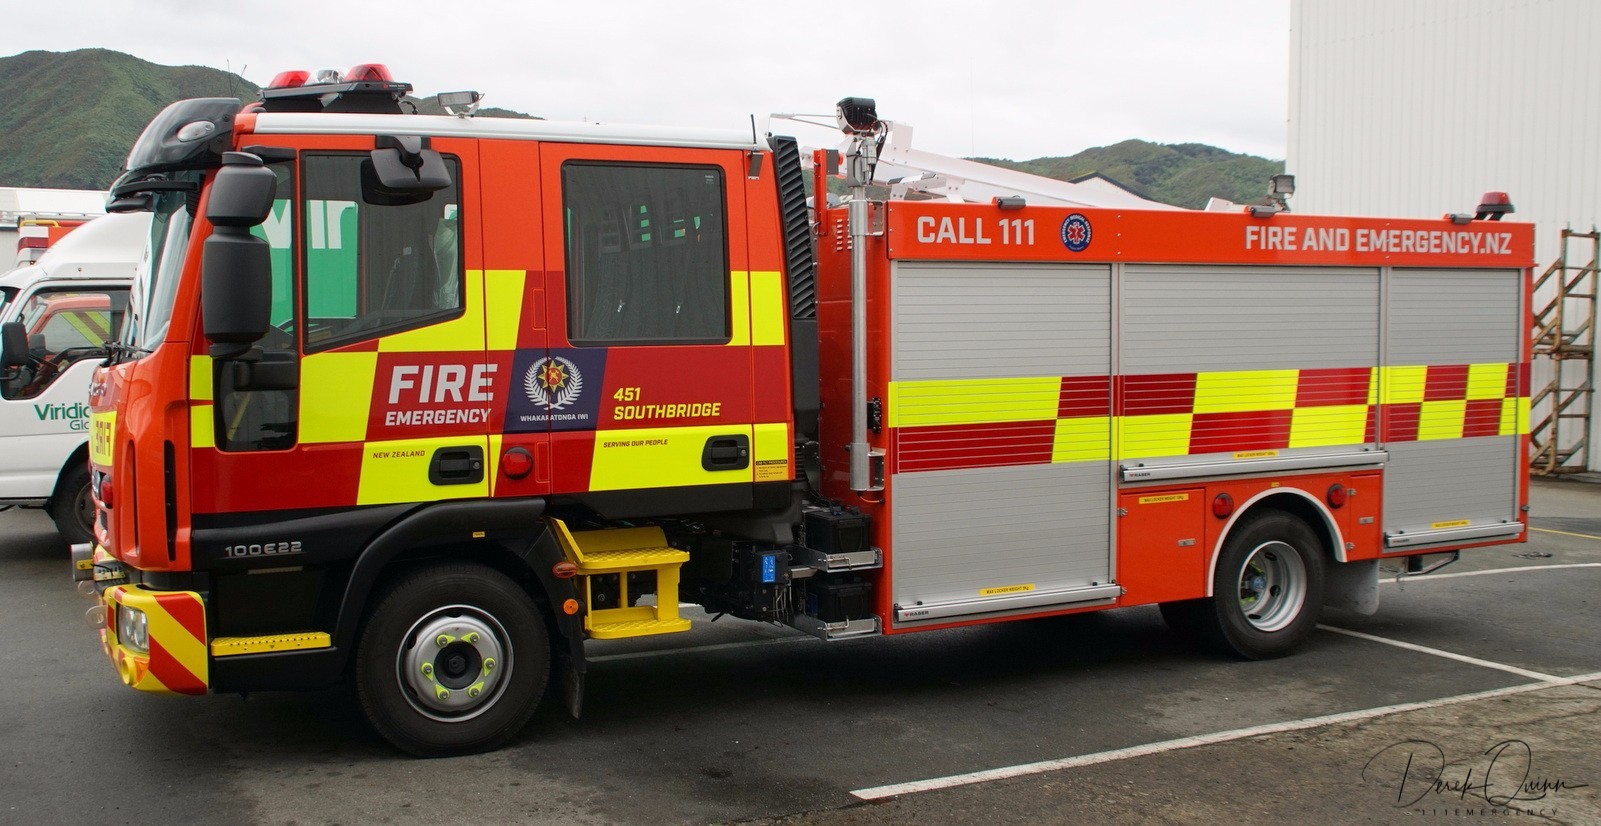
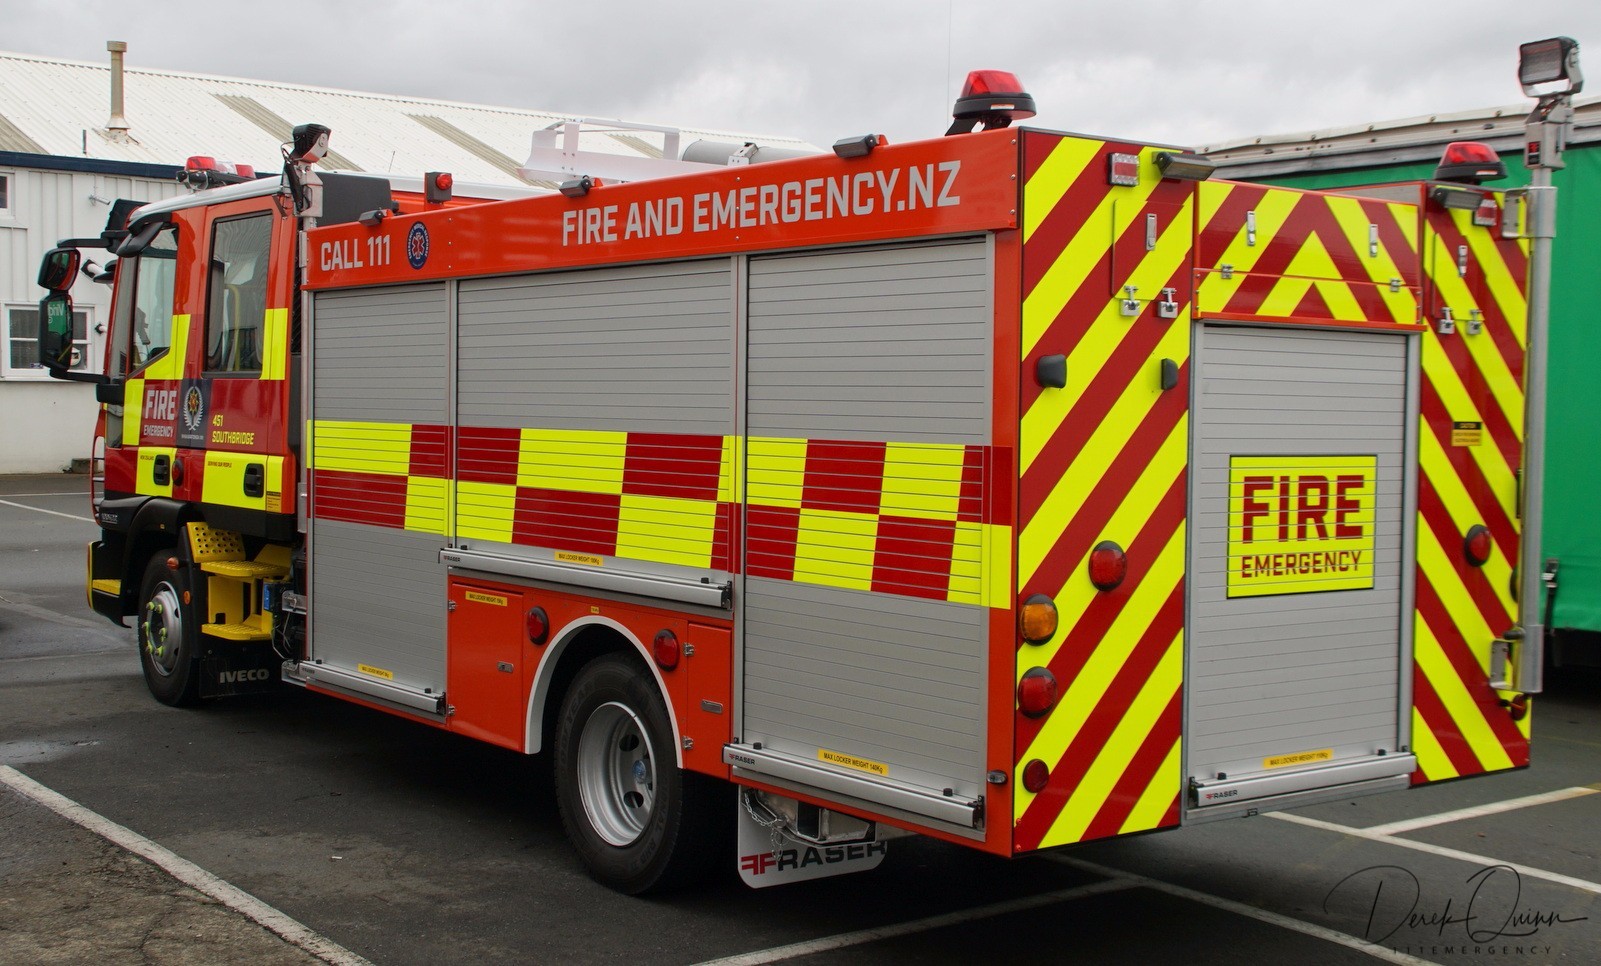
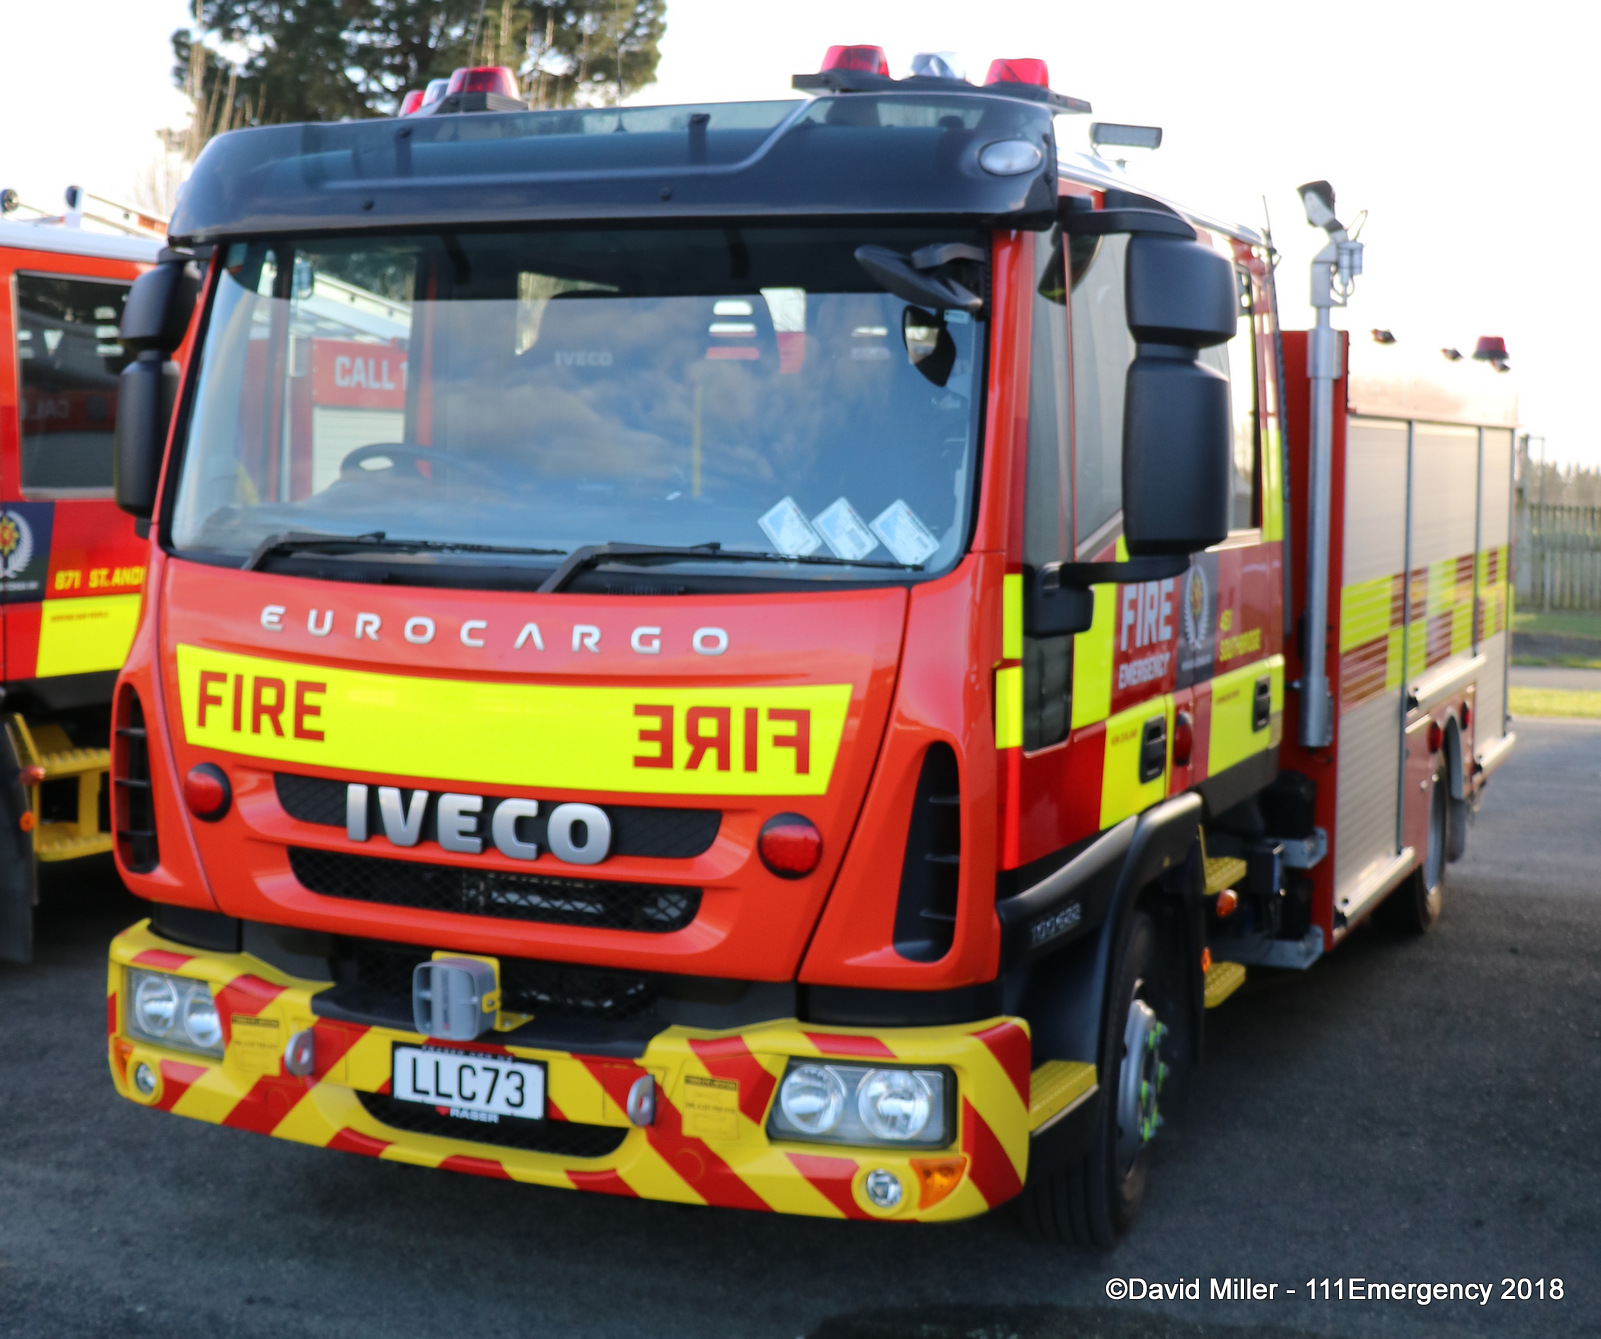
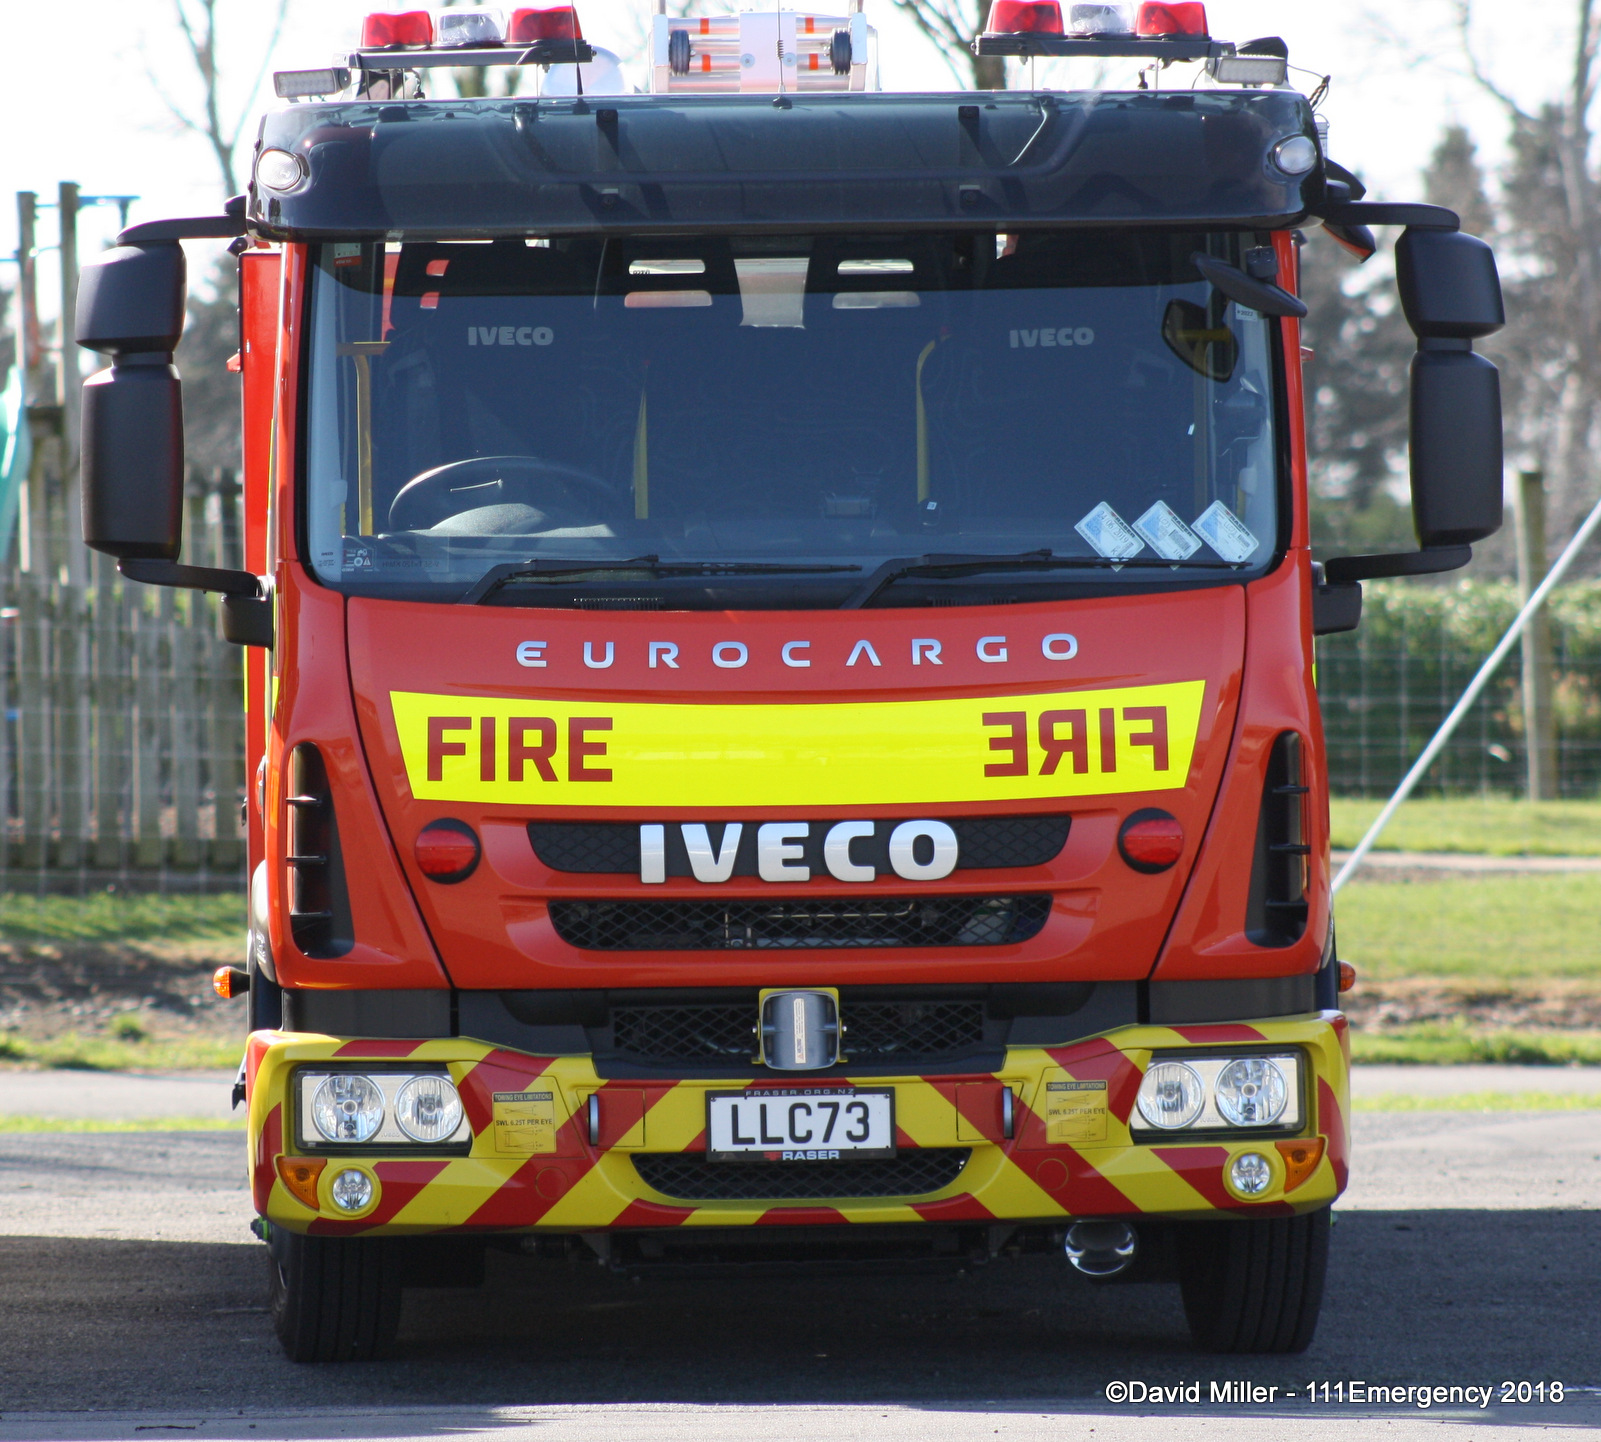
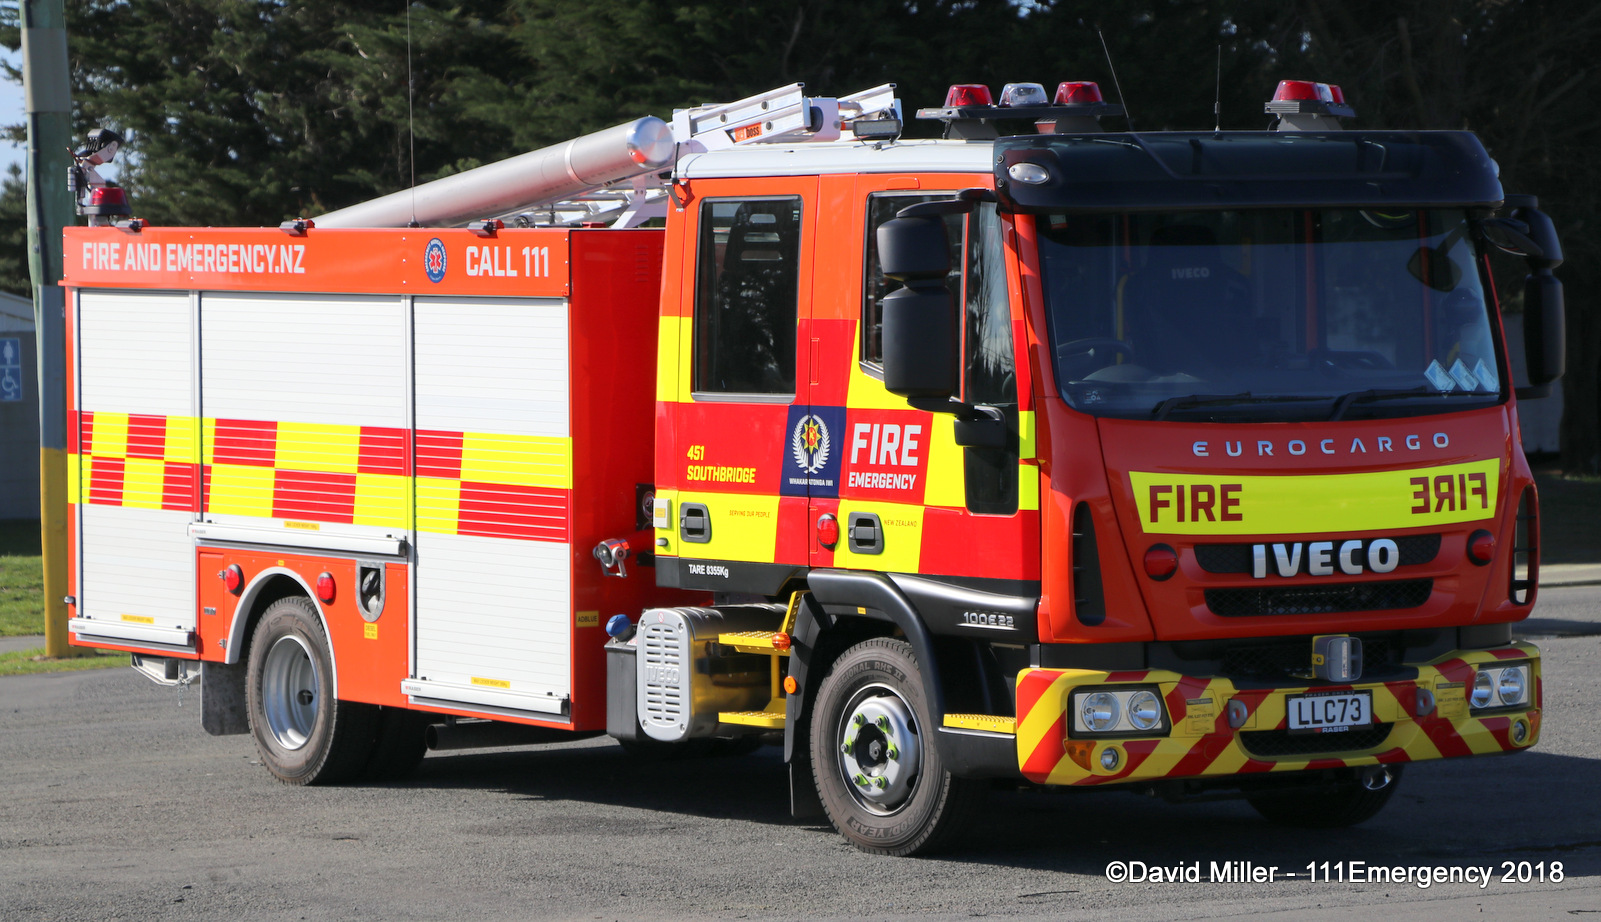
SOUTHBRIDGE 451
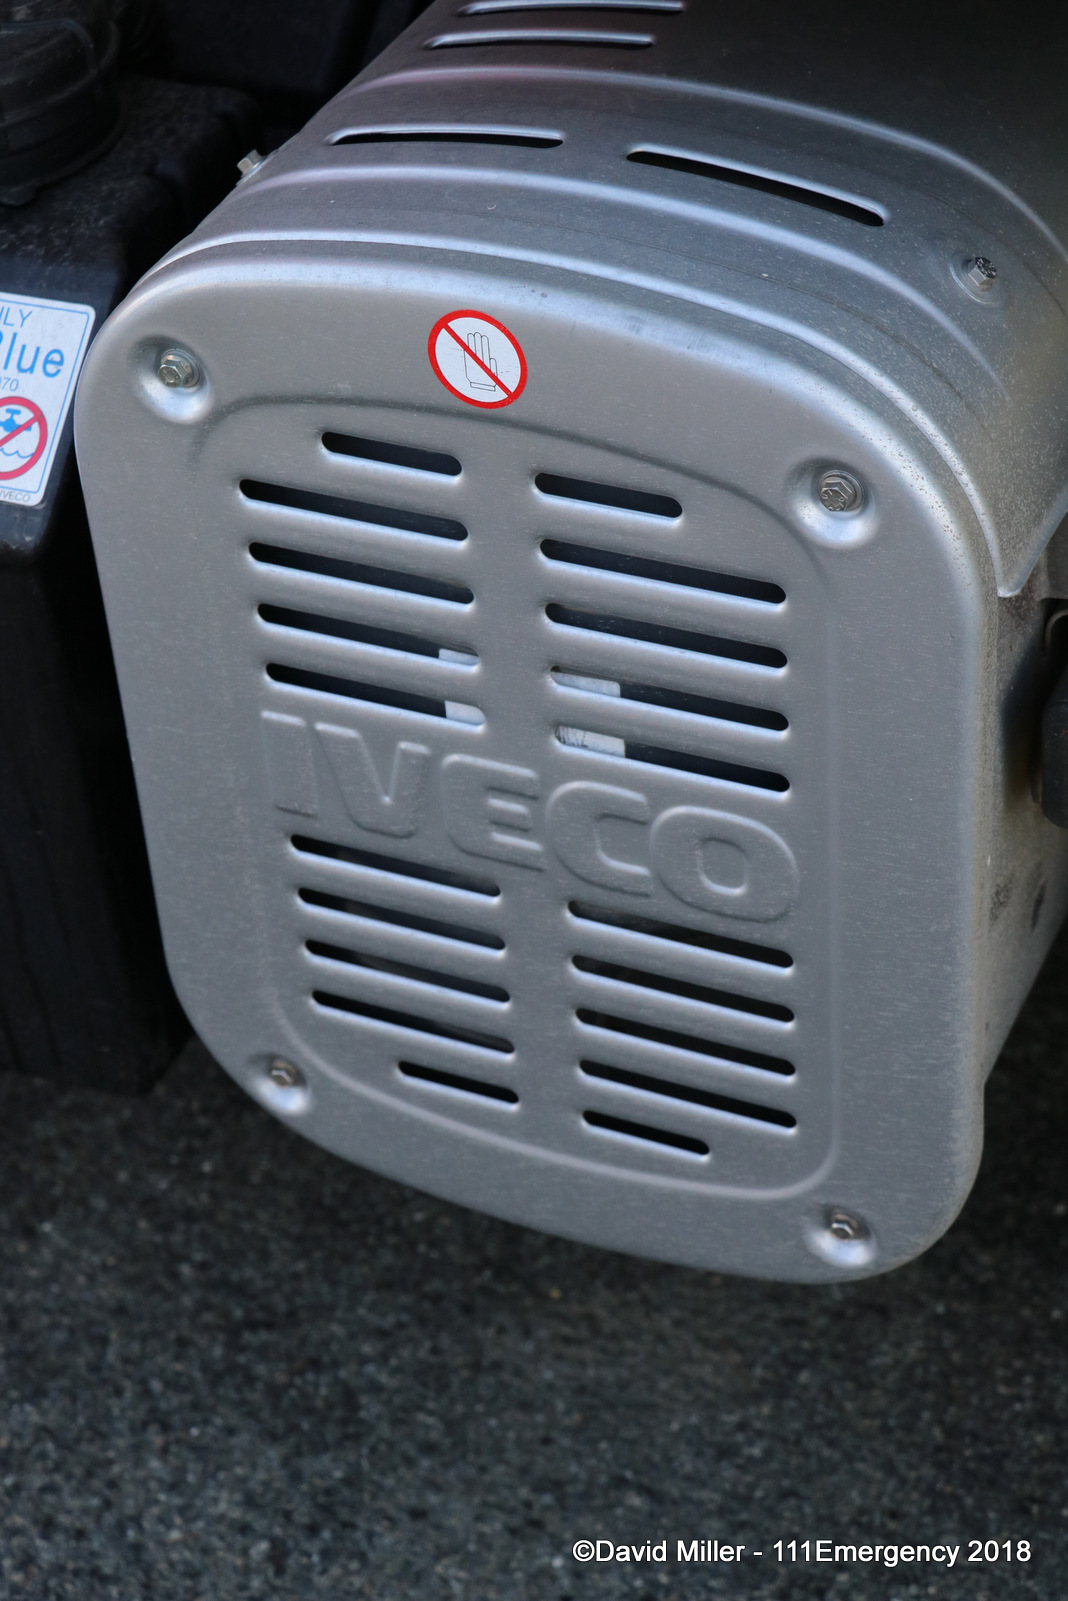
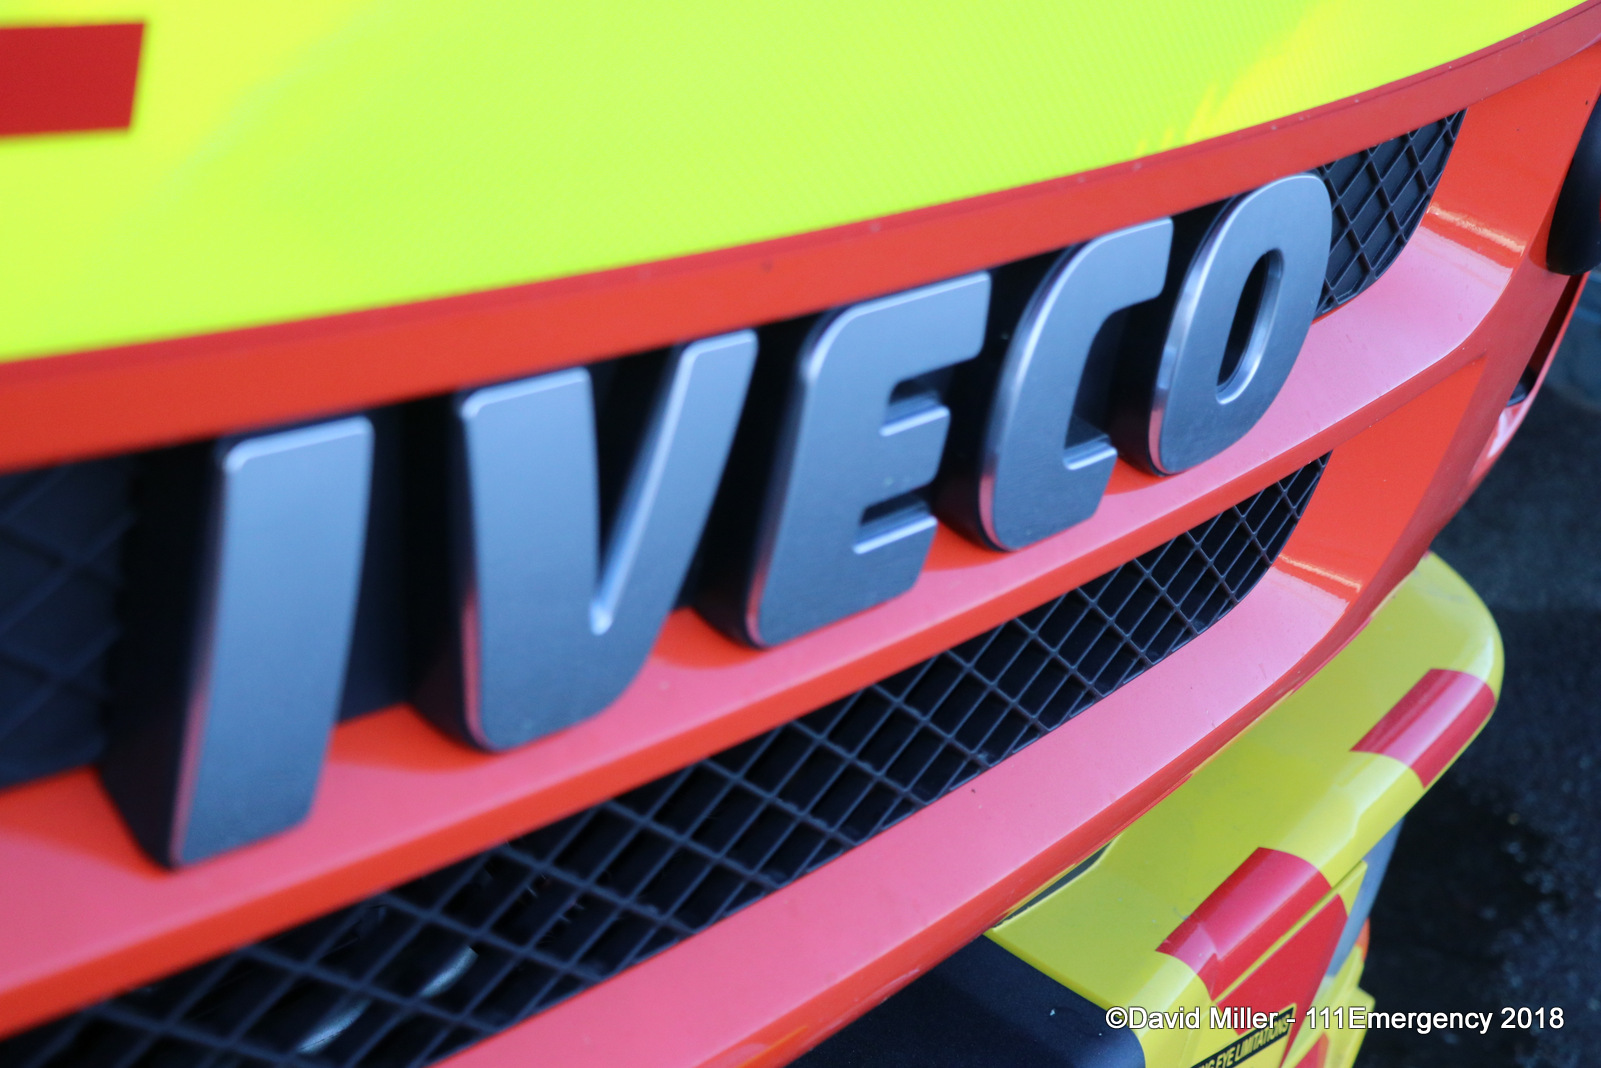
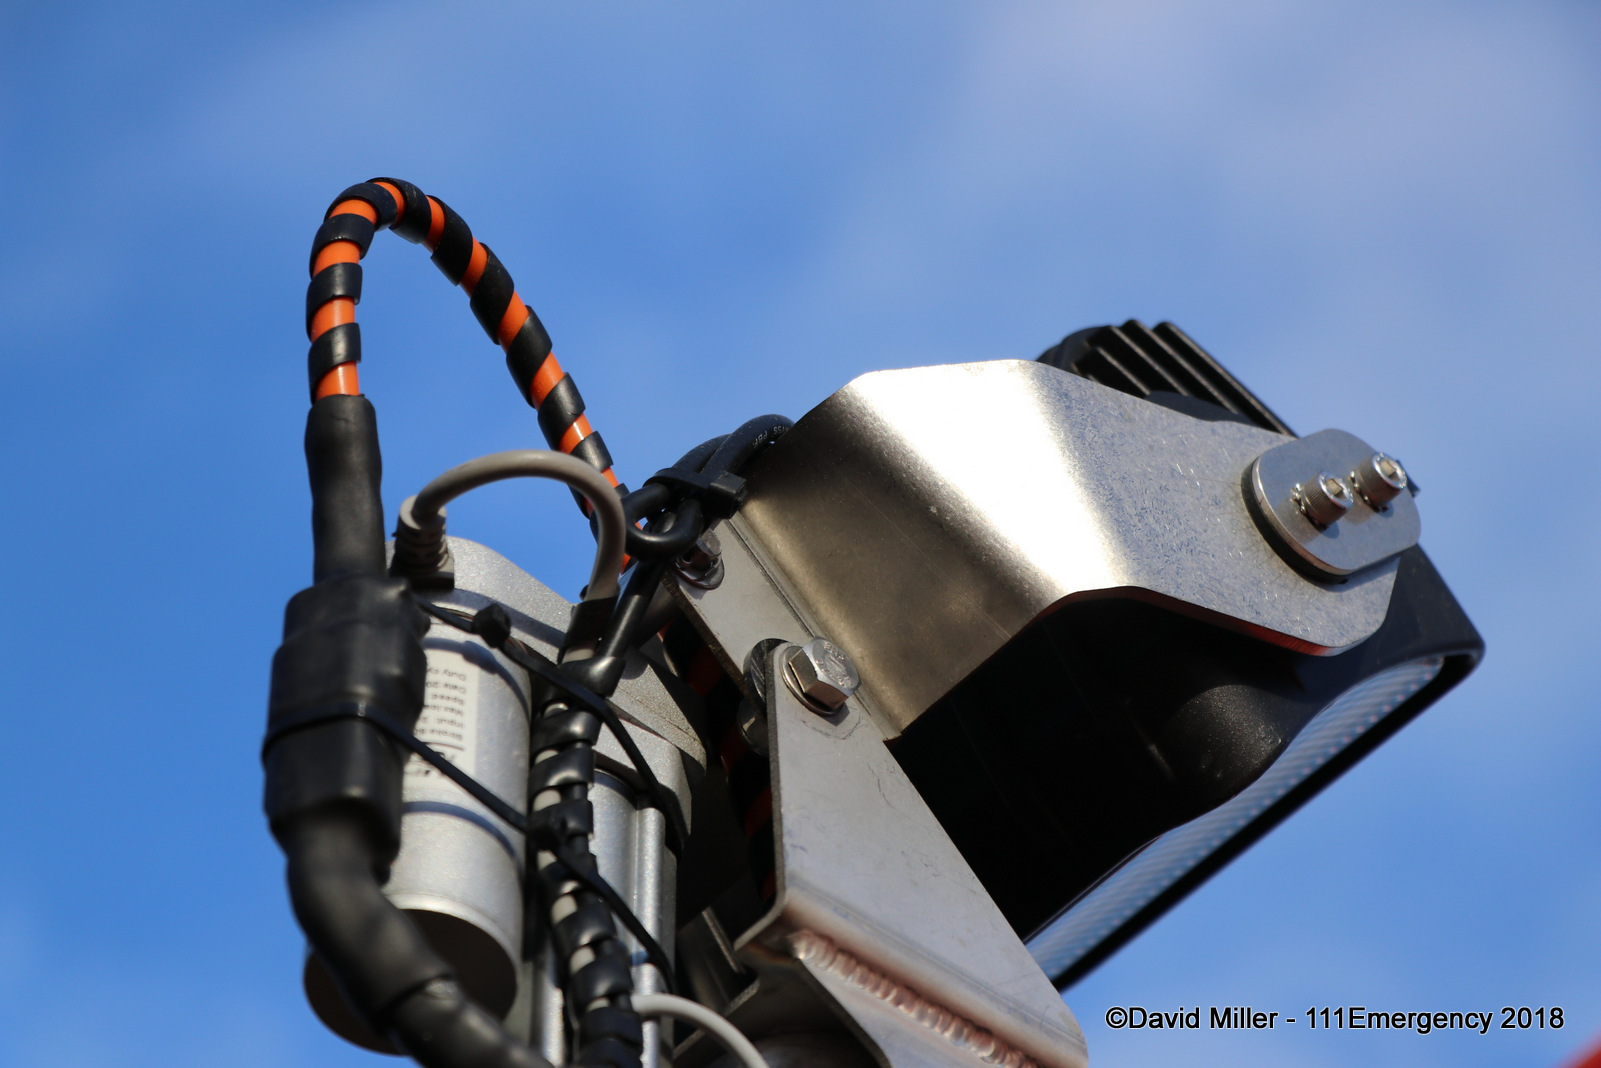
2018 Iveco EuroCargo ML100 E22 D/P
LLC 73
 |
 |
 |
 |
 |
 |
 |
 |
 |
 |
 |
 |
| Photo by David Miller | Photo by David Miller | Photo by David Miller |
 |
 |
 |
| Photo by David Miller | Photo by David Miller | Photo by David Miller |
 |
 |
 |
| Photo by David Miller | Photo by David Miller | Photo by David Miller |
 |
 |
 |
| Photo by David Miller | Photo by David Miller | Photo by David Miller |
 |
 |
 |
| Photo by David Miller | Photo by David Miller | Photo by David Miller |
 |
 |
 |
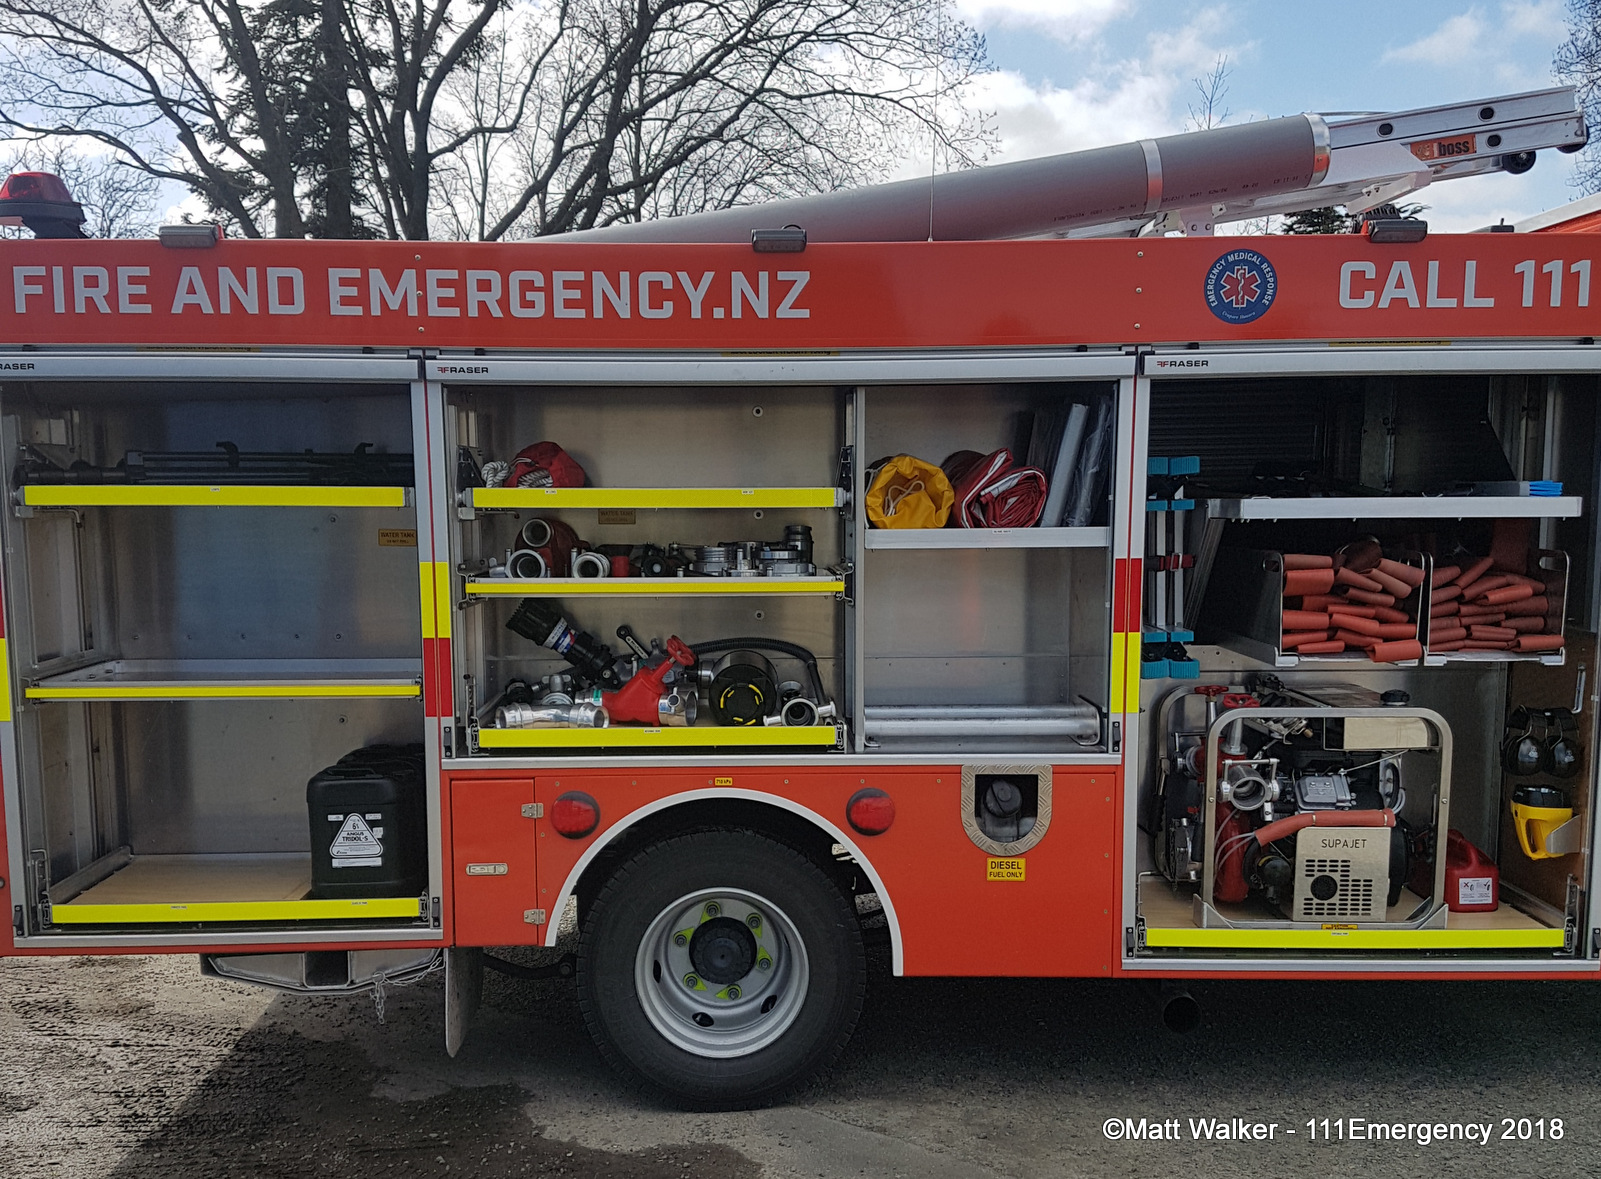
| Photo by David Miller | Photo by Matt Walker | Photo by Matt Walker |
 |
 |
 |
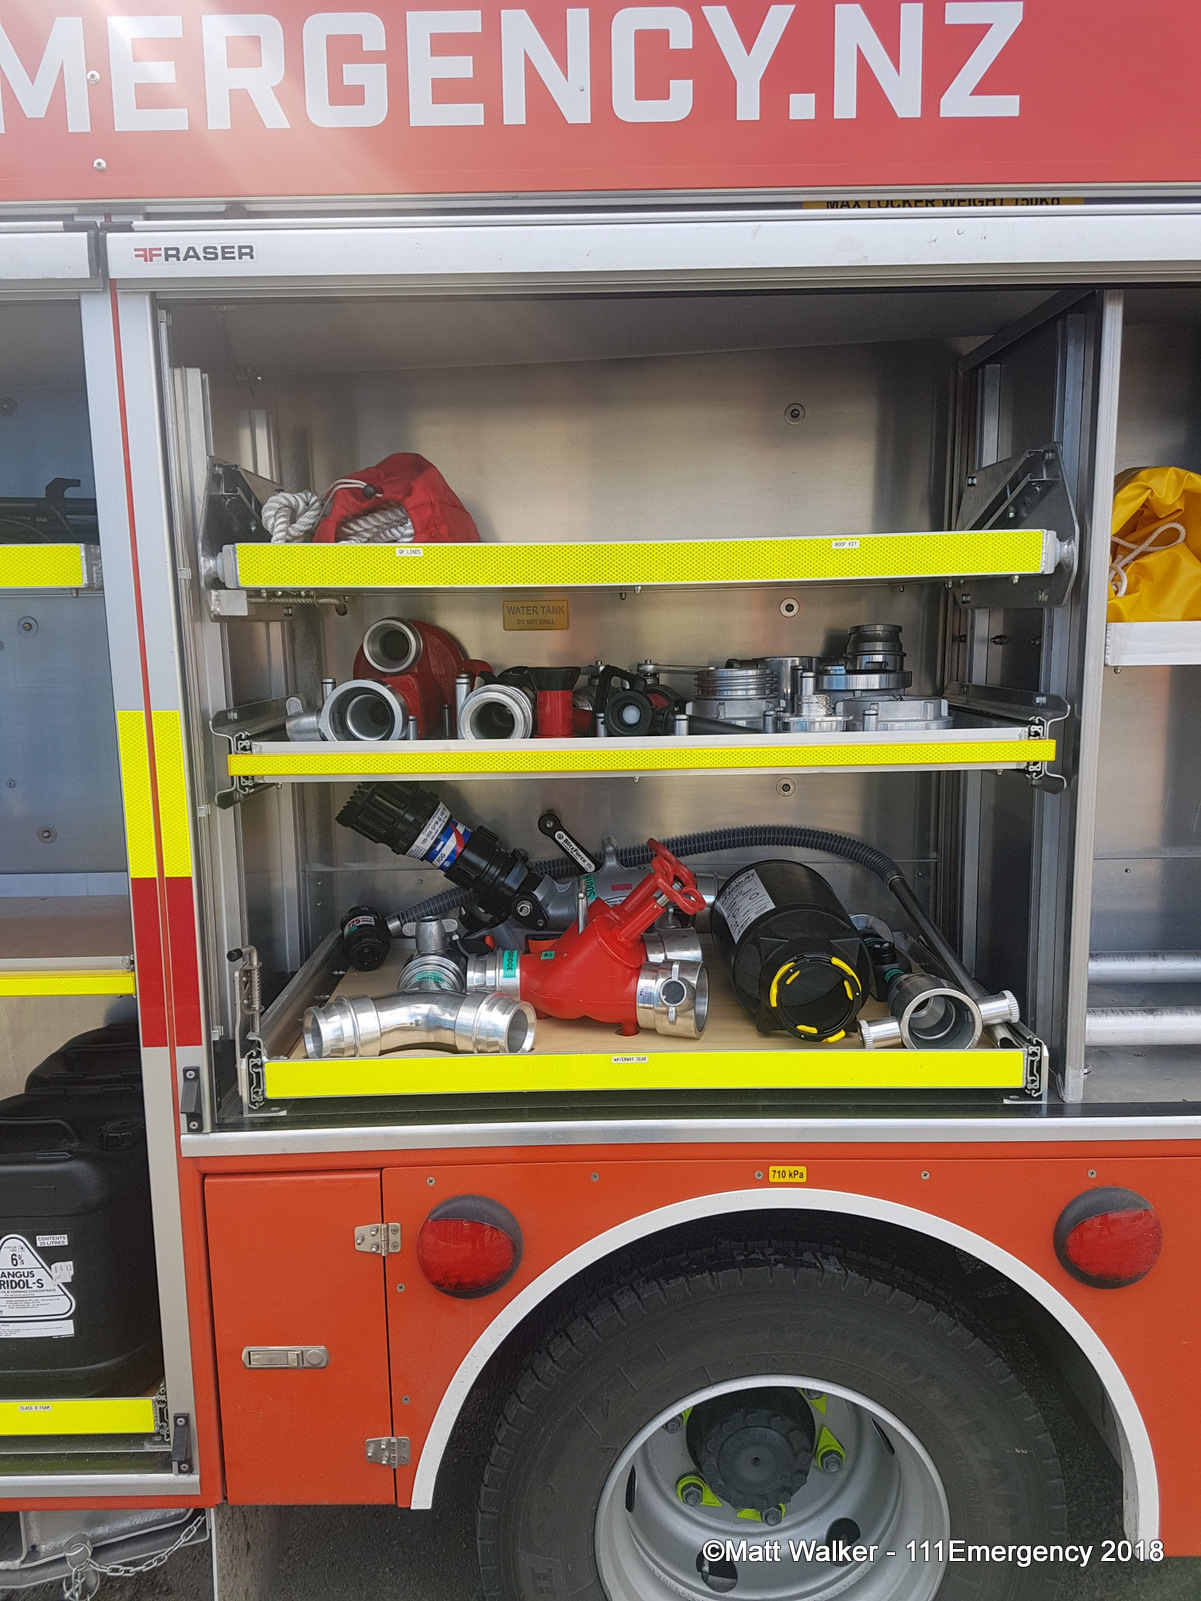
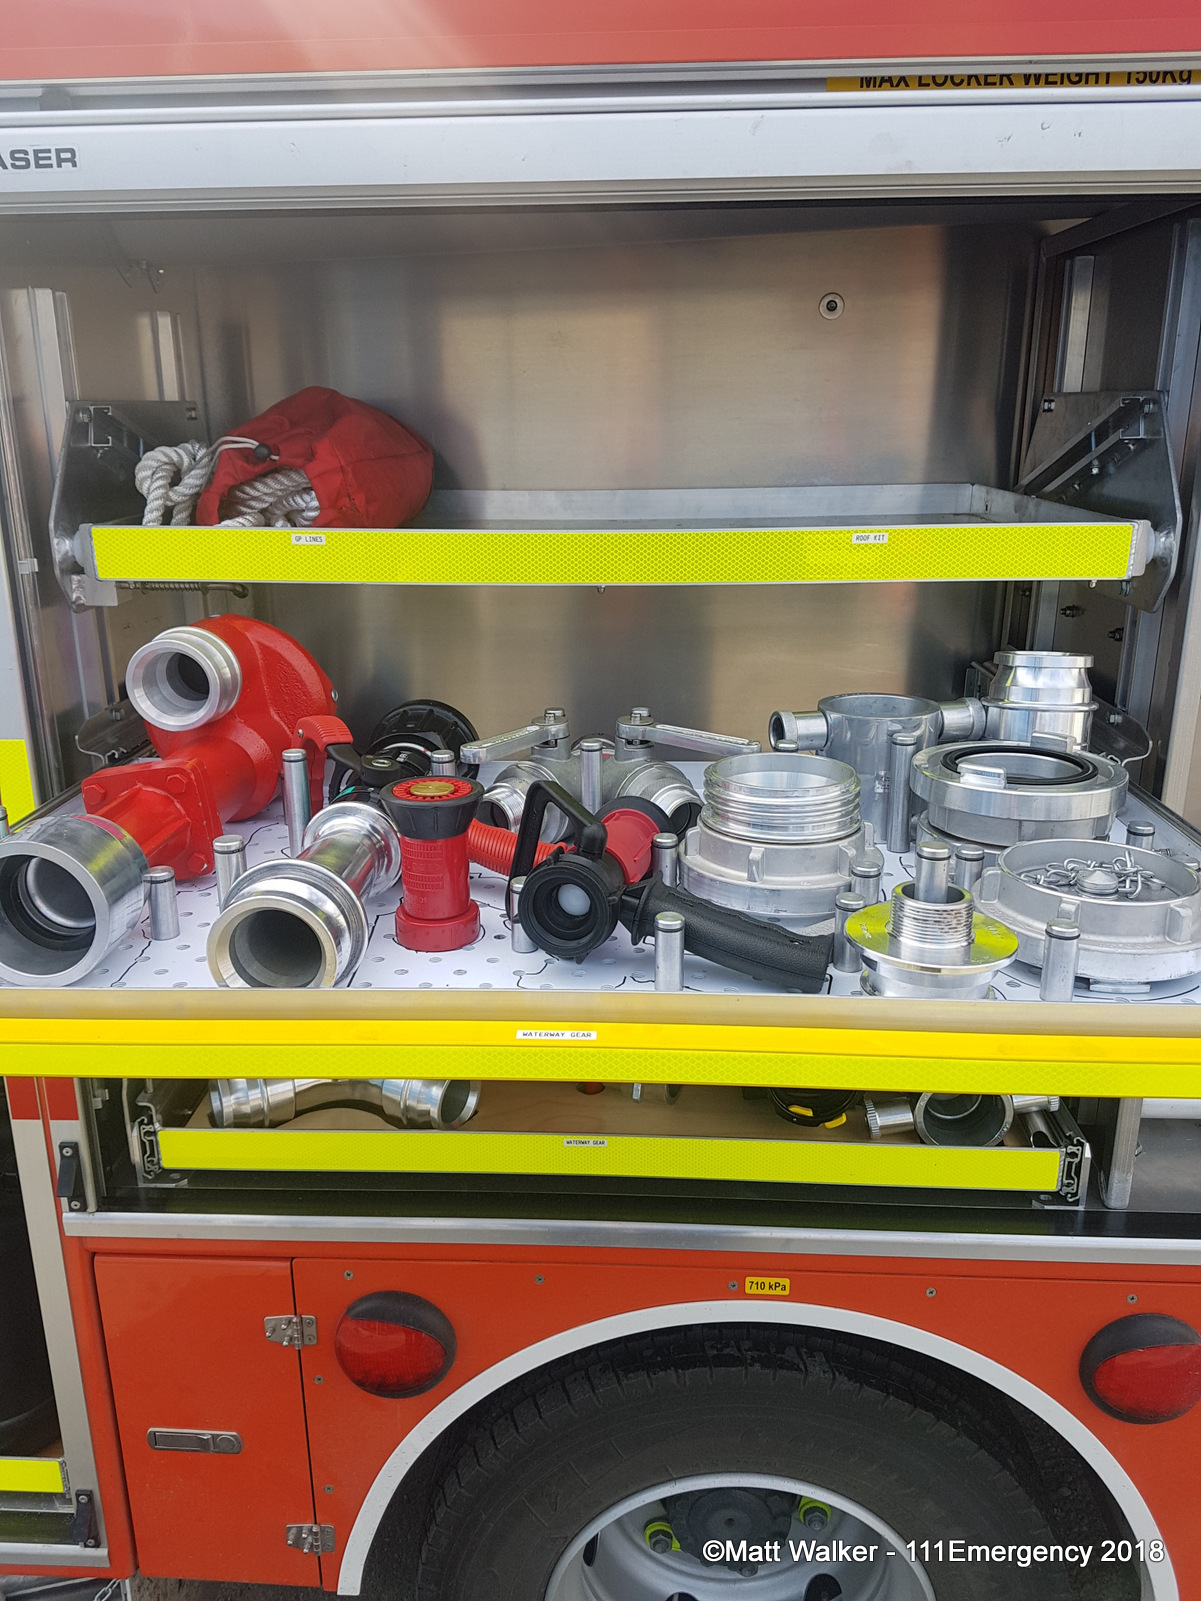
| Photo by Matt Walker | Photo by Matt Walker | Photo by Matt Walker |
 |
 |
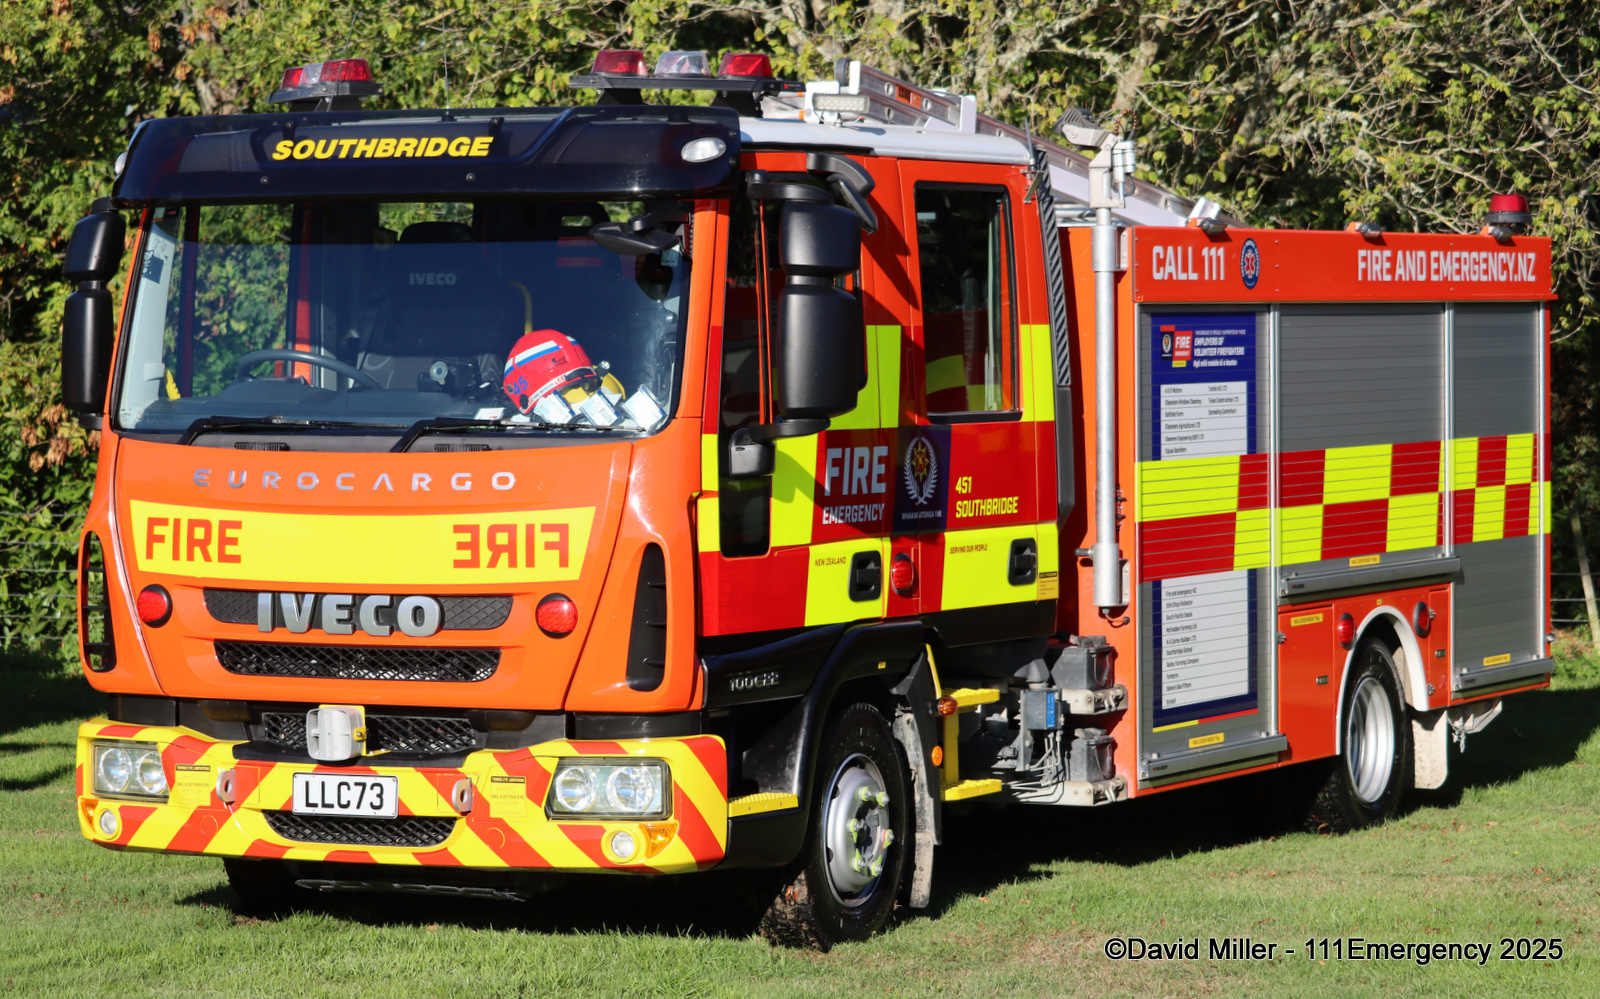 |
| Photo by Matt Walker | Photo by Matt Walker | Photo by David Miller |

© All photos / videos remain the property of the original photographer. Do not use them elsewhere without their written permission.