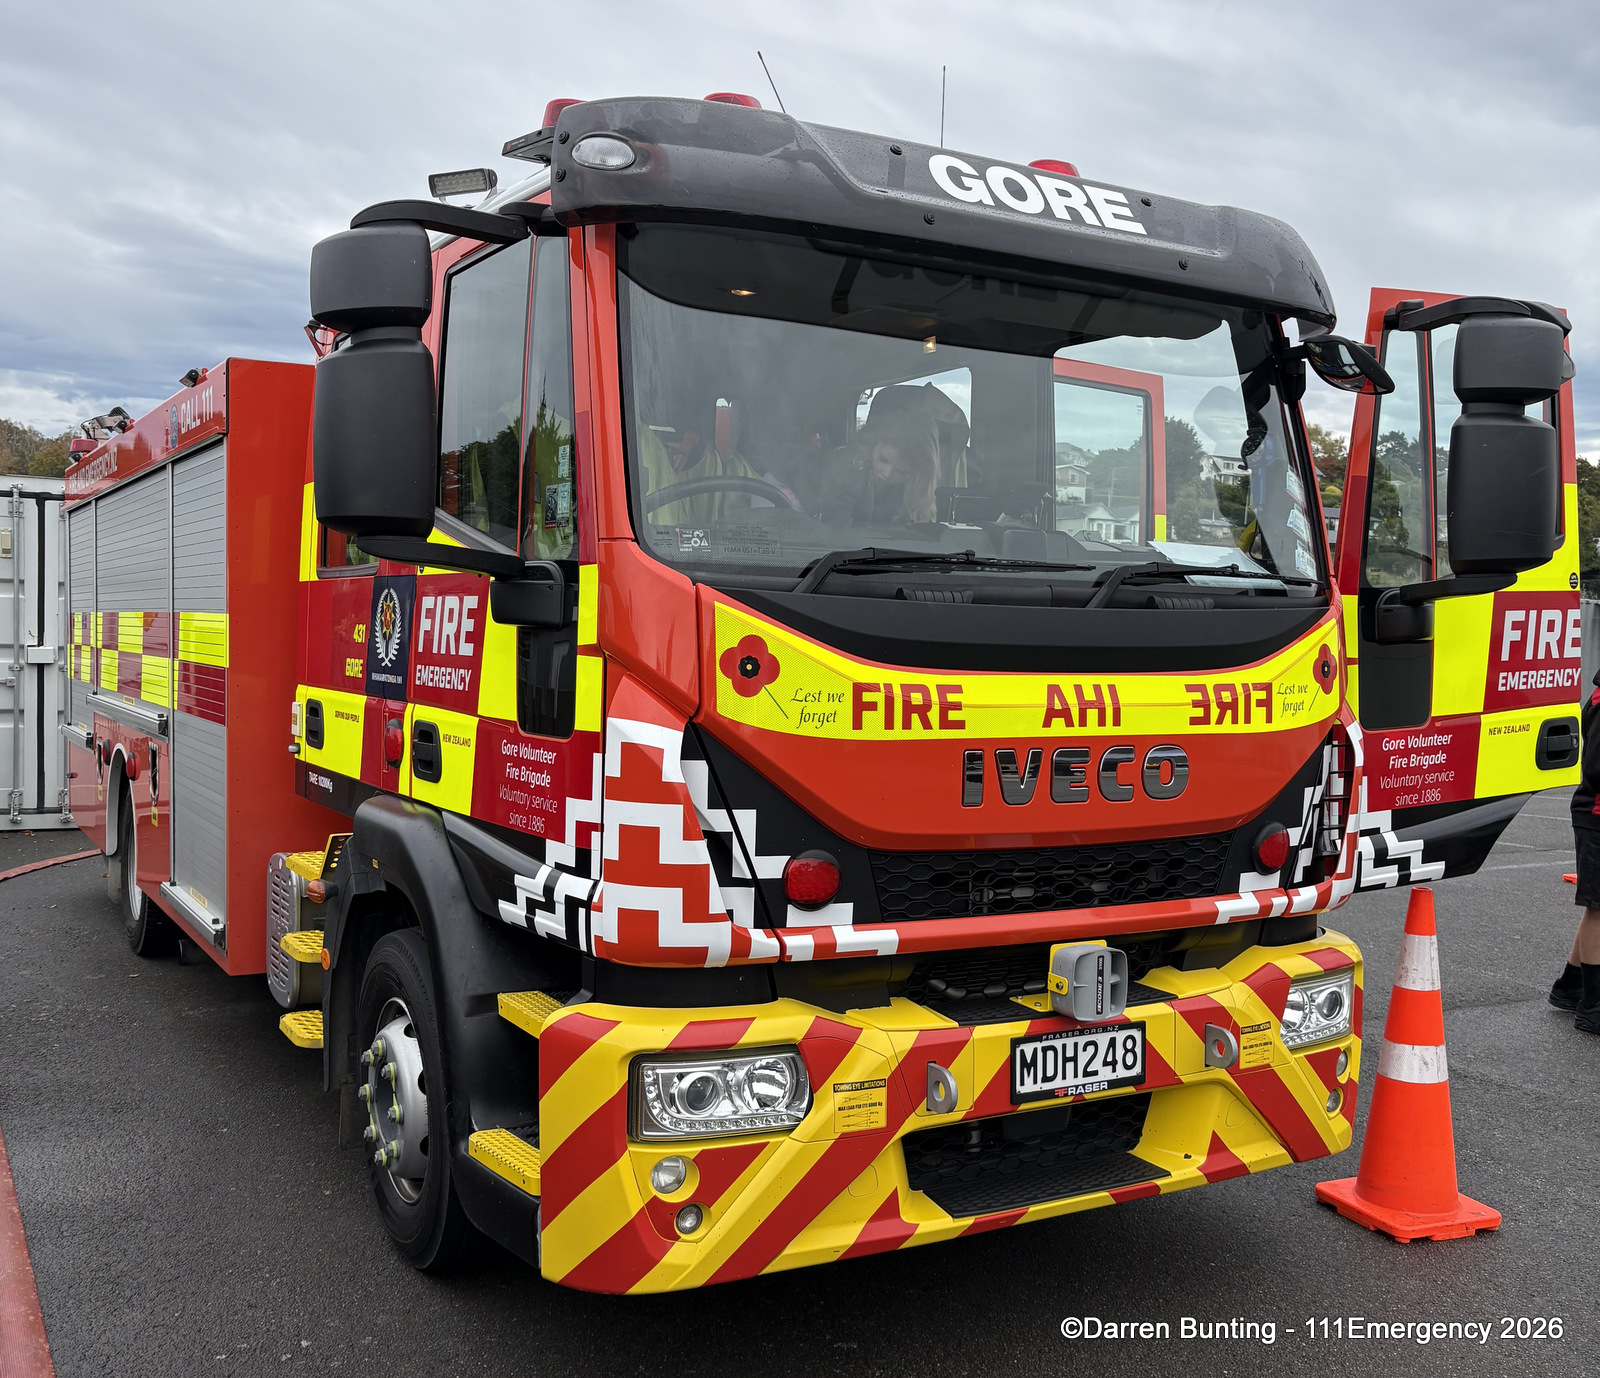
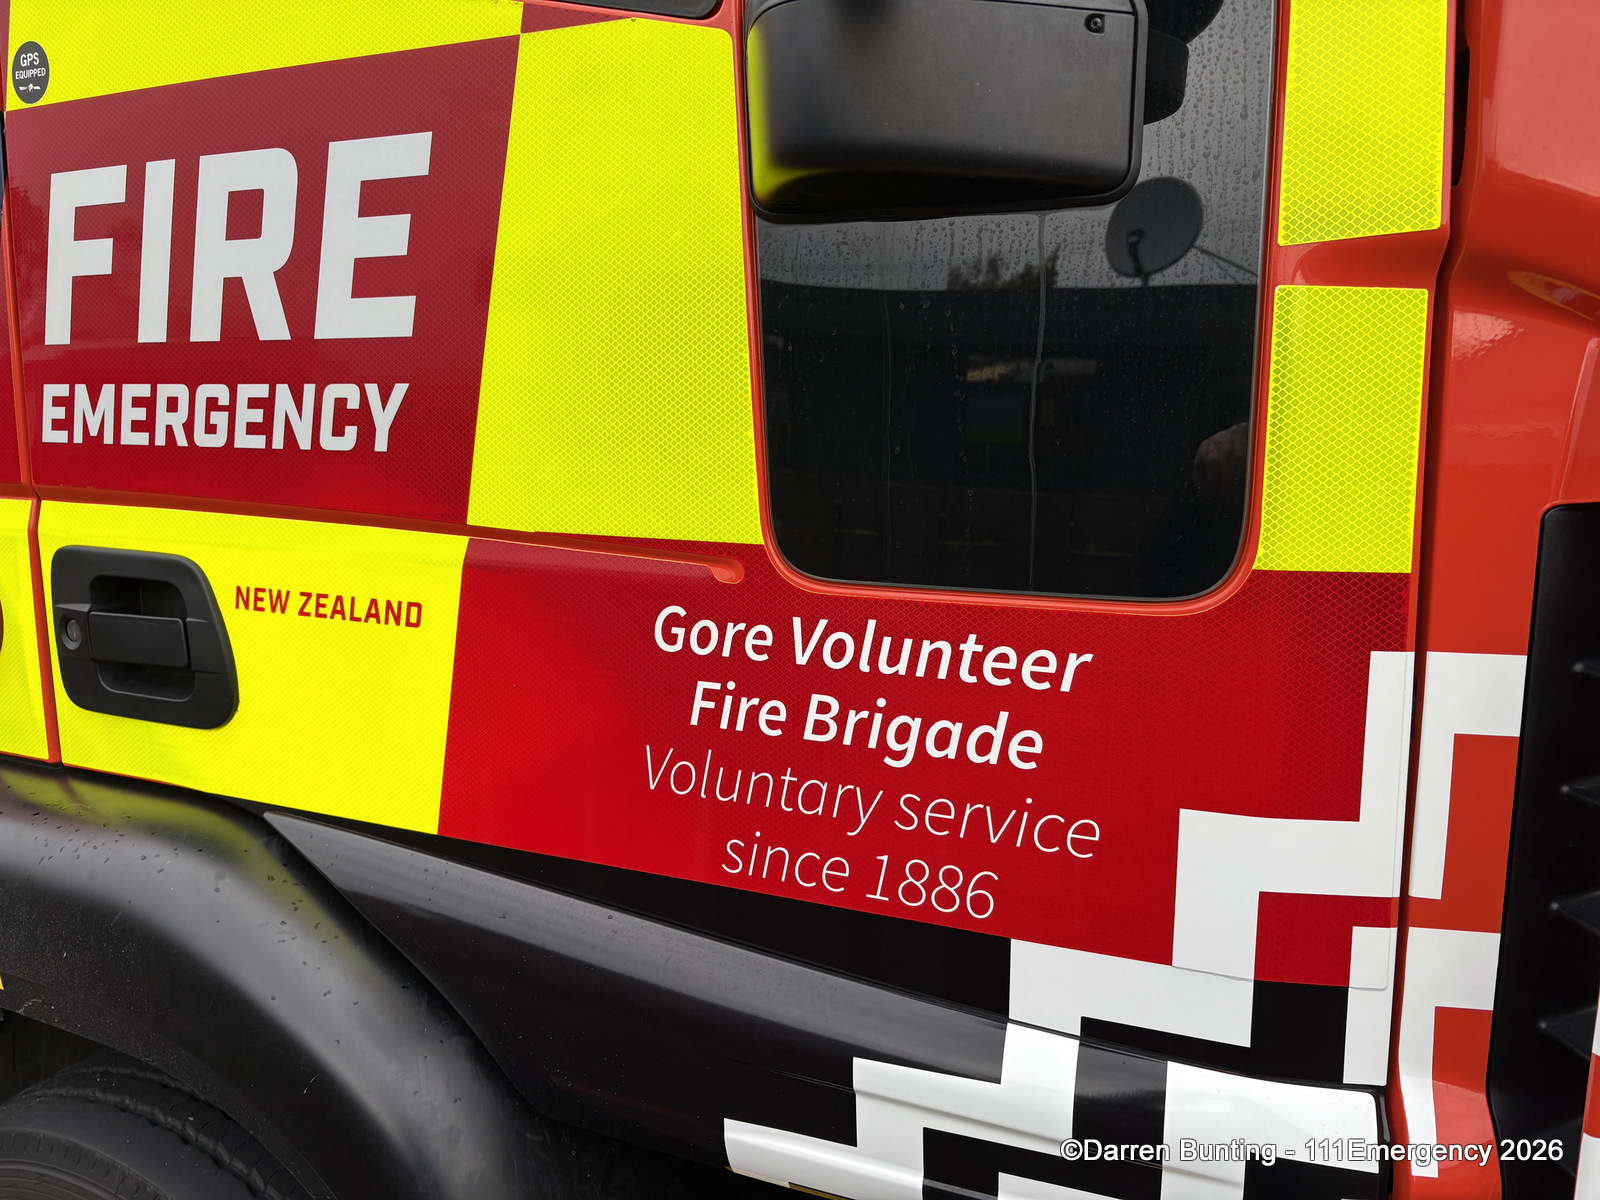
GORE 431
2019 Iveco EuroCargo ML120 E25 D/P
MDH 248
 |
 |
 |
 |
 |
 |
 |
 |
 |
| Photo by Lindsay Young | Photo by Lindsay Young | Photo by Lindsay Young |
 |
 |
 |
| Photo by Lindsay Young | Photo by Scott Lanauze | Photo by Scott Lanauze |
 |
 |
 |
| Photo by Scott Lanauze | Photo by Scott Lanauze | Photo by Scott Lanauze |
 |
 |
 |
| Photo by Scott Lanauze | Photo by Scott Lanauze | Photo by Scott Lanauze |
 |
 |
|
| Photo by Darren Bunting | Photo by Darren Bunting |
Return to Te Kei Fire Region page

© All photos / videos remain the property of the original photographer. Do not use them elsewhere without their written permission.