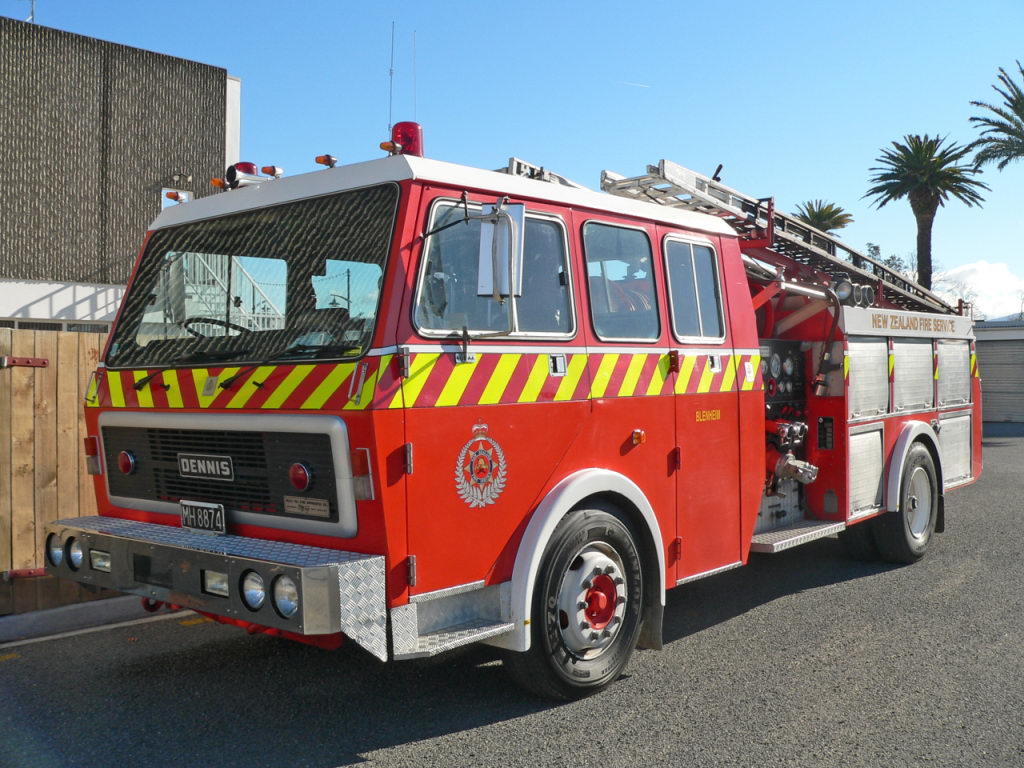
1985 DENNIS DF135
MH 8874
Ex. Nelson, Nelson Relief, Blenheim
Now at Ferrymead
 |
 |
 |
| Photo donated by Nigel White | Photo donated by Nigel White | |
 |
 |
 |
| Photo donated by Nigel White | Photo by David Miller | Photo by Rosina Palmer |
 |
 |
 |
 |
 |
 |
 |
 |
|

© All photos / videos remain the property of the original photographer. Do not use them elsewhere without their written permission.