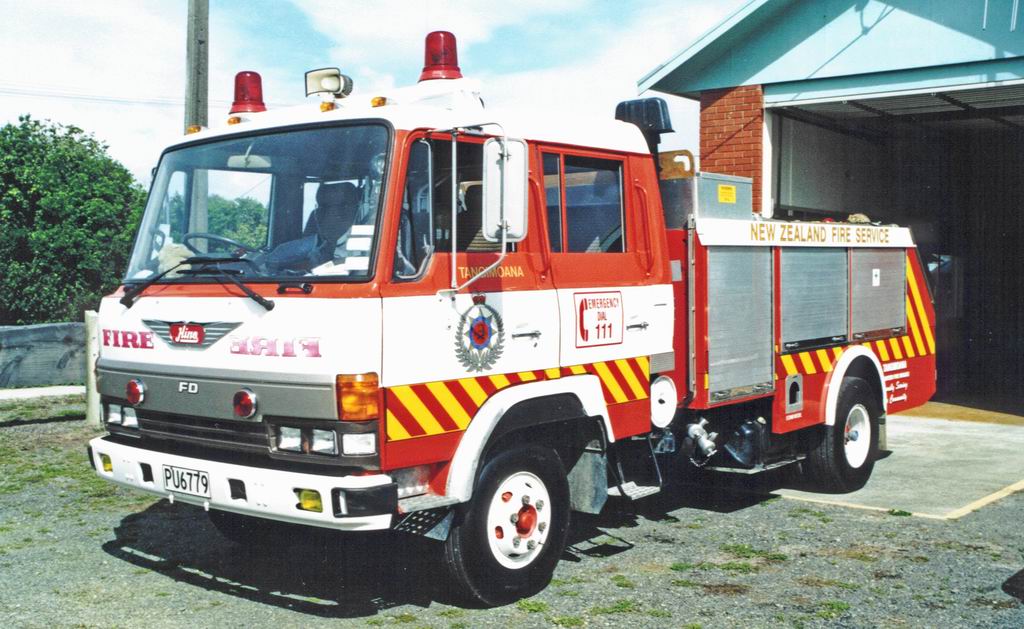
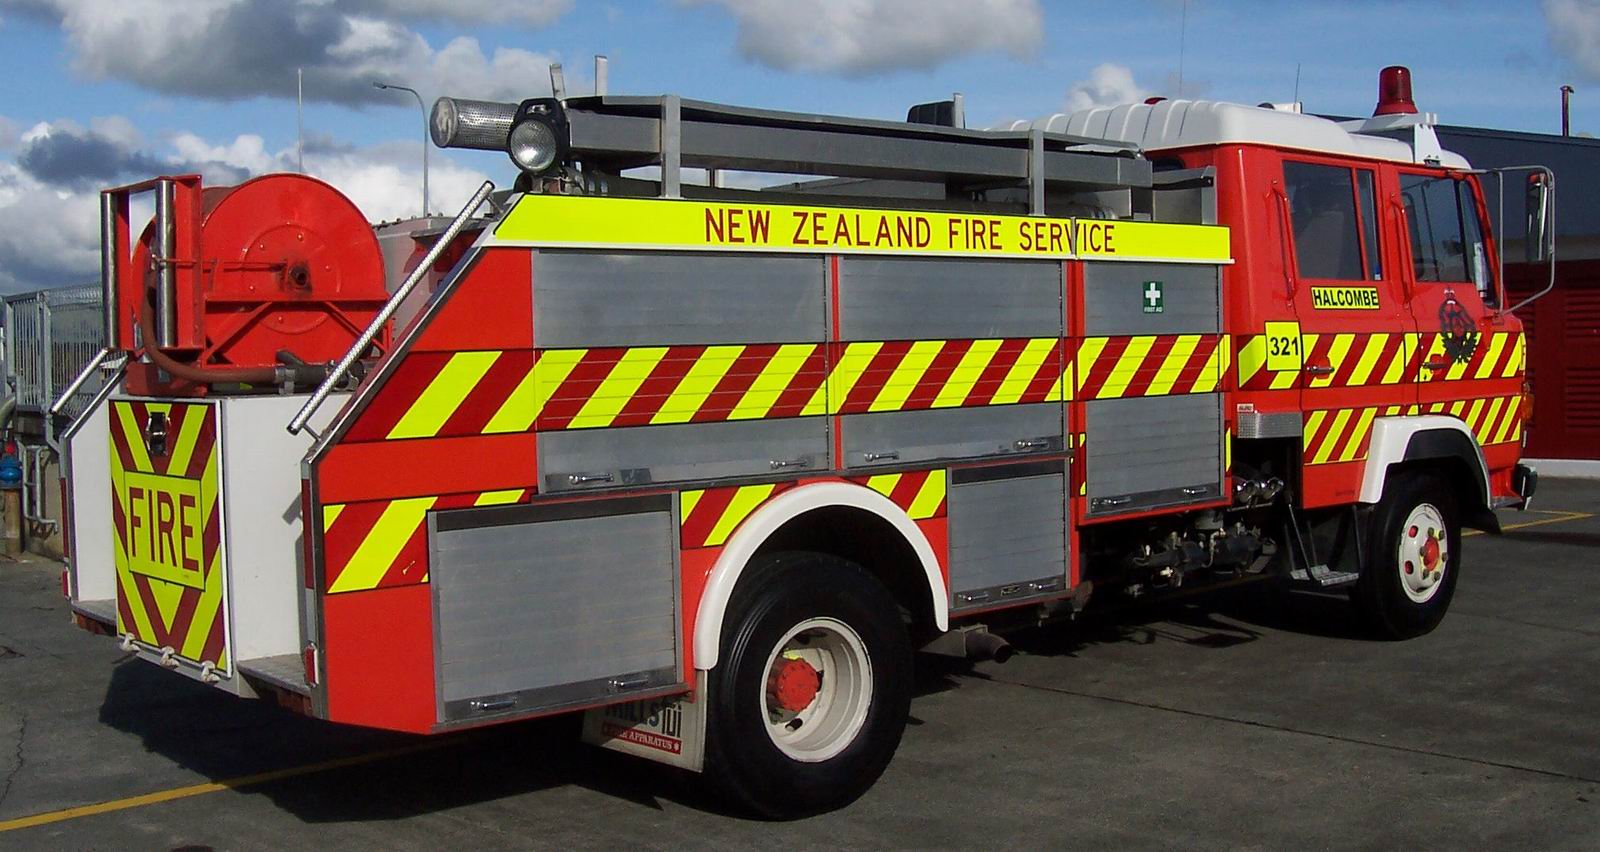
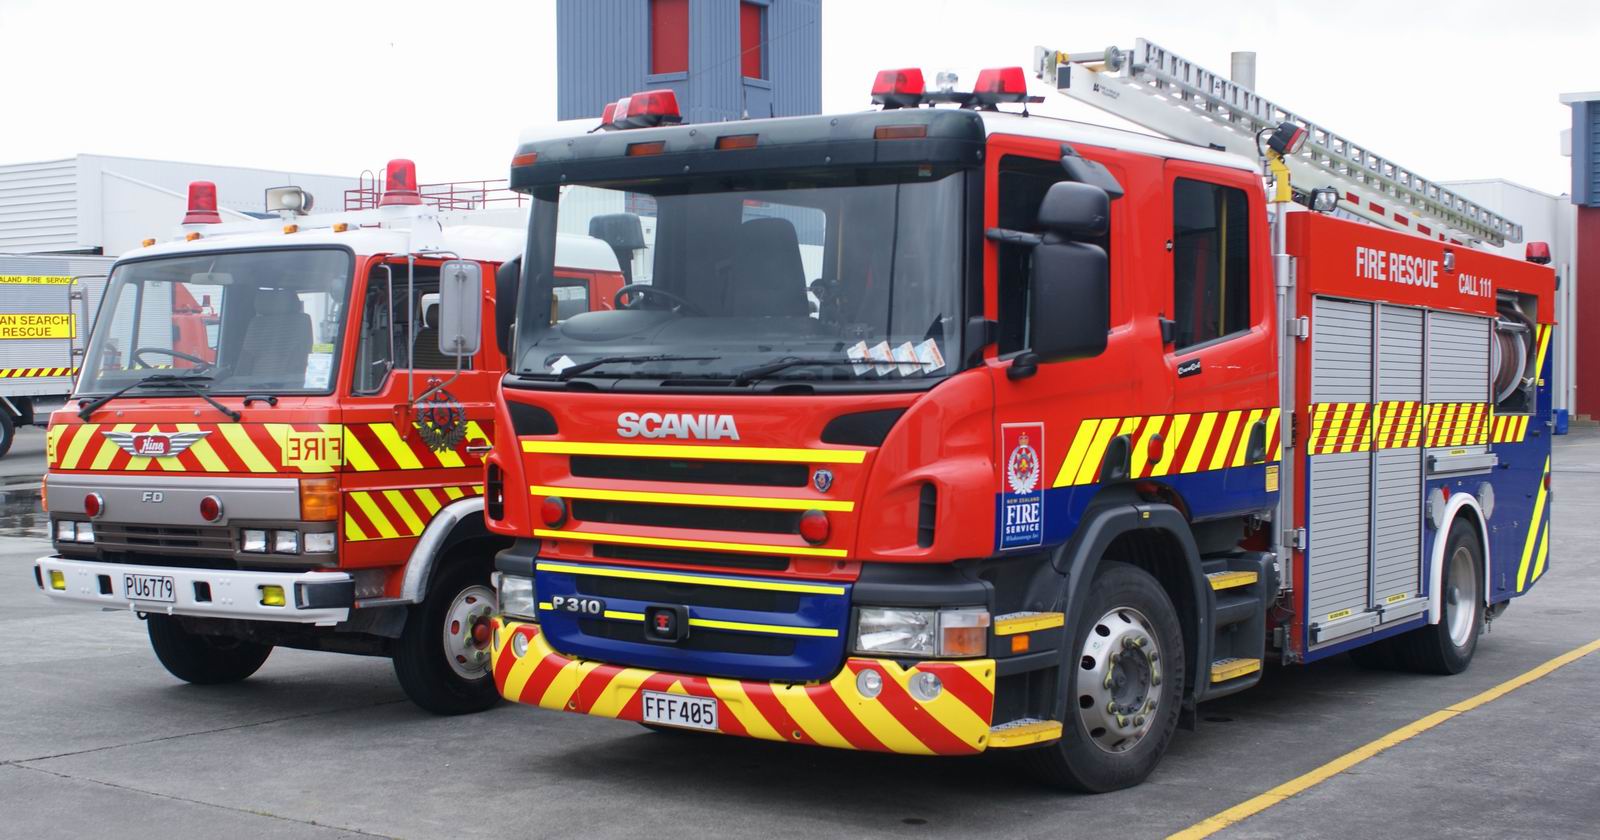
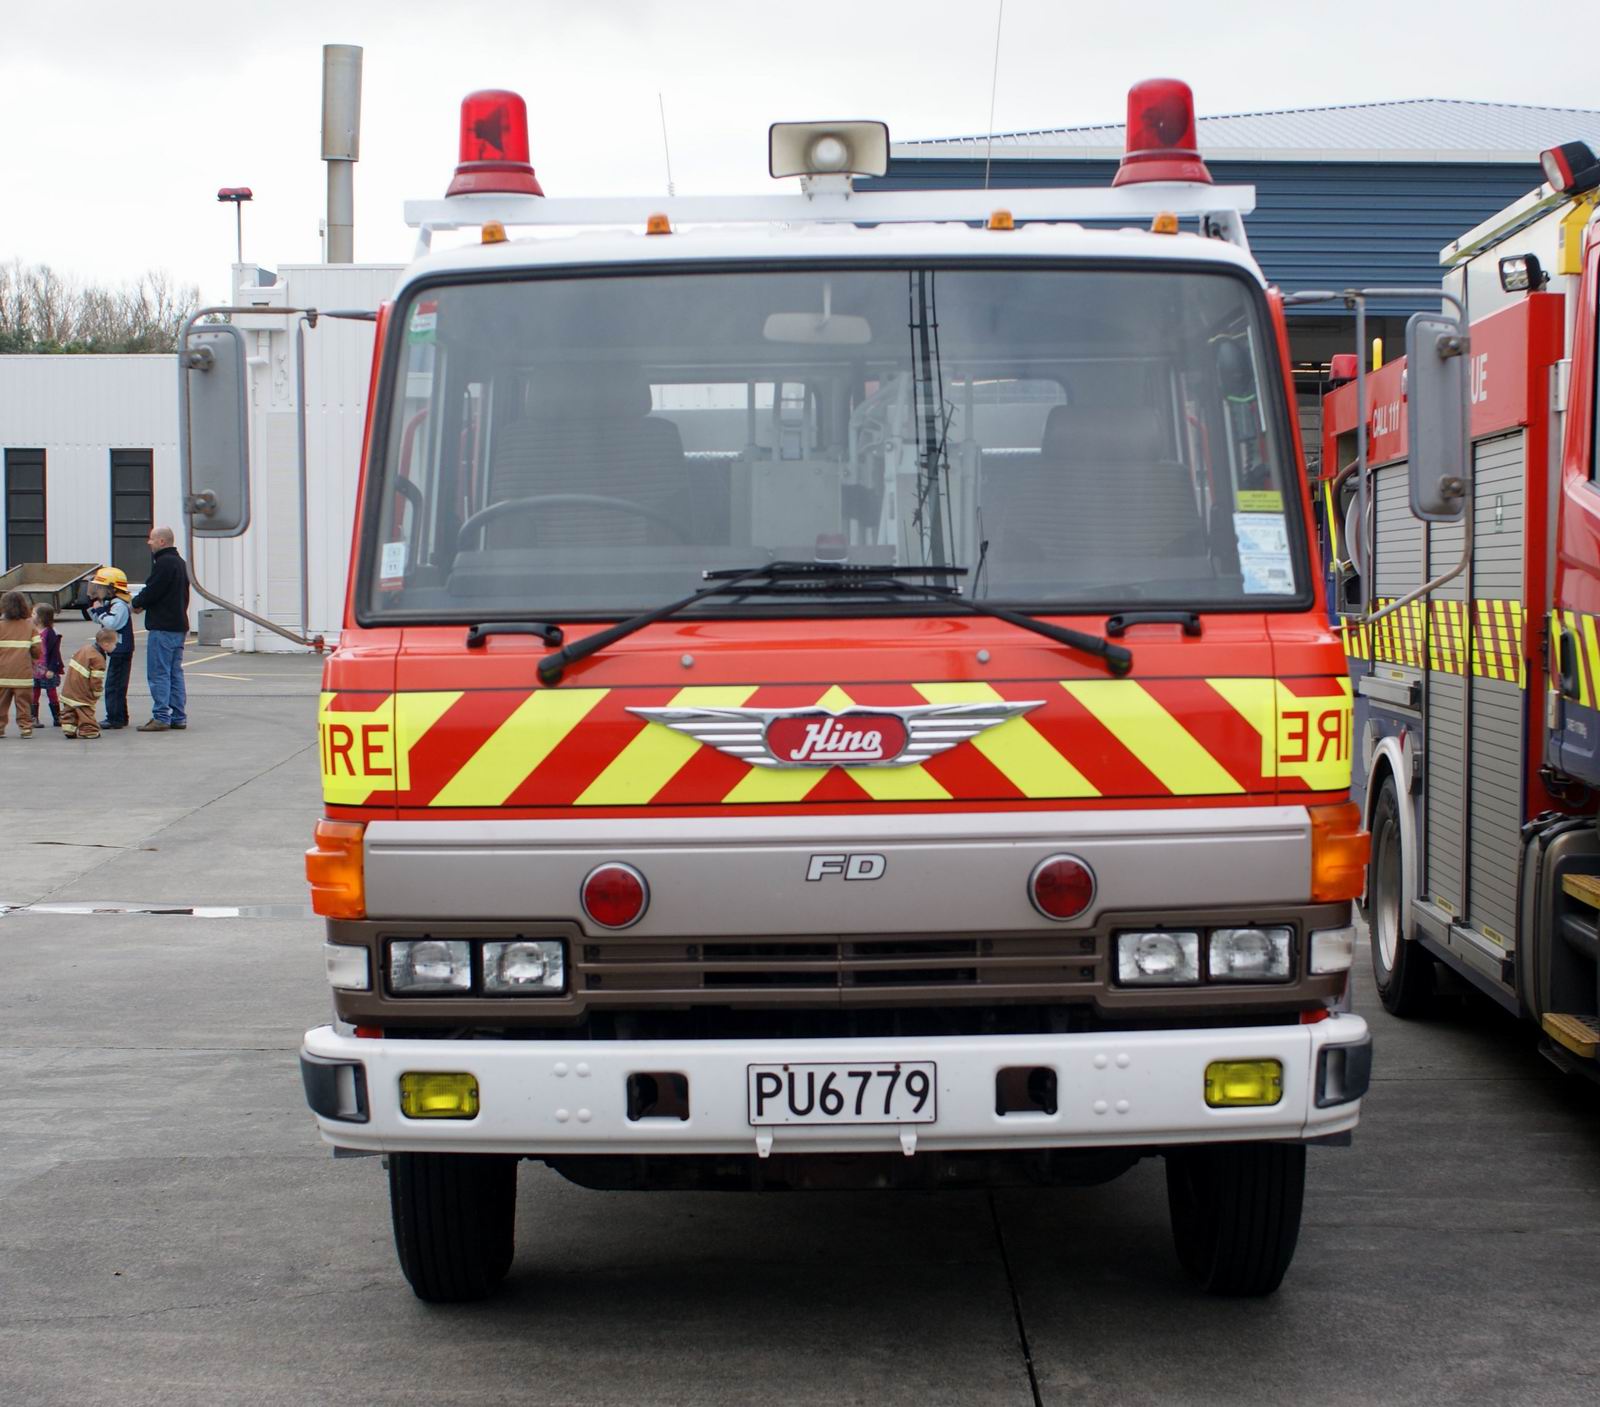
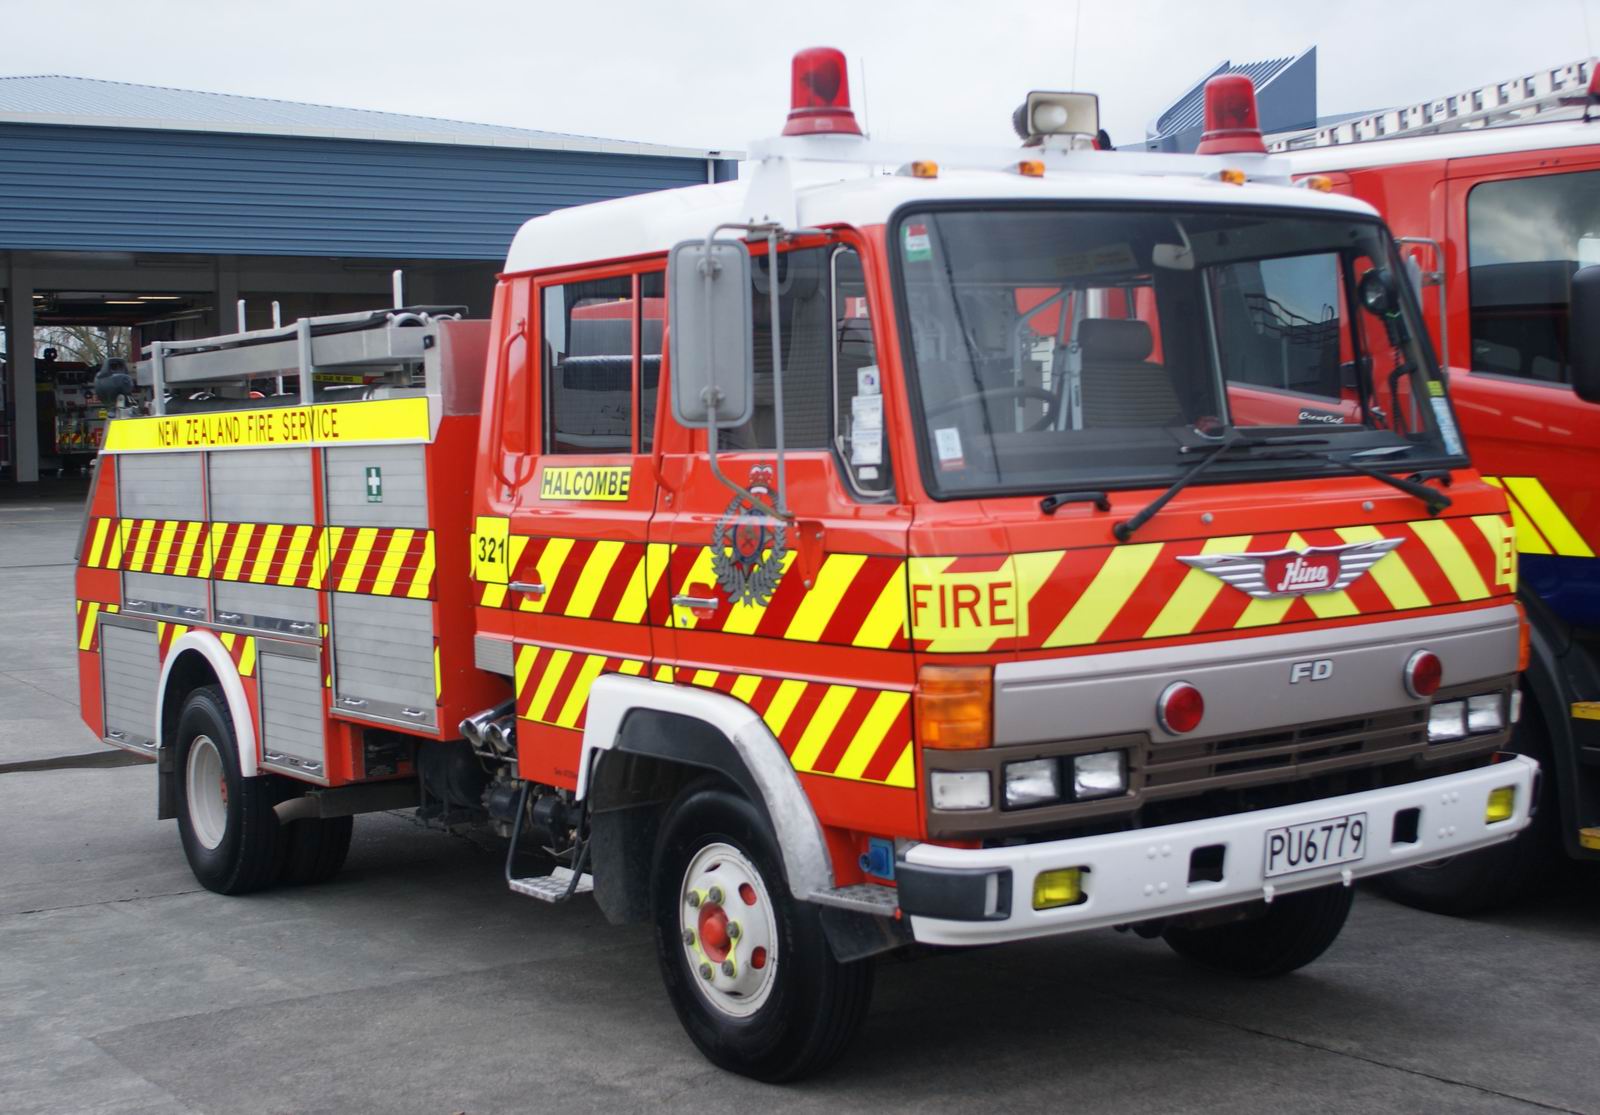
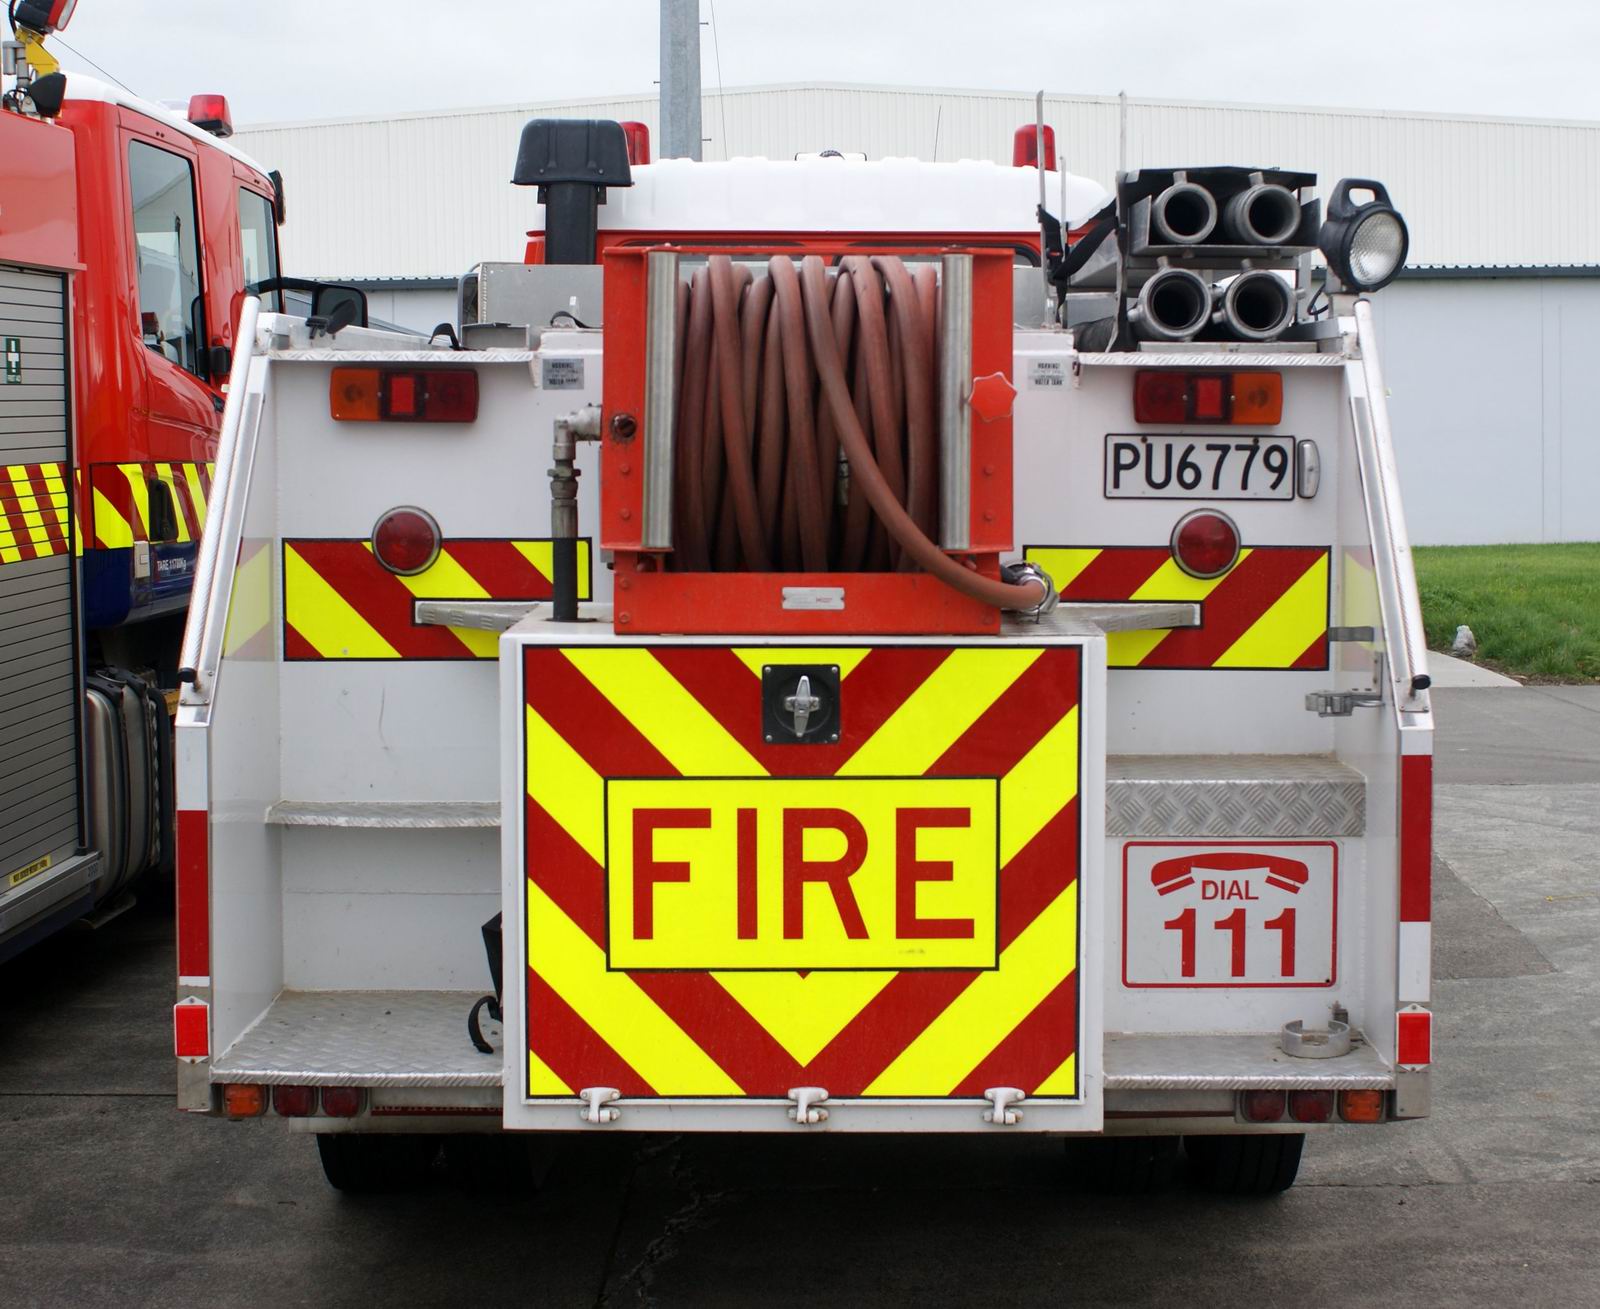
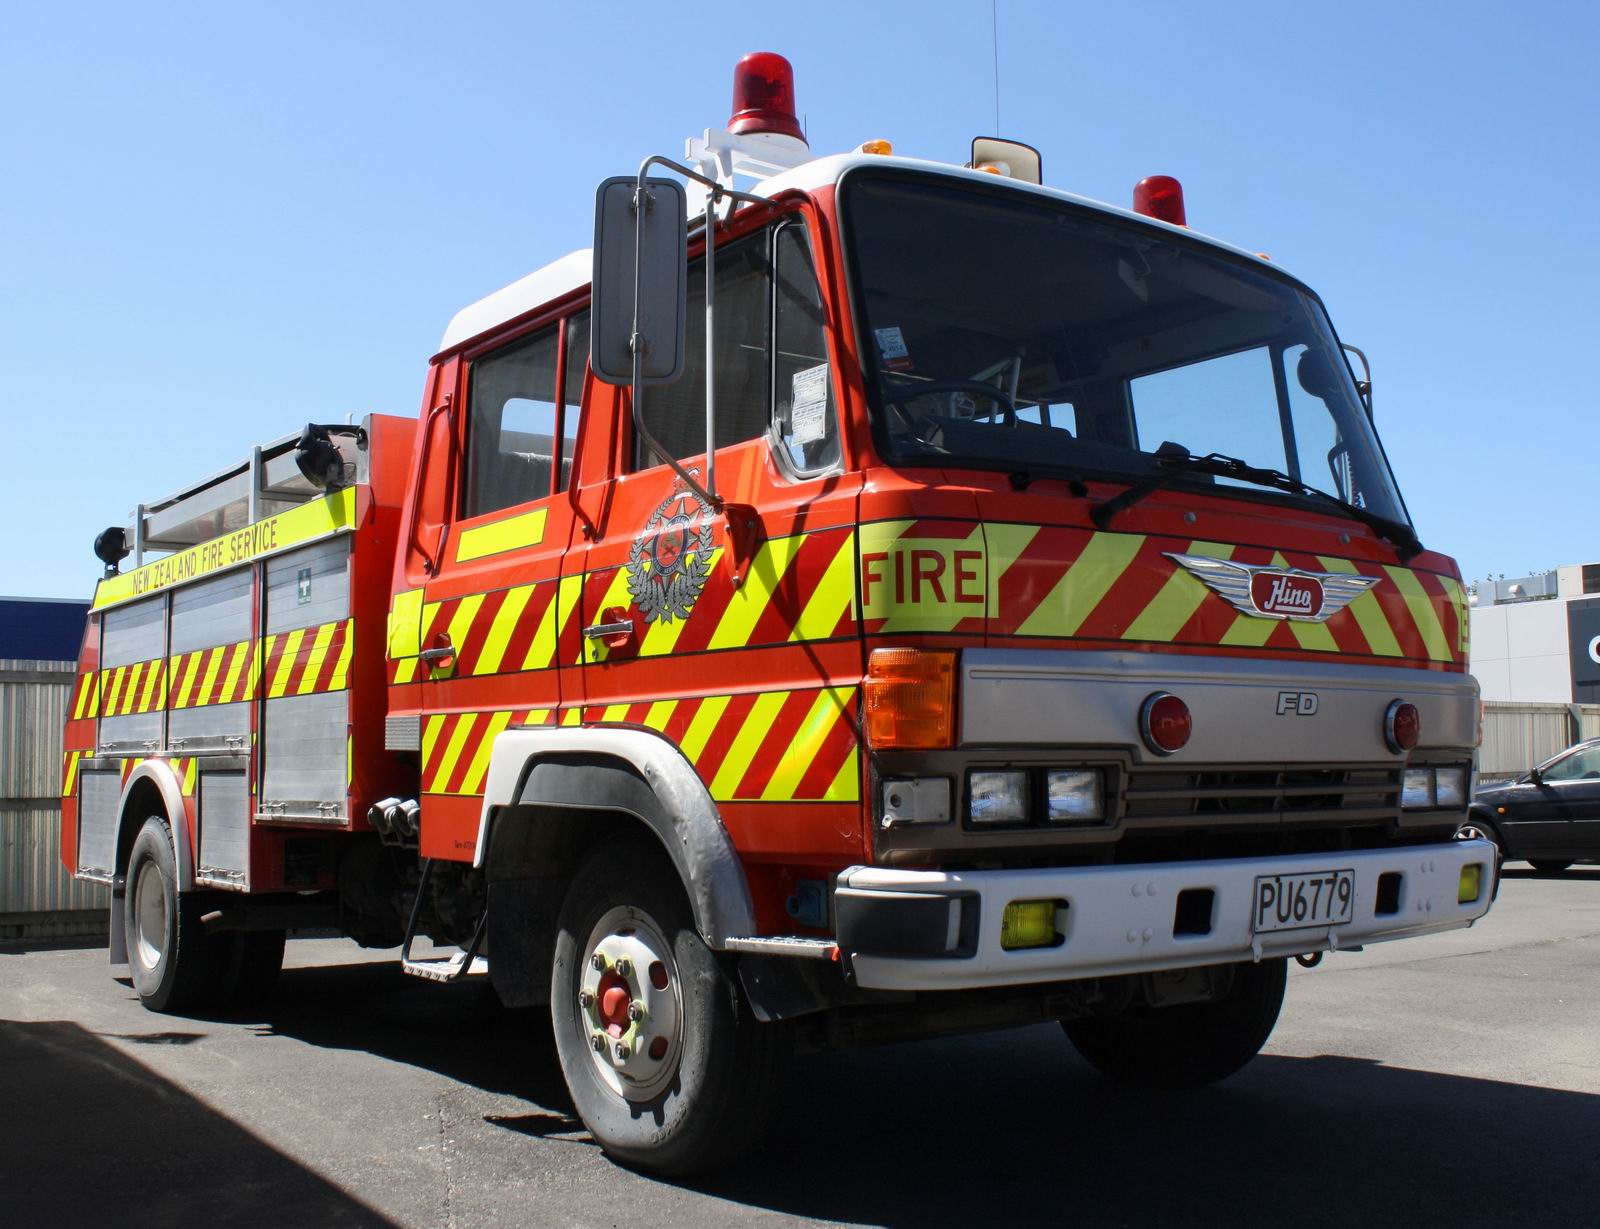
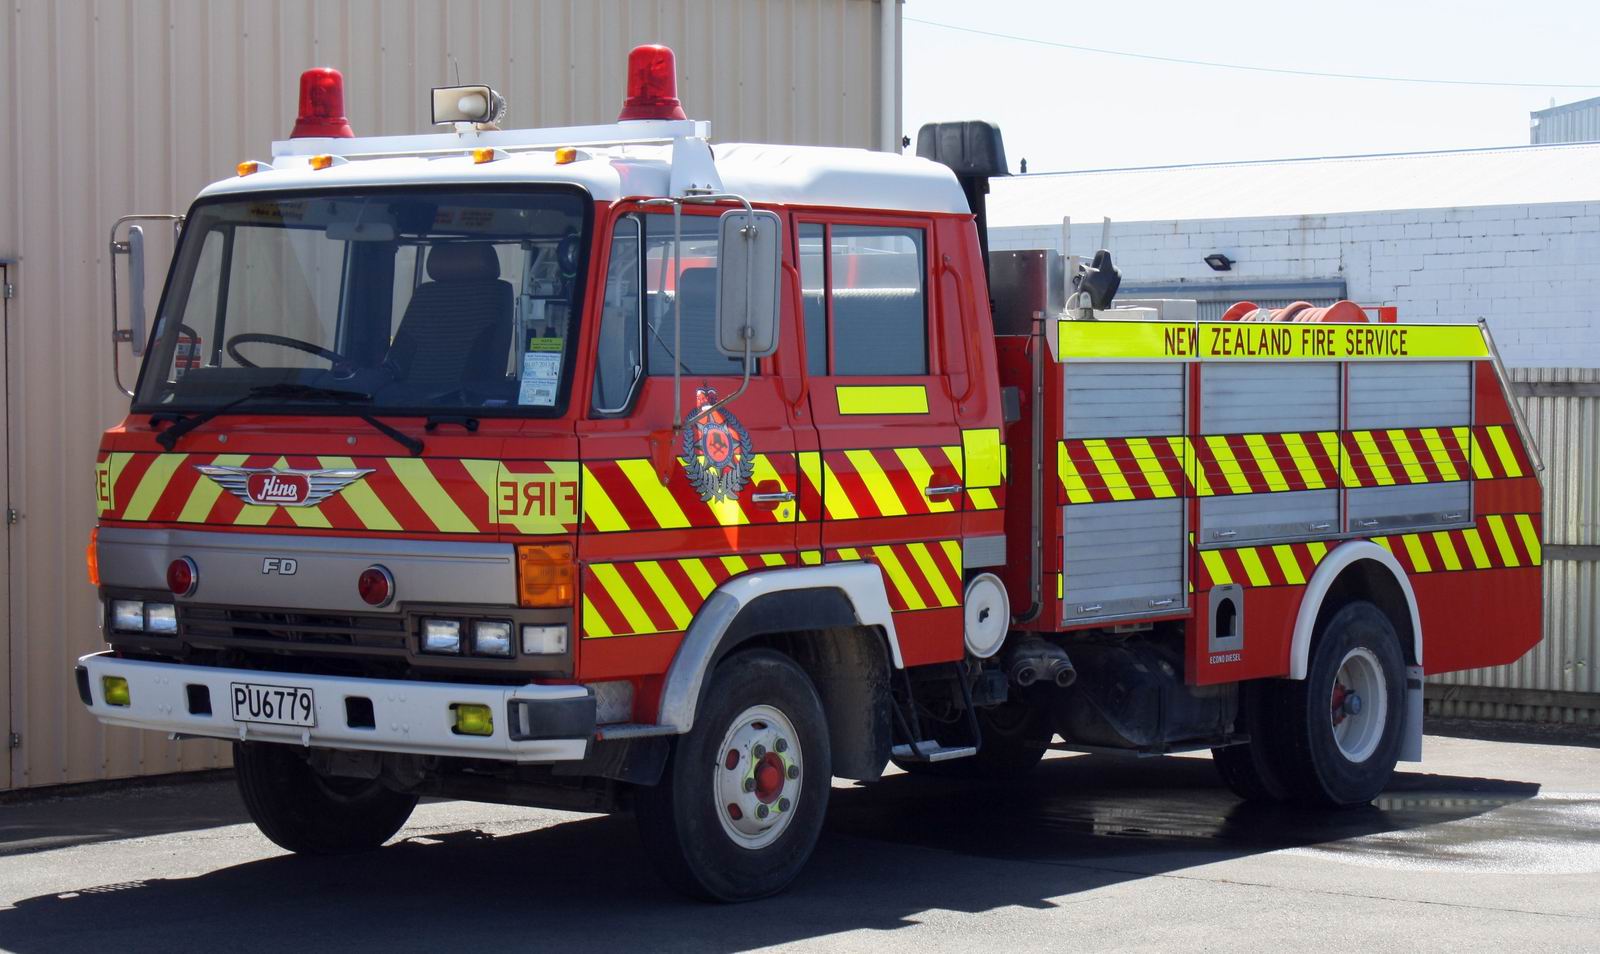
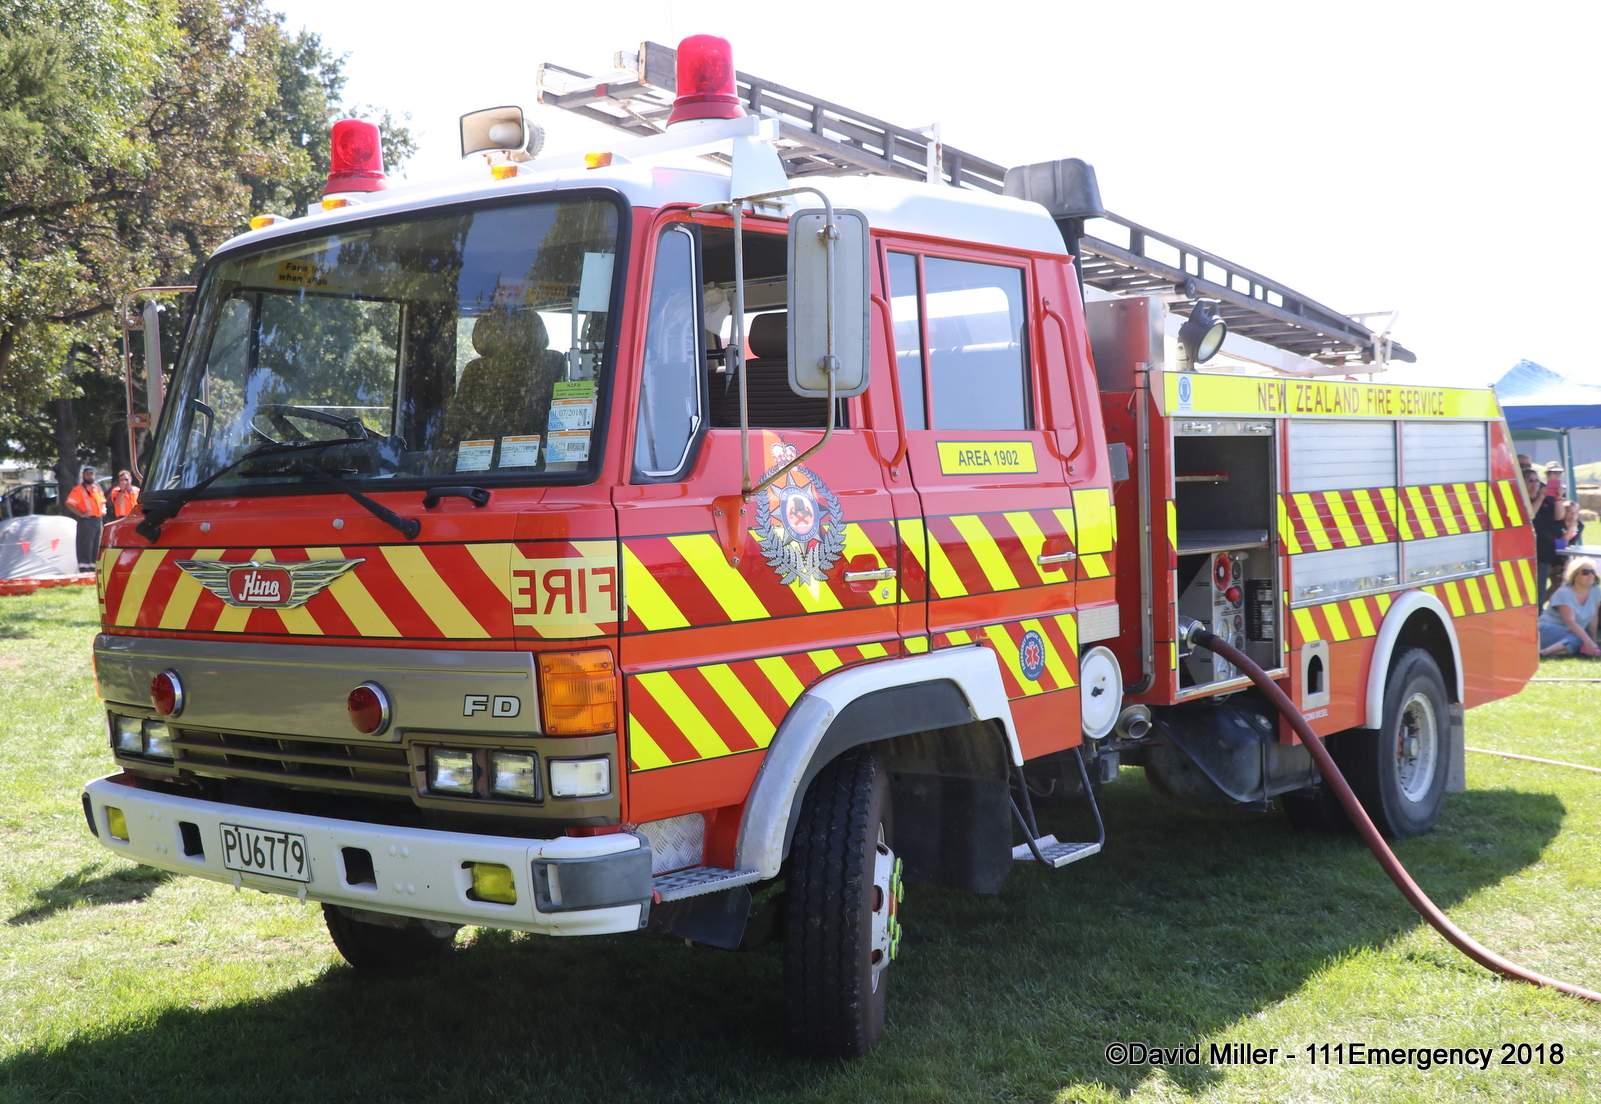
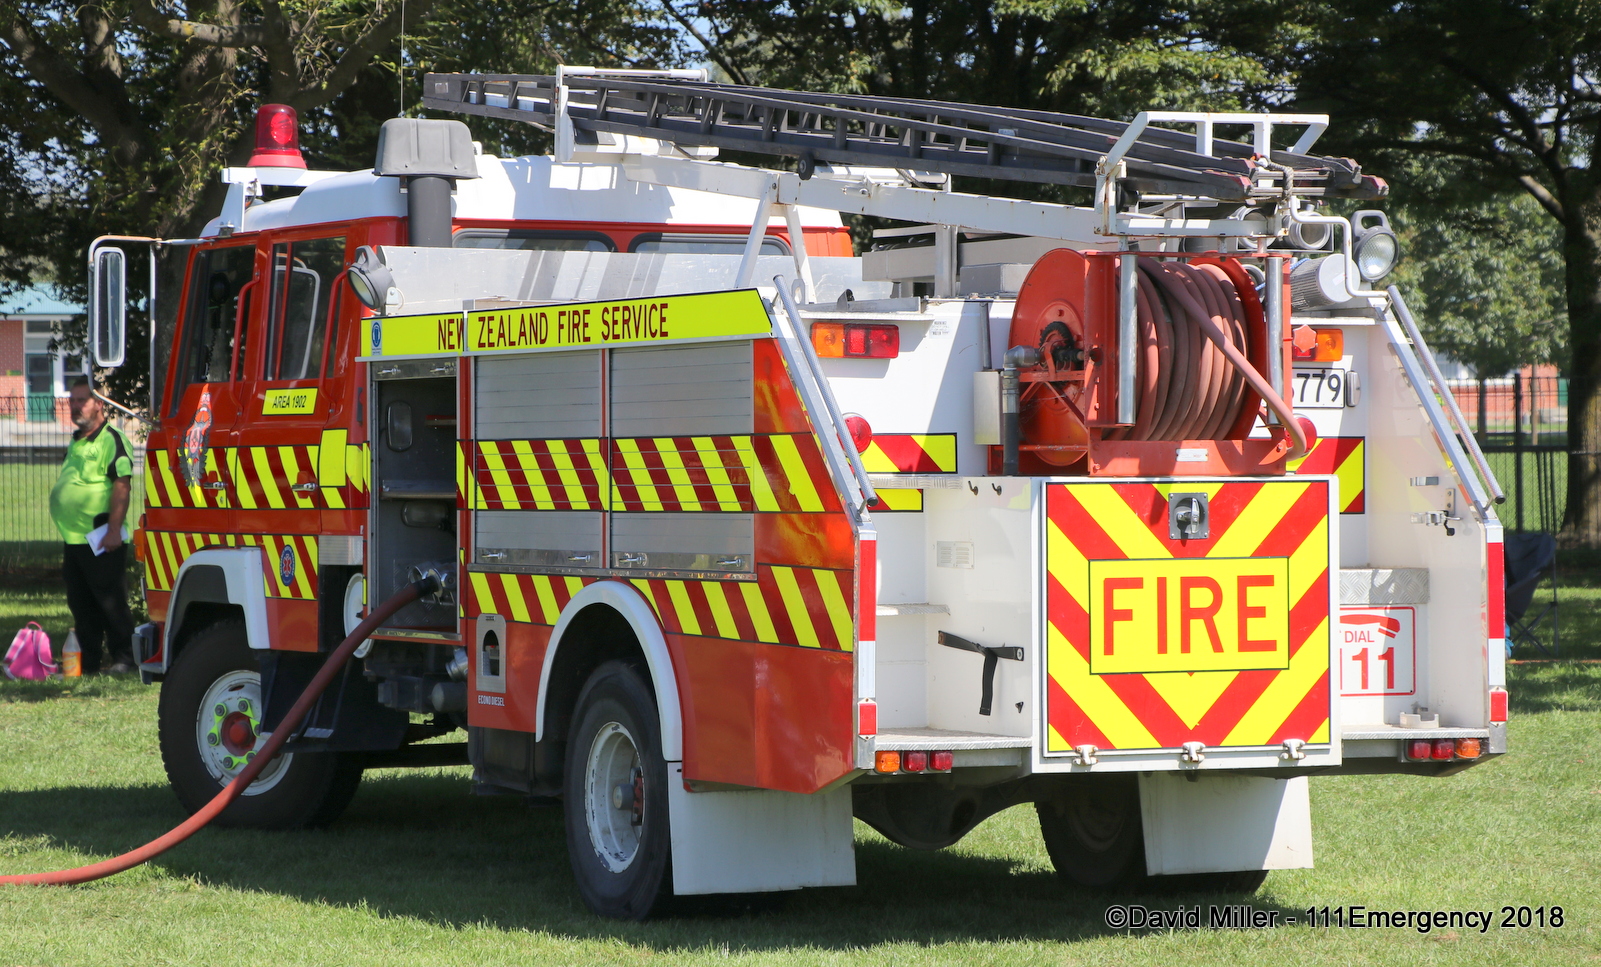
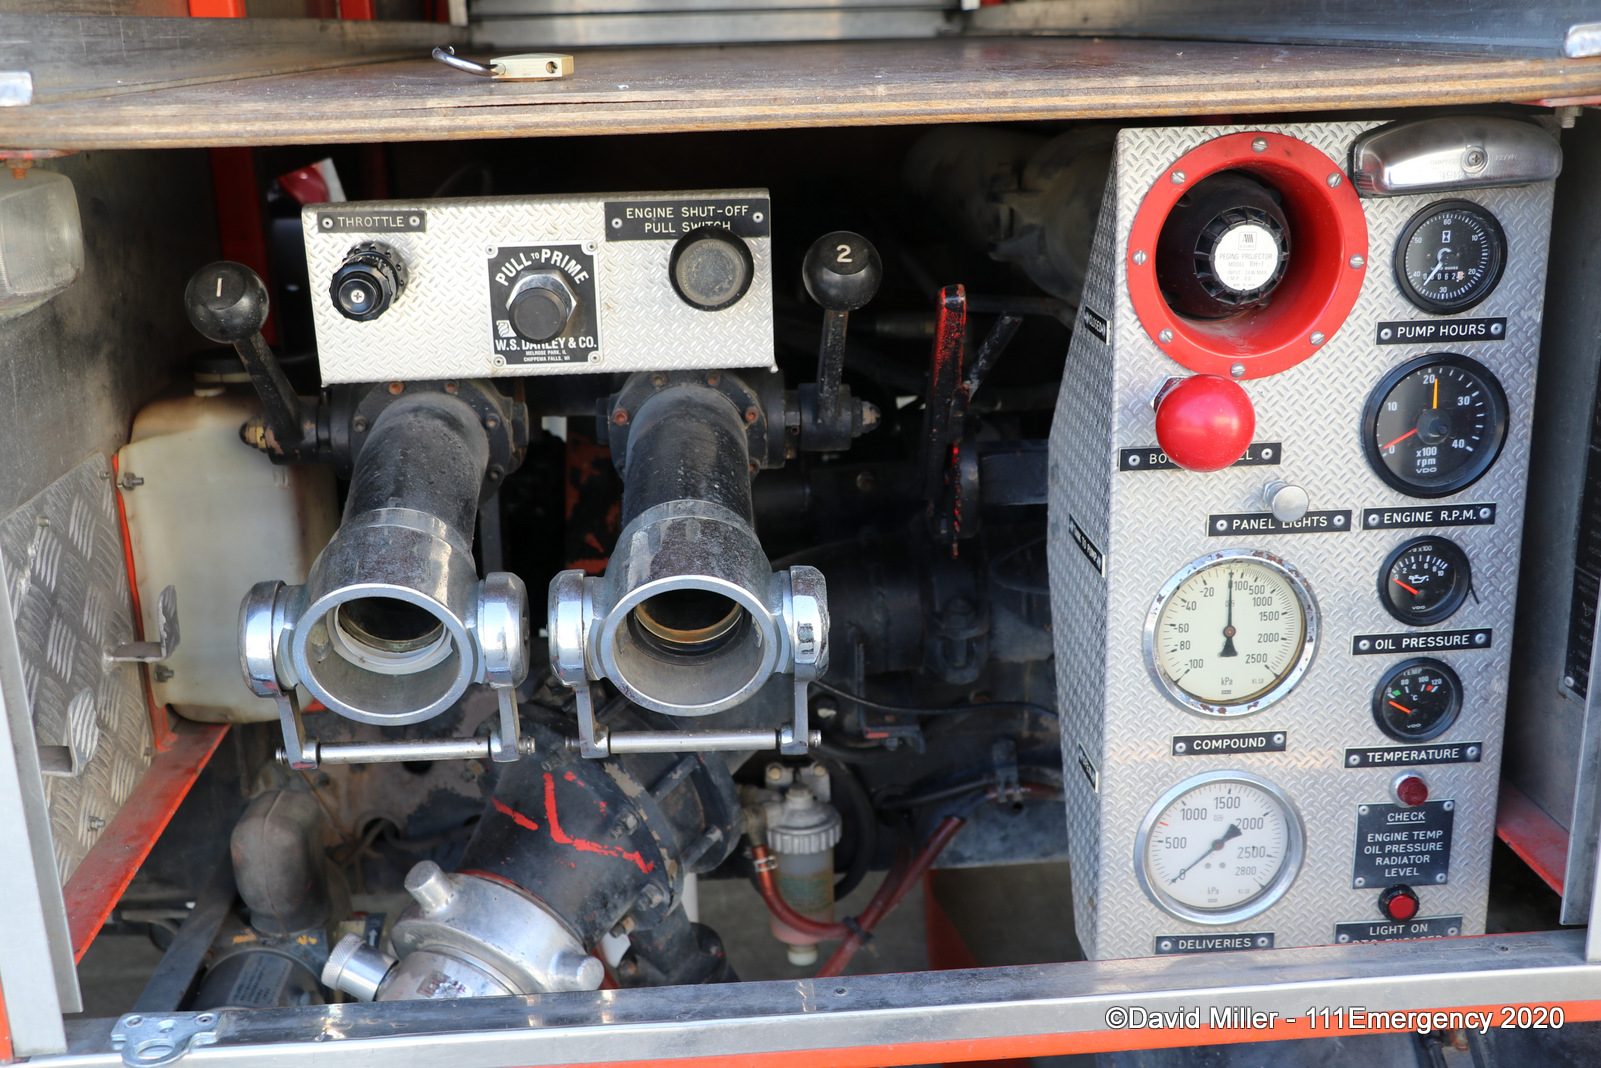
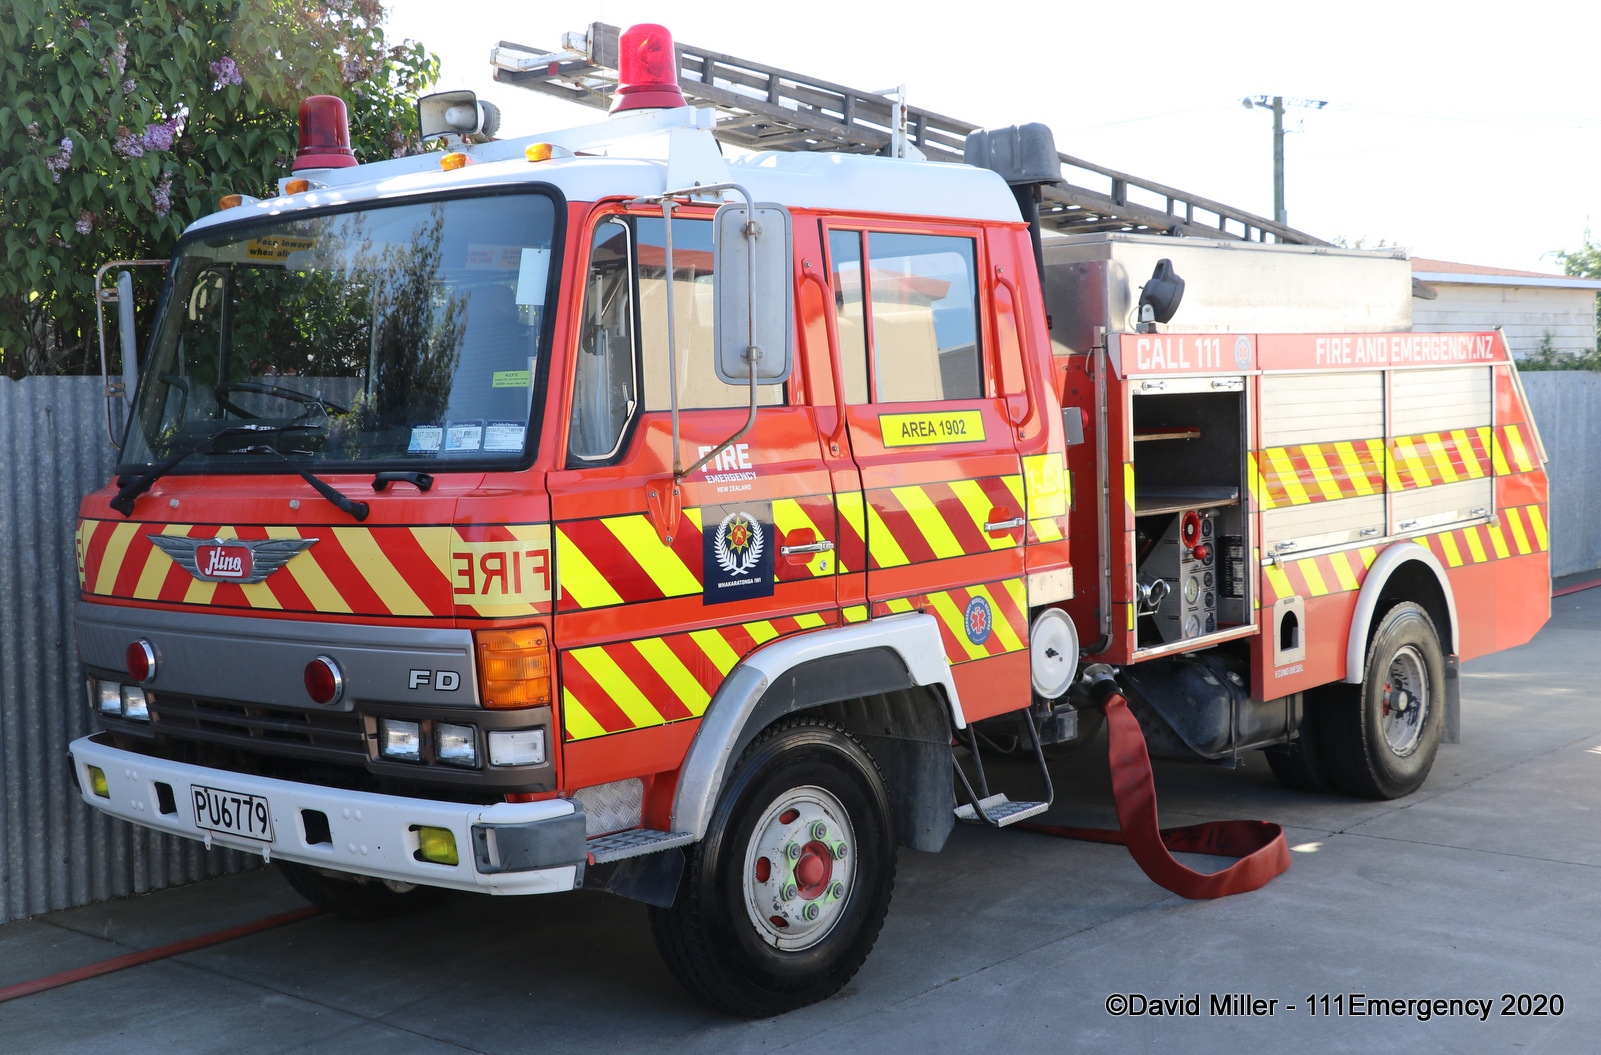
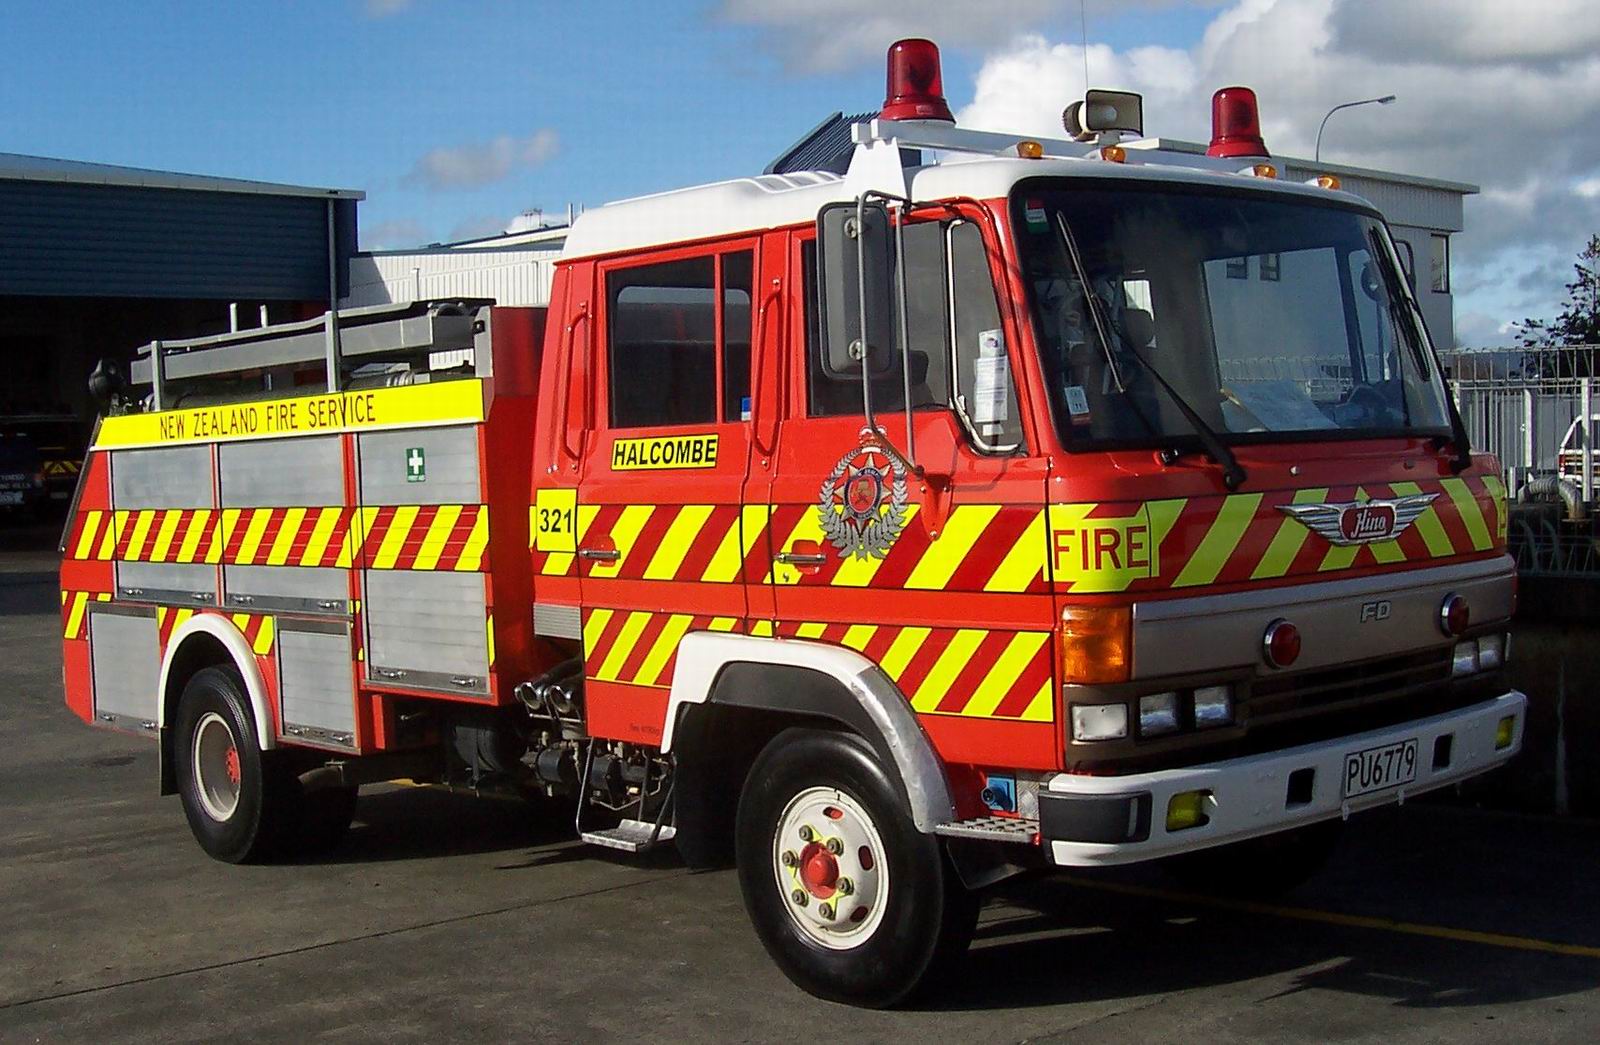
AREA 1902
Ex.Tangimoana, Halcombe, Amberley
1990 Hino FD162LA
PU 6779
 |
 |
 |
| Photo by Malcolm McLeod | Photo by Malcolm McLeod | Photo by Ian King |
 |
 |
 |
 |
 |
 |
 |
 |
 |
| Photo by David Miller | Photo by David Miller | Photo by David Miller |
 |
 |
 |
| Photo by David Miller | Photo by David Miller | Photo by David Miller |
 |
 |
 |
| Photo by David Miller | Photo by David Miller | Photo by David Miller |
 |
 |
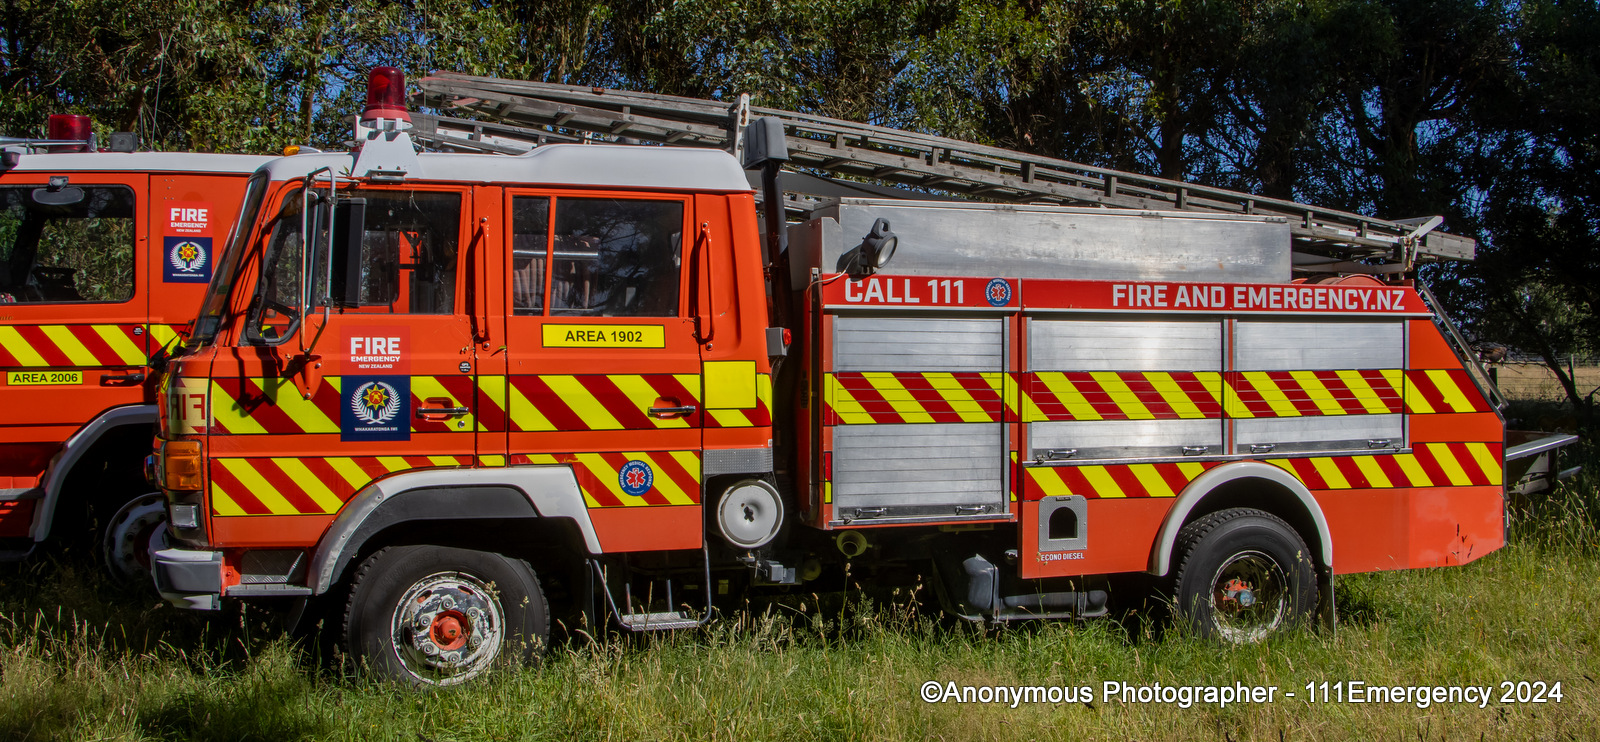 |
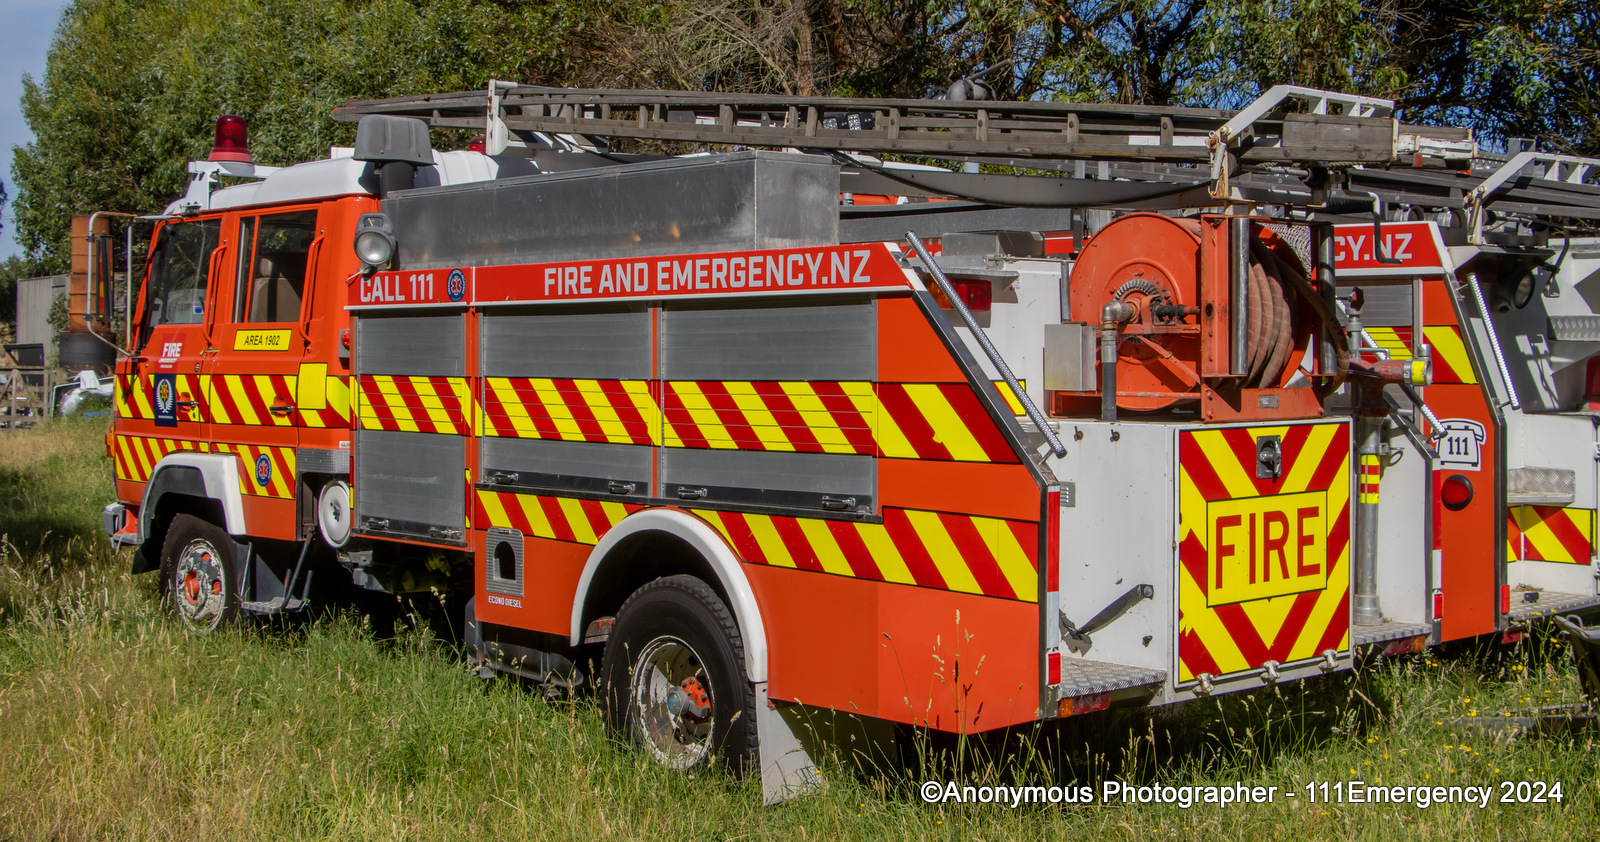
| Photo by David Miller | Photo by Ian King | Anonymous Photographer |
 |
||
| Anonymous Photographer |
Return to Te Ihu Fire Region page
