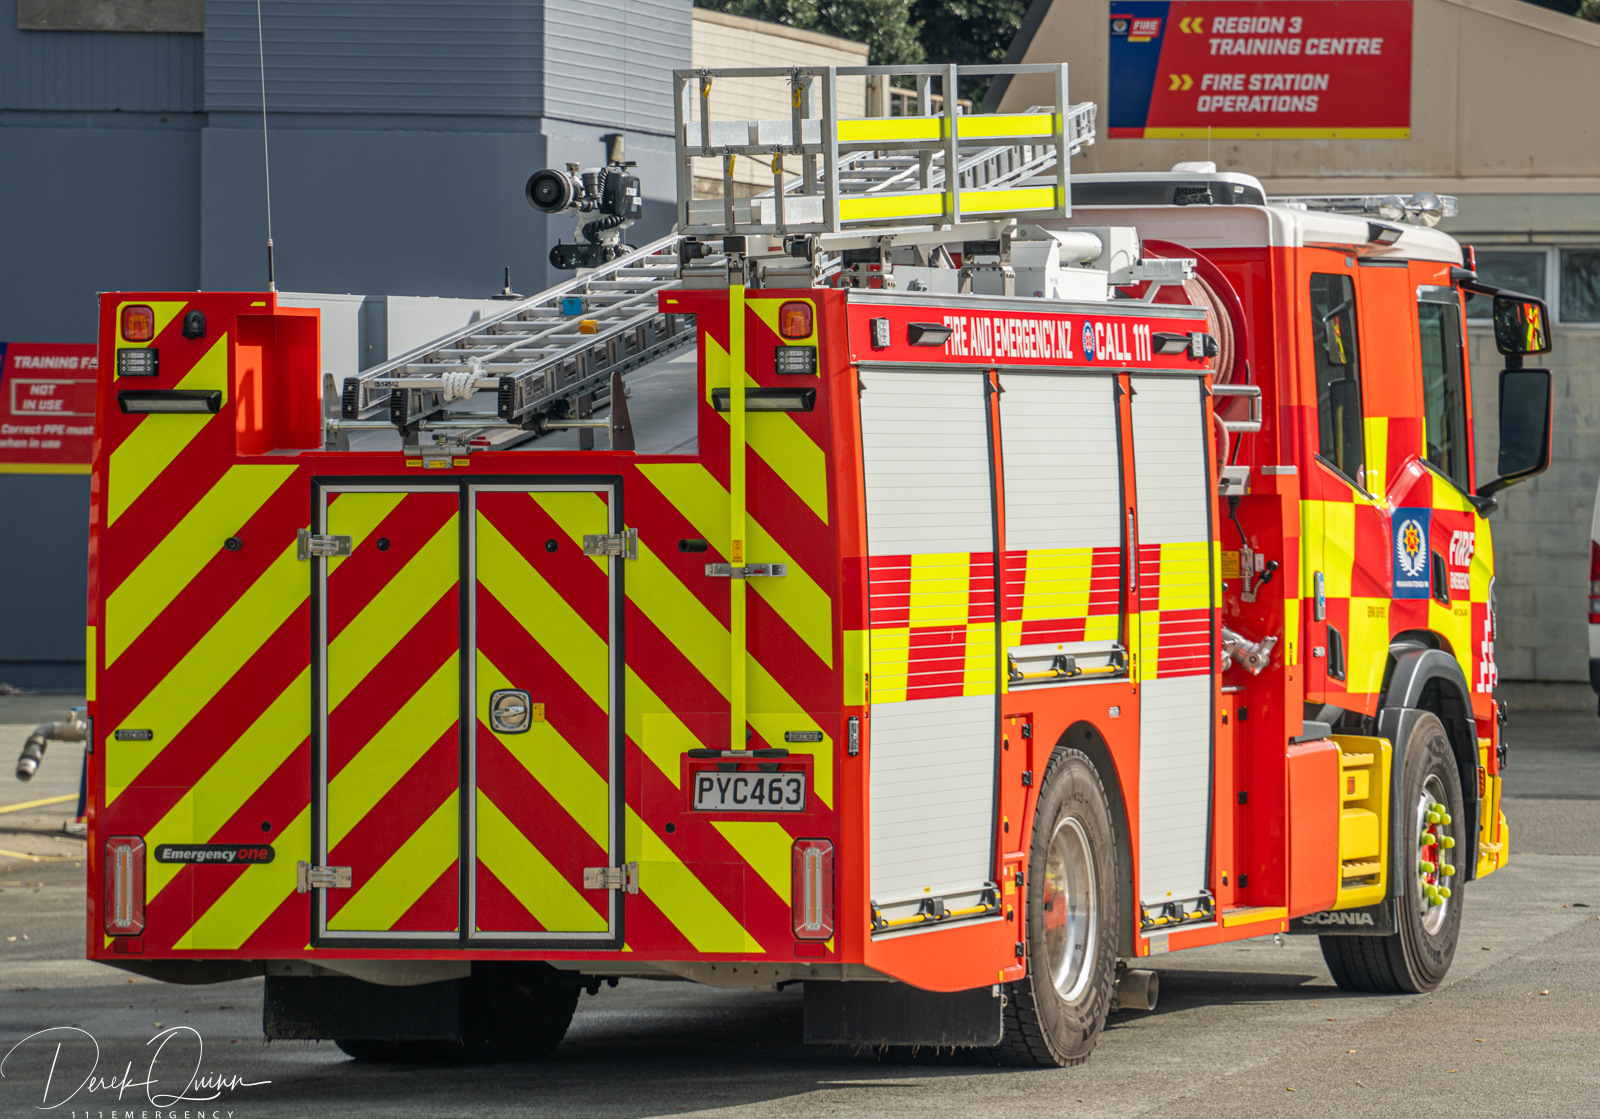
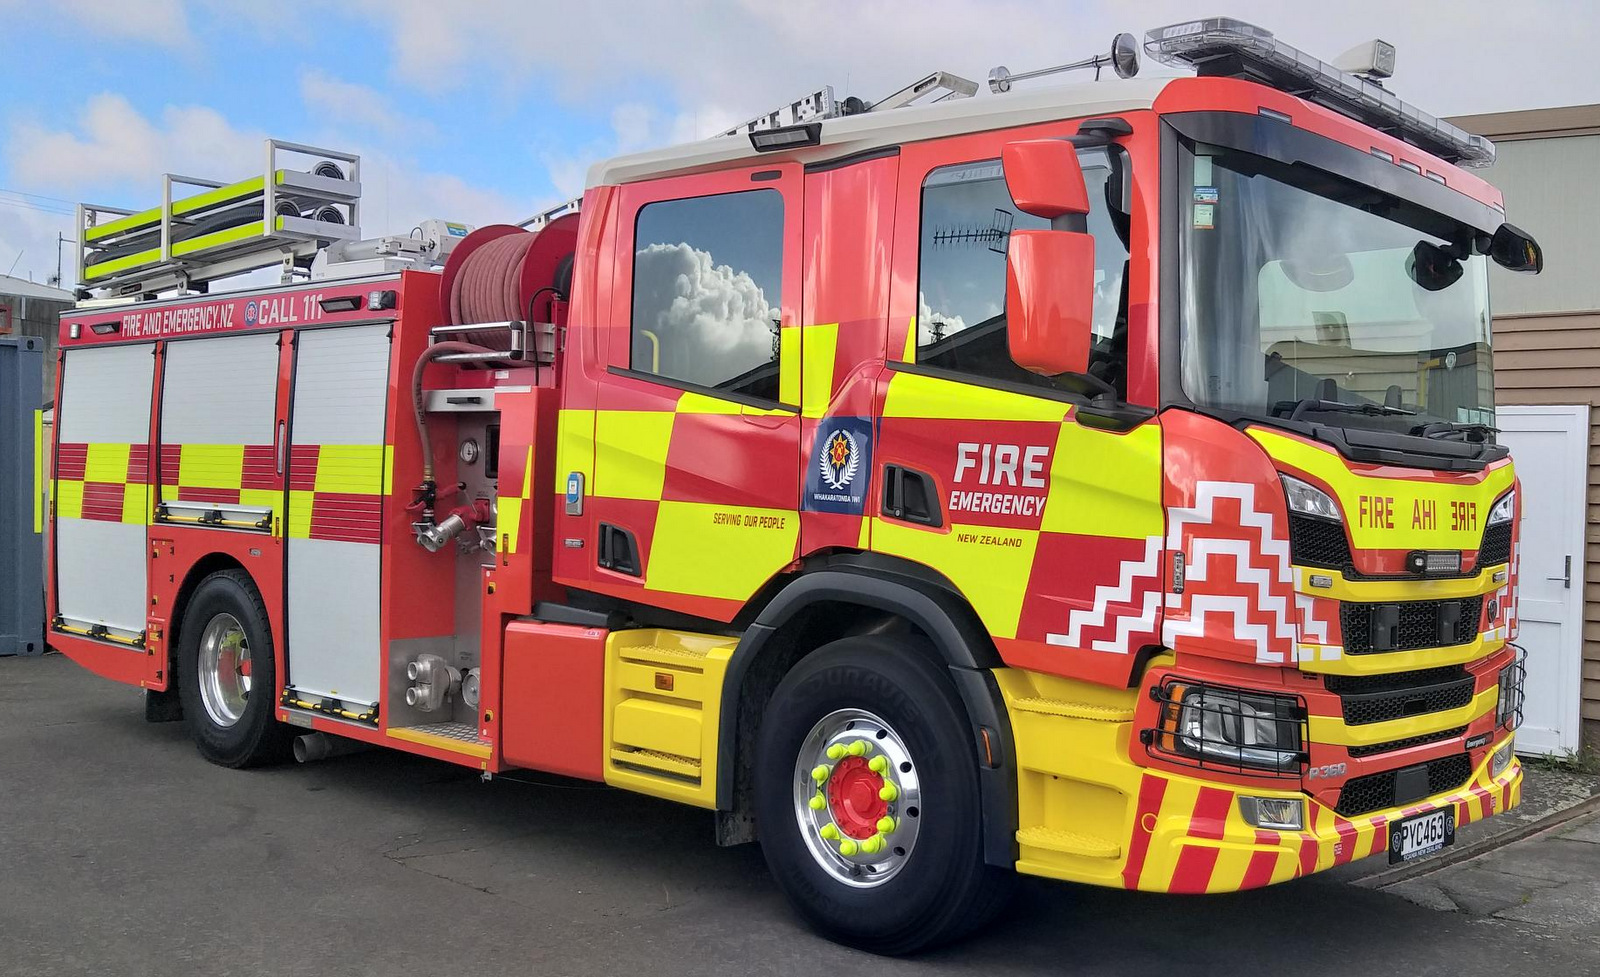
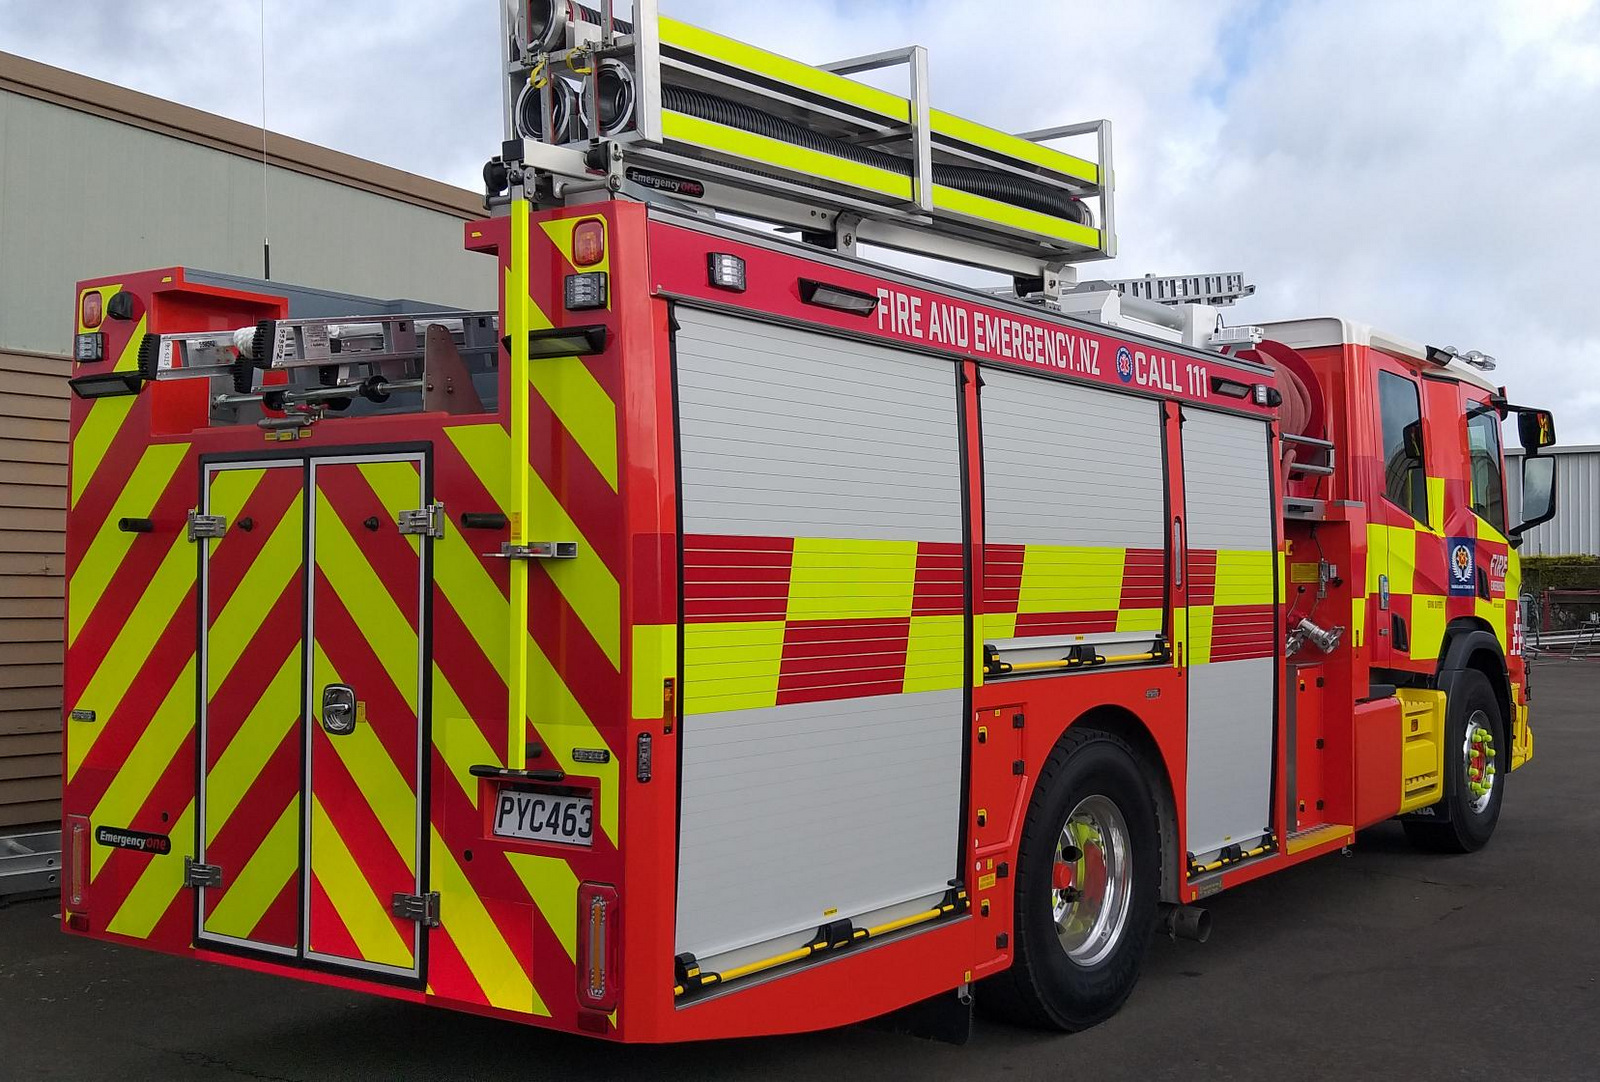
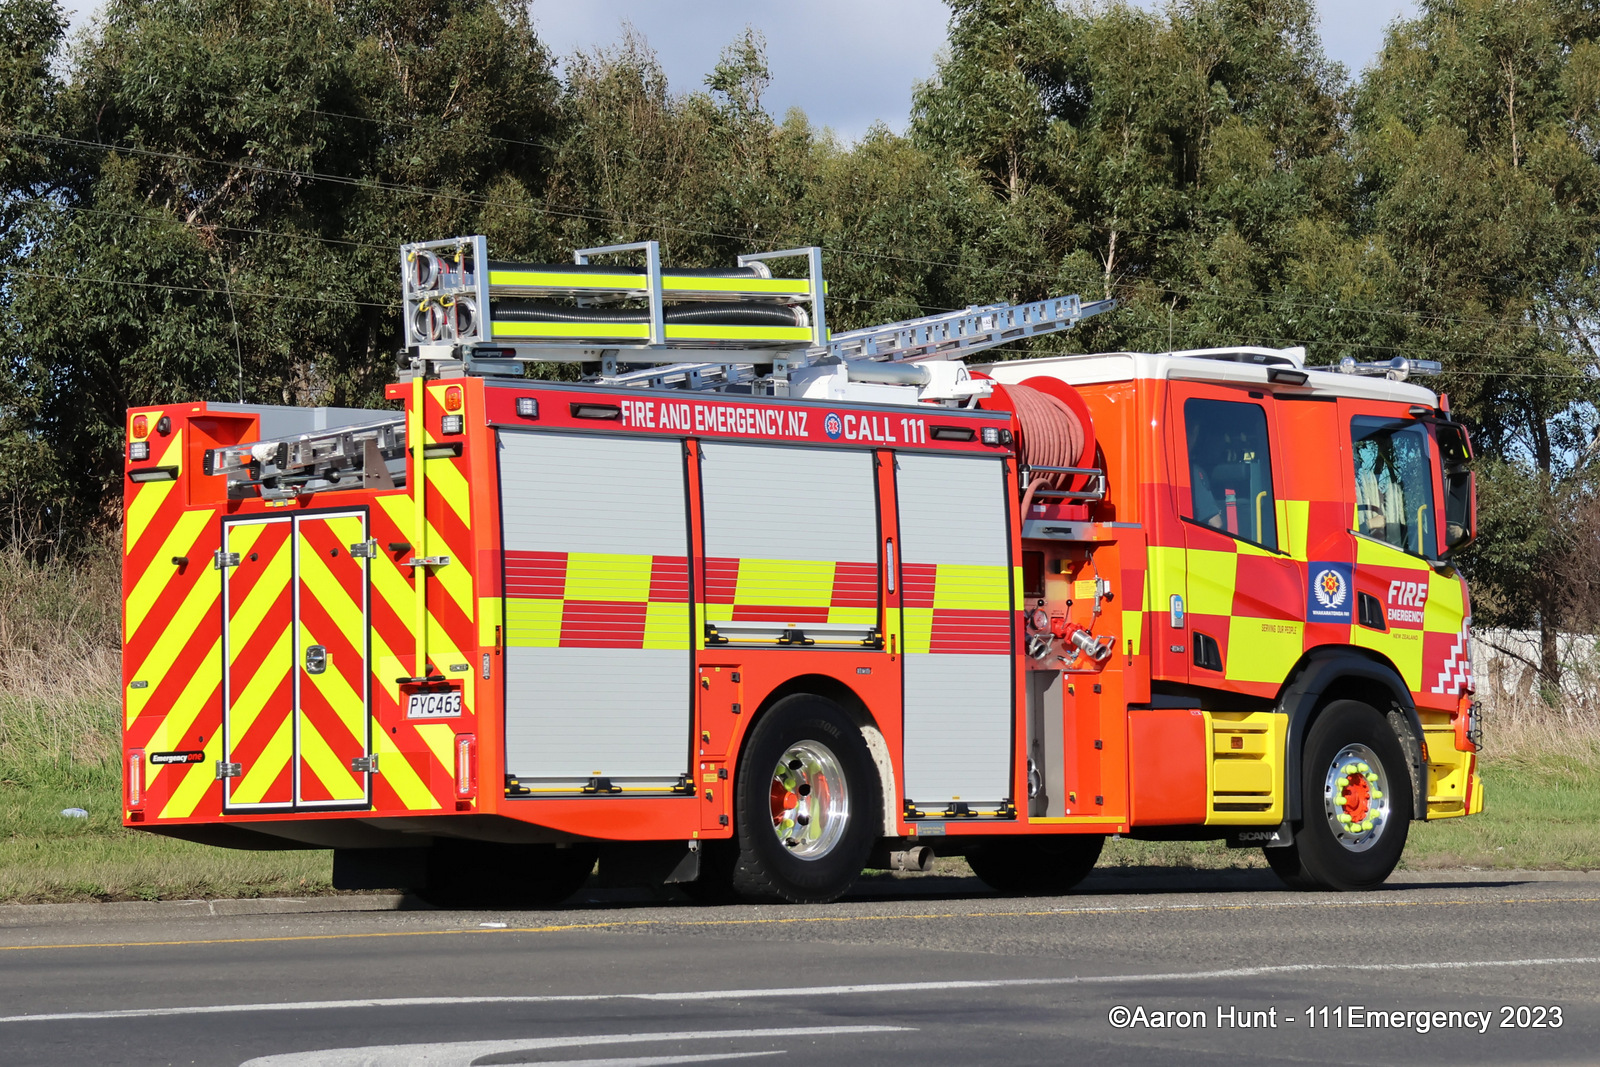
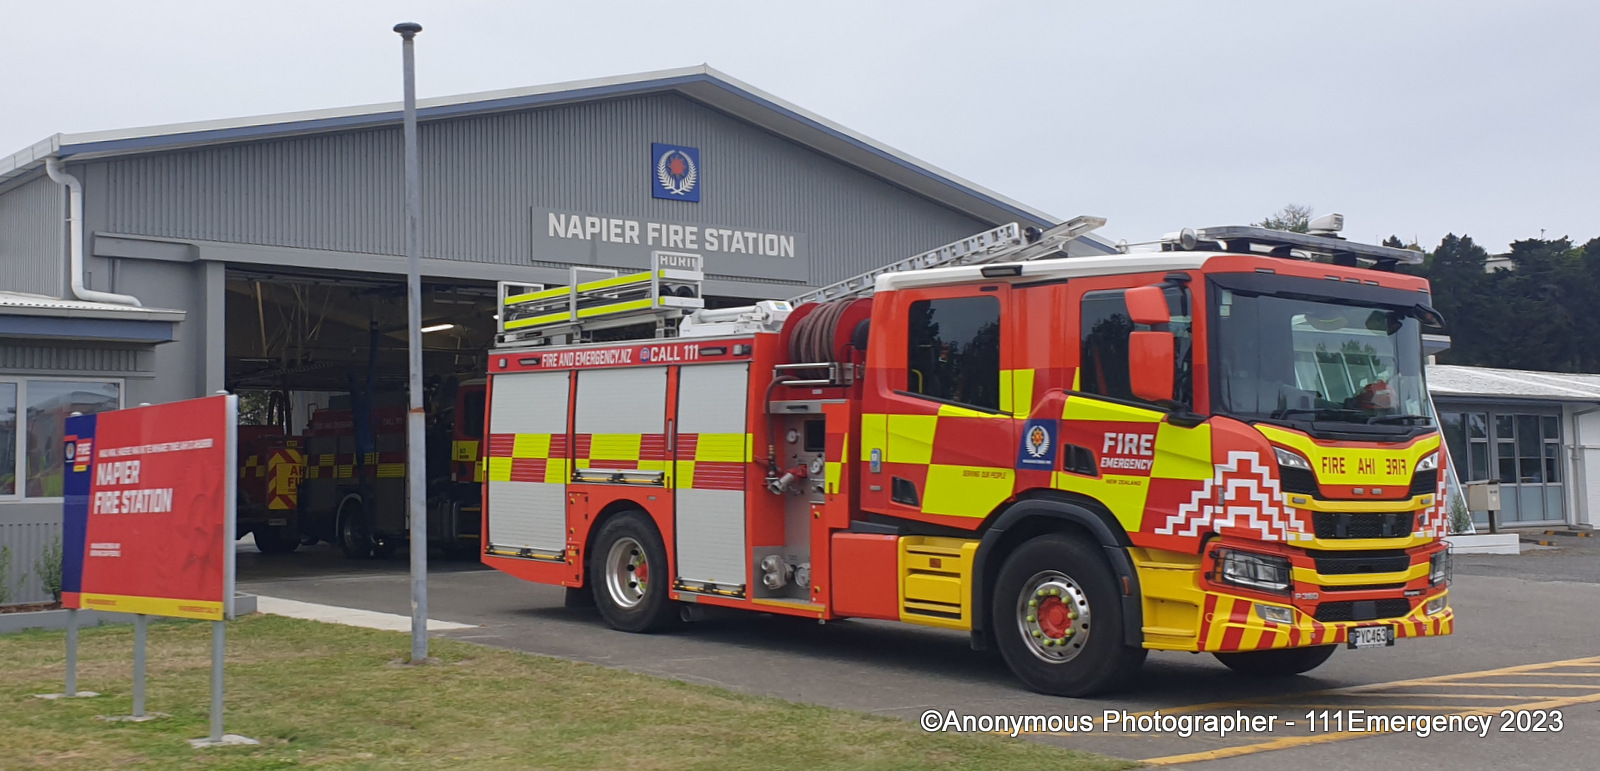
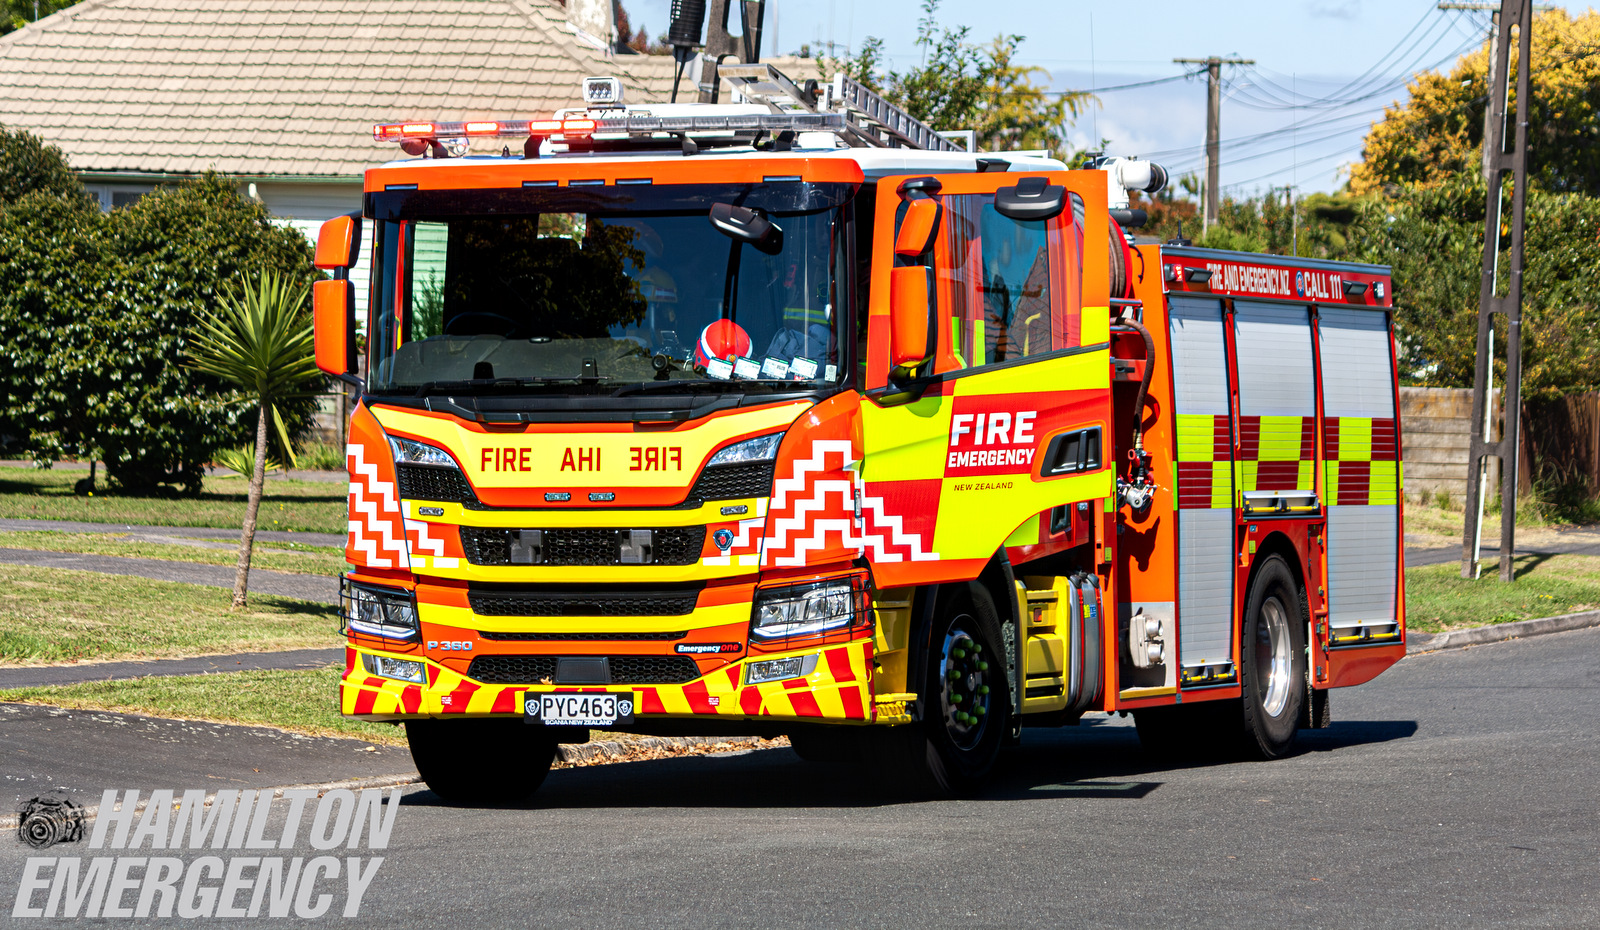
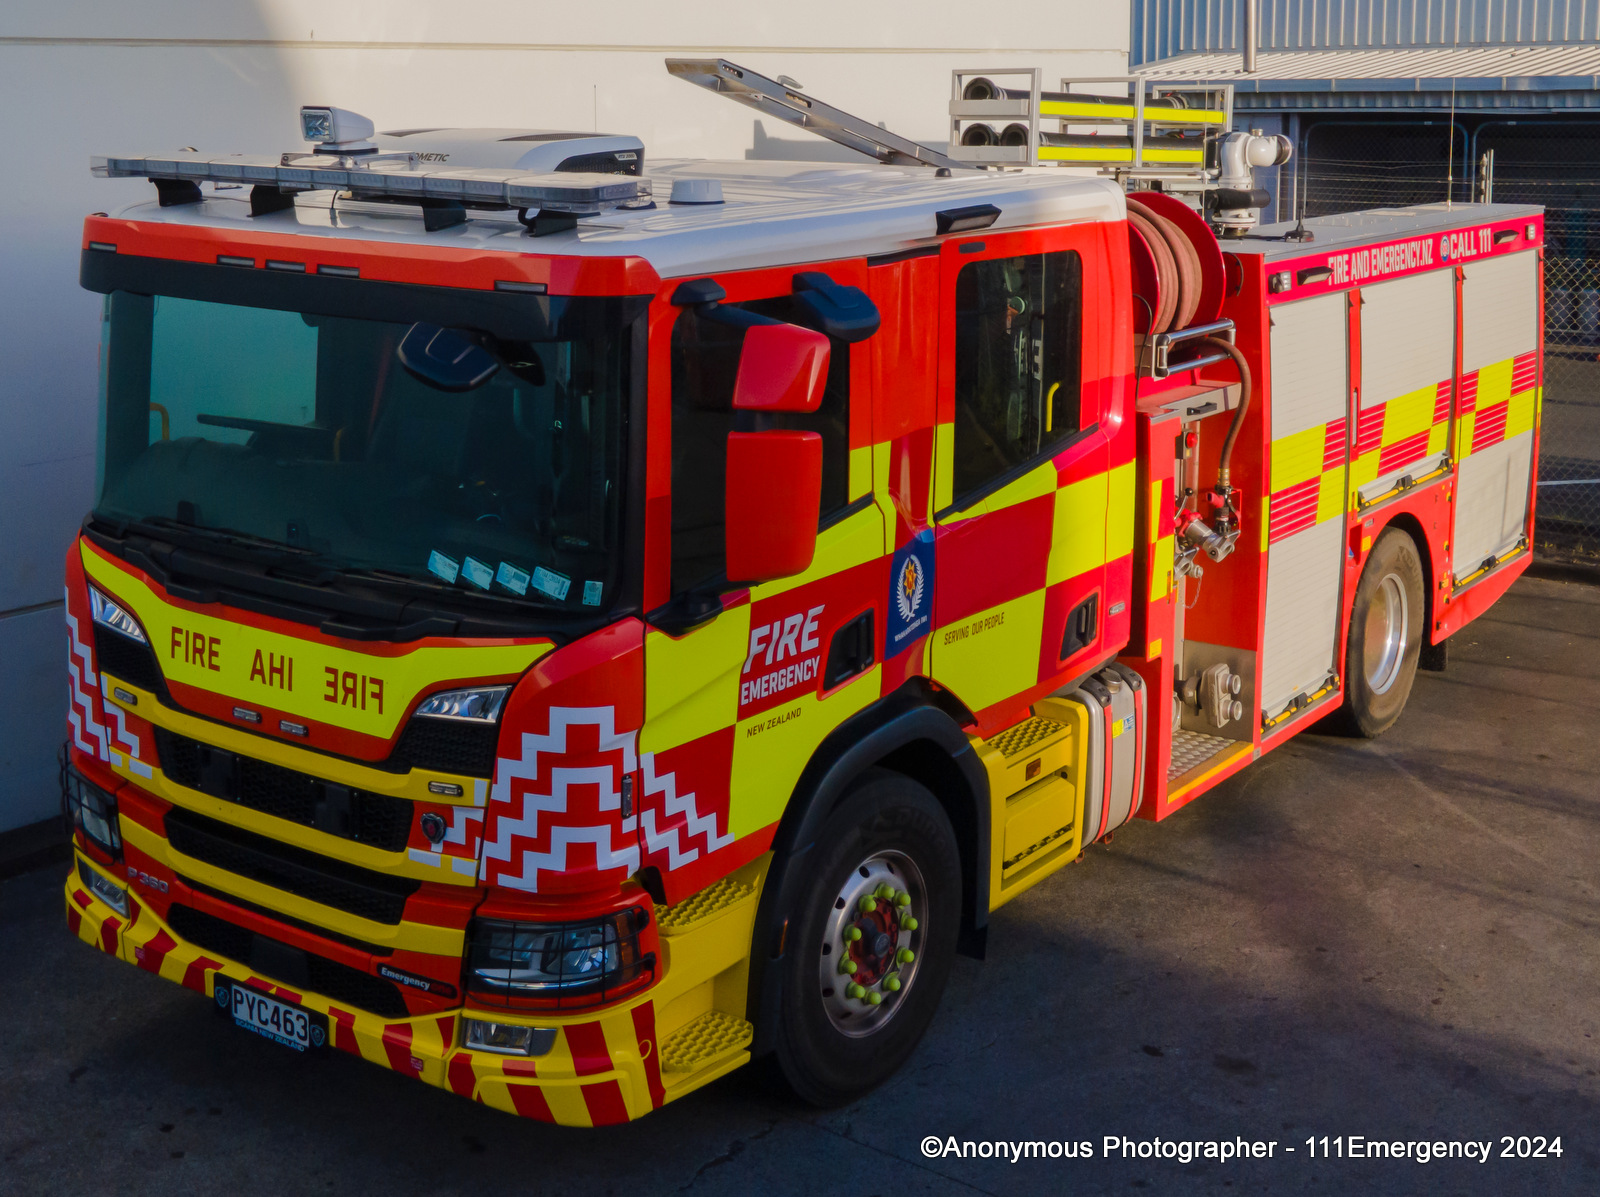
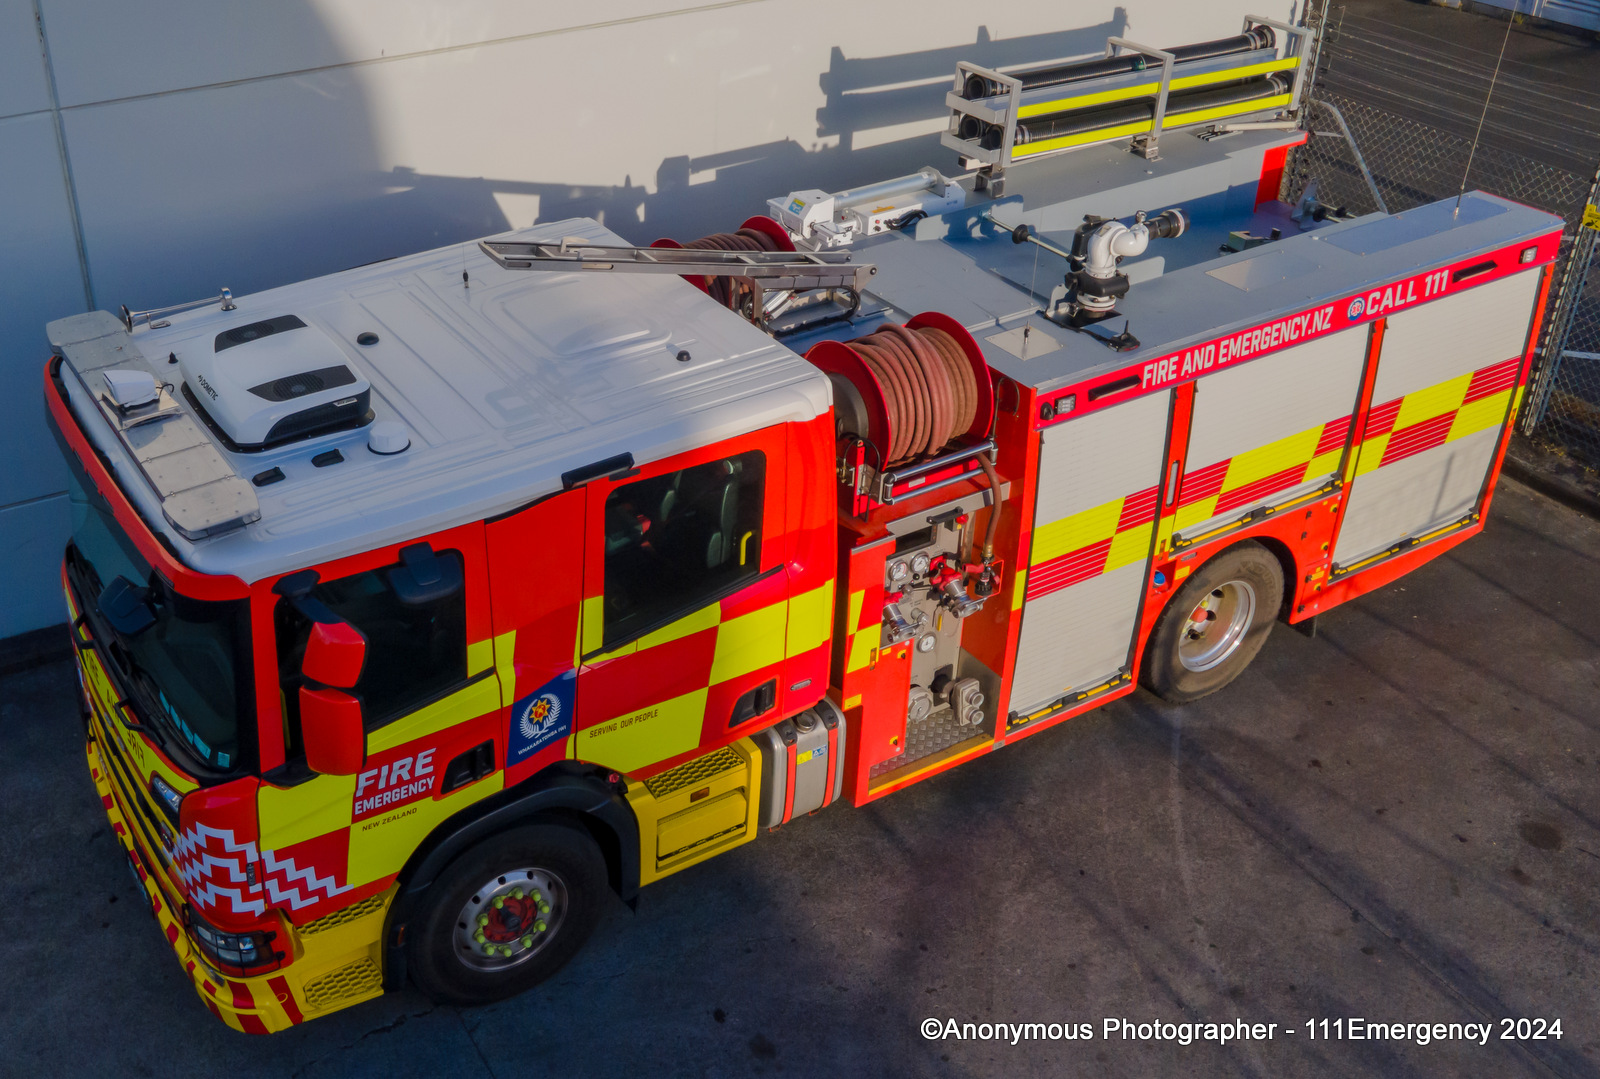
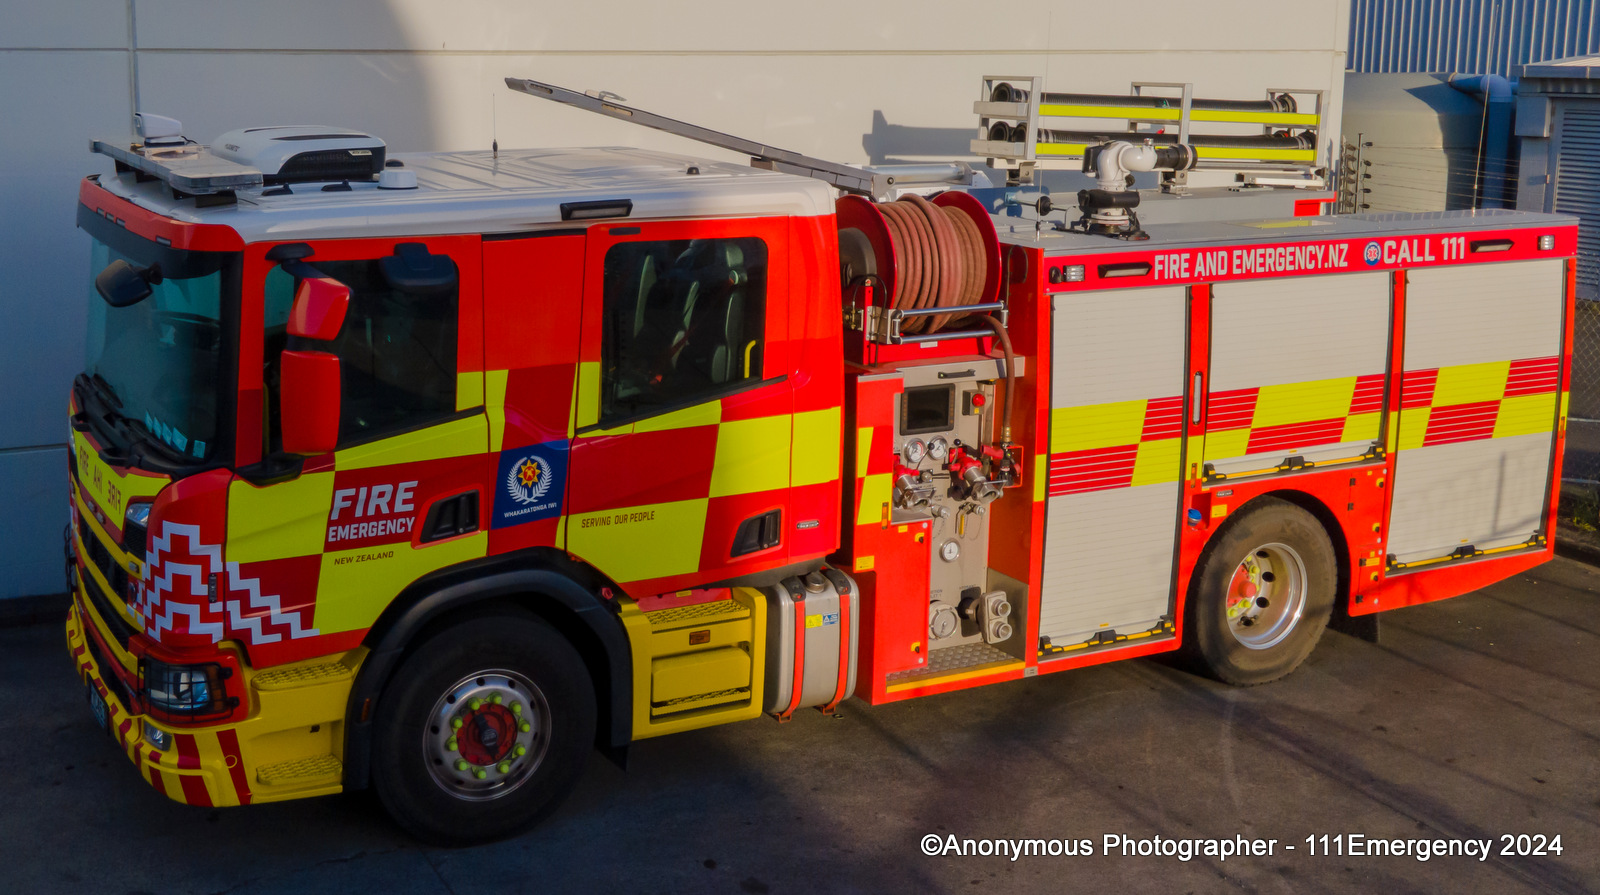
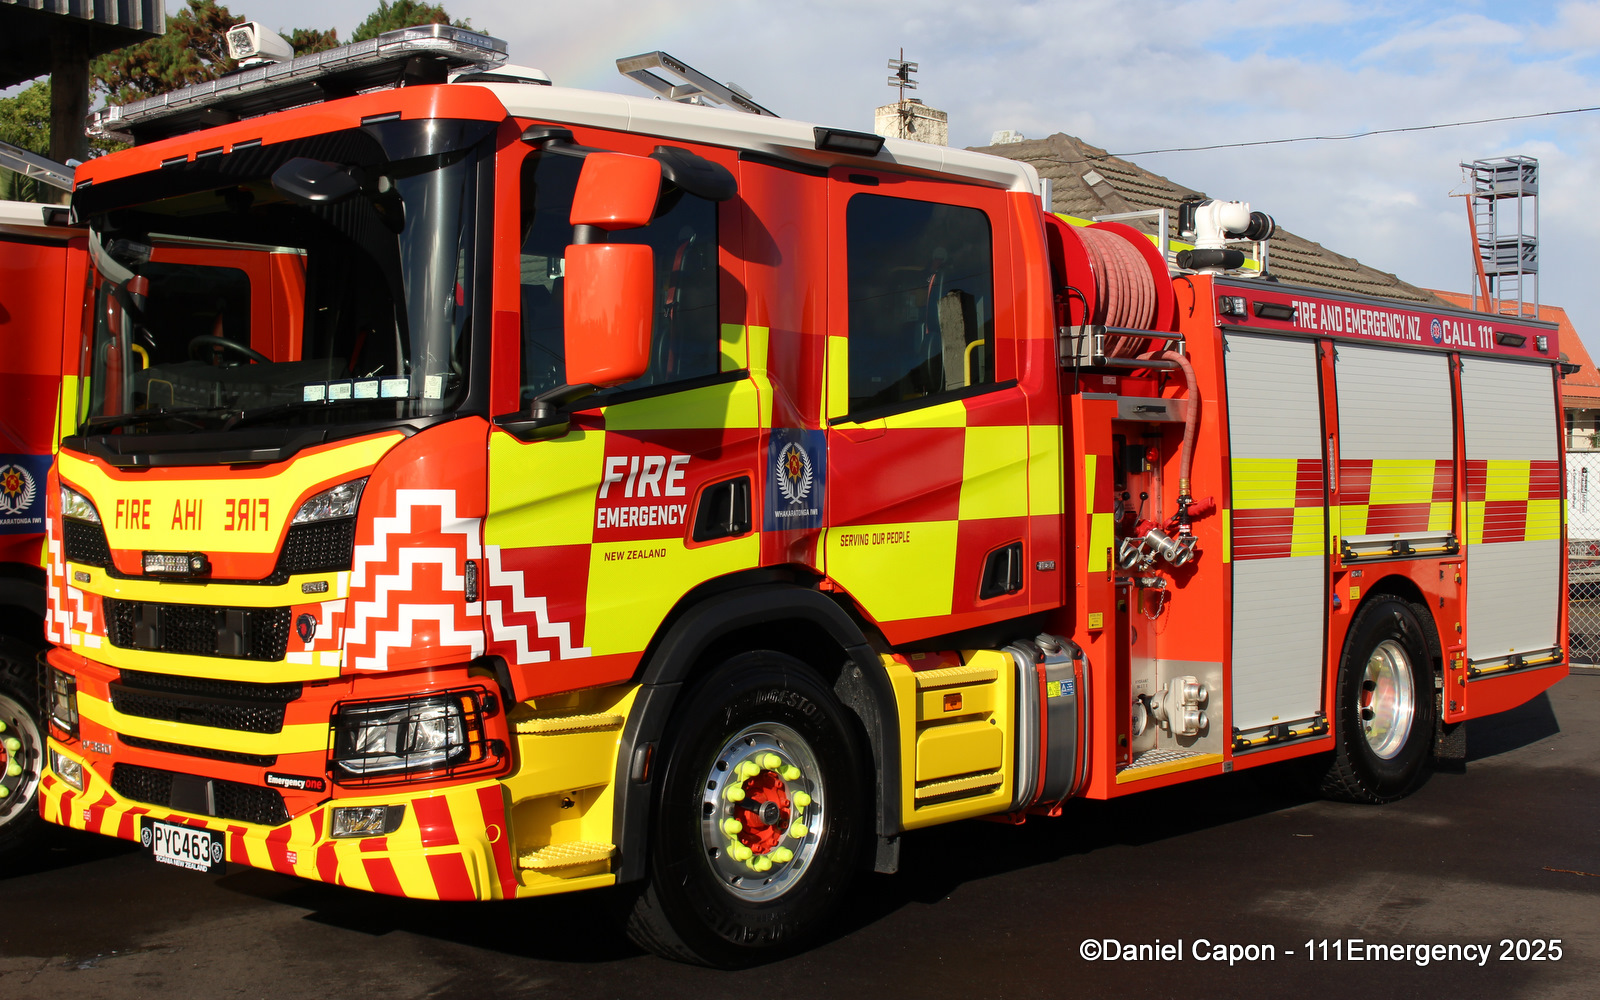
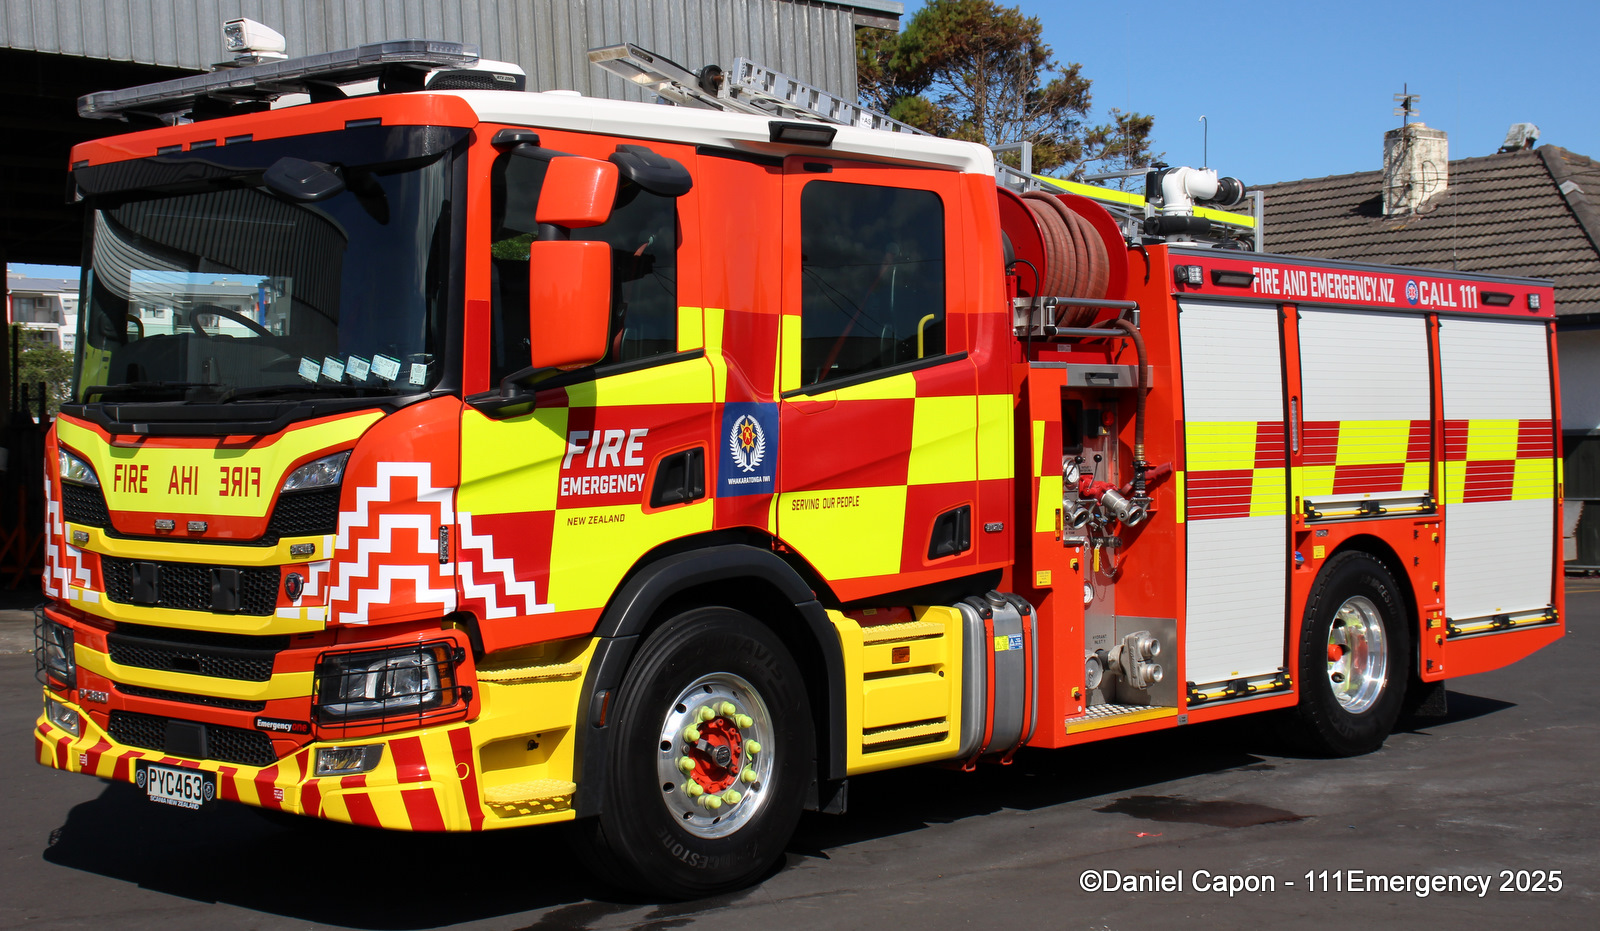
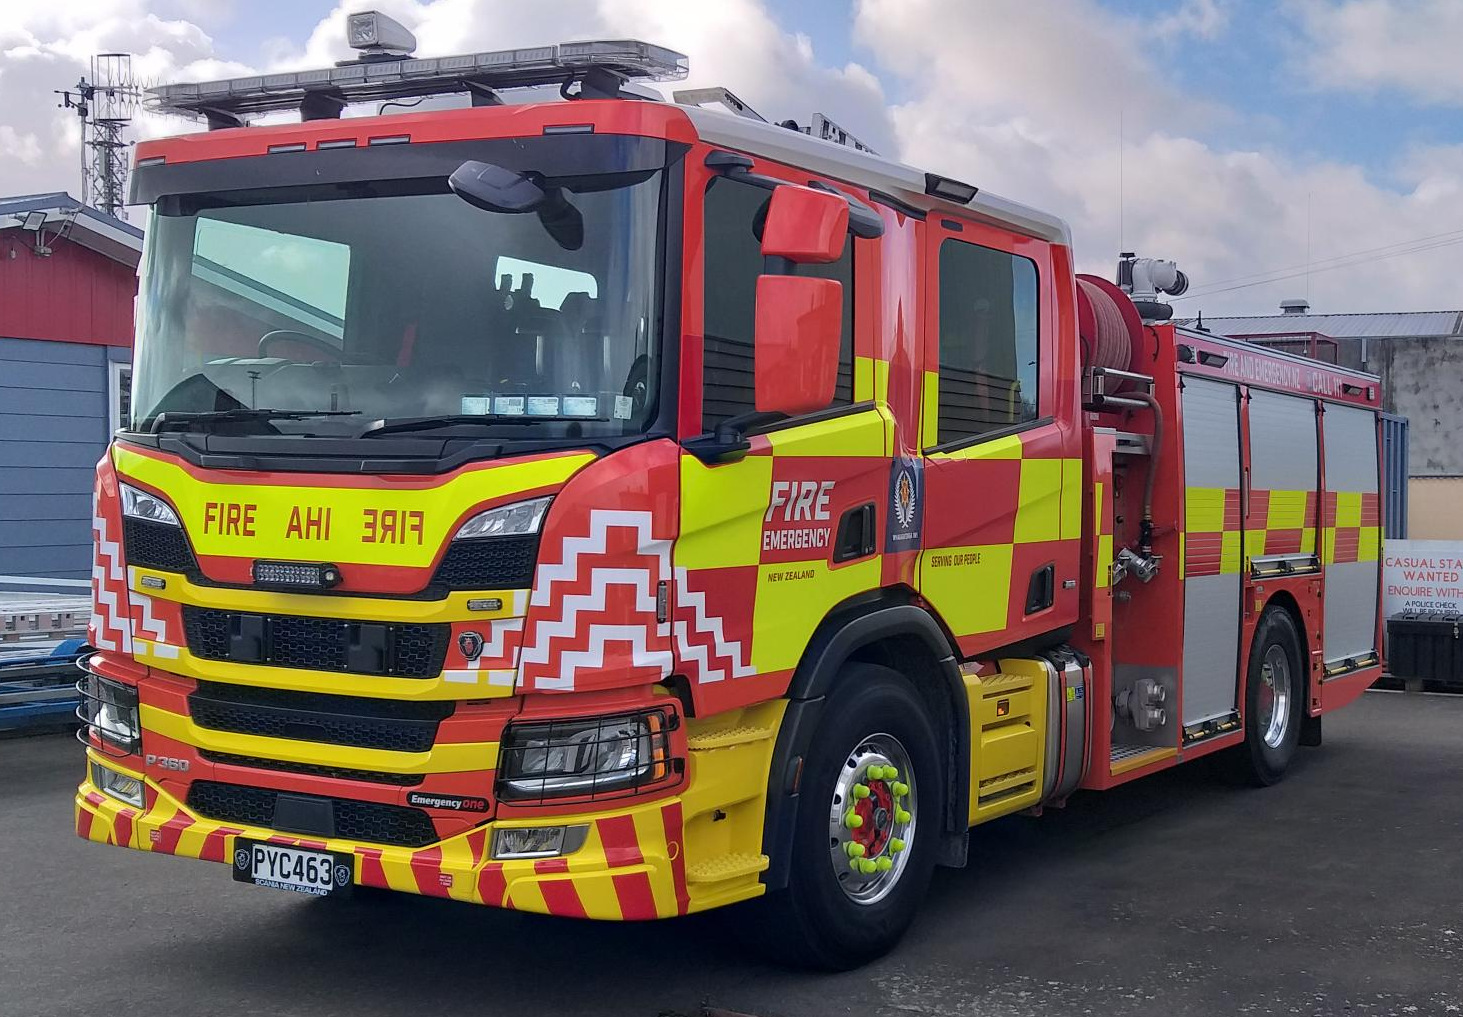
PARNELL 251
EmergencyOne Type 3 Trial Appliance
2023 Scania P360B4X2NA
PYC 463
Previously trialled as NAPIER 511 and HAMILTON 411
 |
 |
 |
| Anonymous Photographer | ||
 |
 |
 |
| Anonymous Photographer | ||
 |
 |
 |
| Photo by Aaron Hunt | Anonymous Photographer | Photo by Hamilton Emergency |
 |
 |
 |
| Photo by Hamilton Emergency | Anonymous Photographer | Anonymous Photographer |
 |
 |
 |
| Anonymous Photographer | Photo by Daniel Capon | |
 |
||
| Anonymous Photographer |
Return to Te Upoko Fire Region page

© All photos / videos remain the property of the original photographer. Do not use them elsewhere without their written permission.