POLICE PATROLS 83
 |
 |
 |
|
Wellington Police |
Wellington Police |
Christchurch Police Photo by David Miller |
 |
 |
 |
|
Hawkes Bay Police Photo by Peter Ashley |
Hawkes Bay Police Photo by Peter Ashley |
Hawkes Bay Police Photo by Peter Ashley |
 |
|
|
|
Auckland Police Photo by Michael Anderson |
Wellington Police Photo by Derek Quinn |
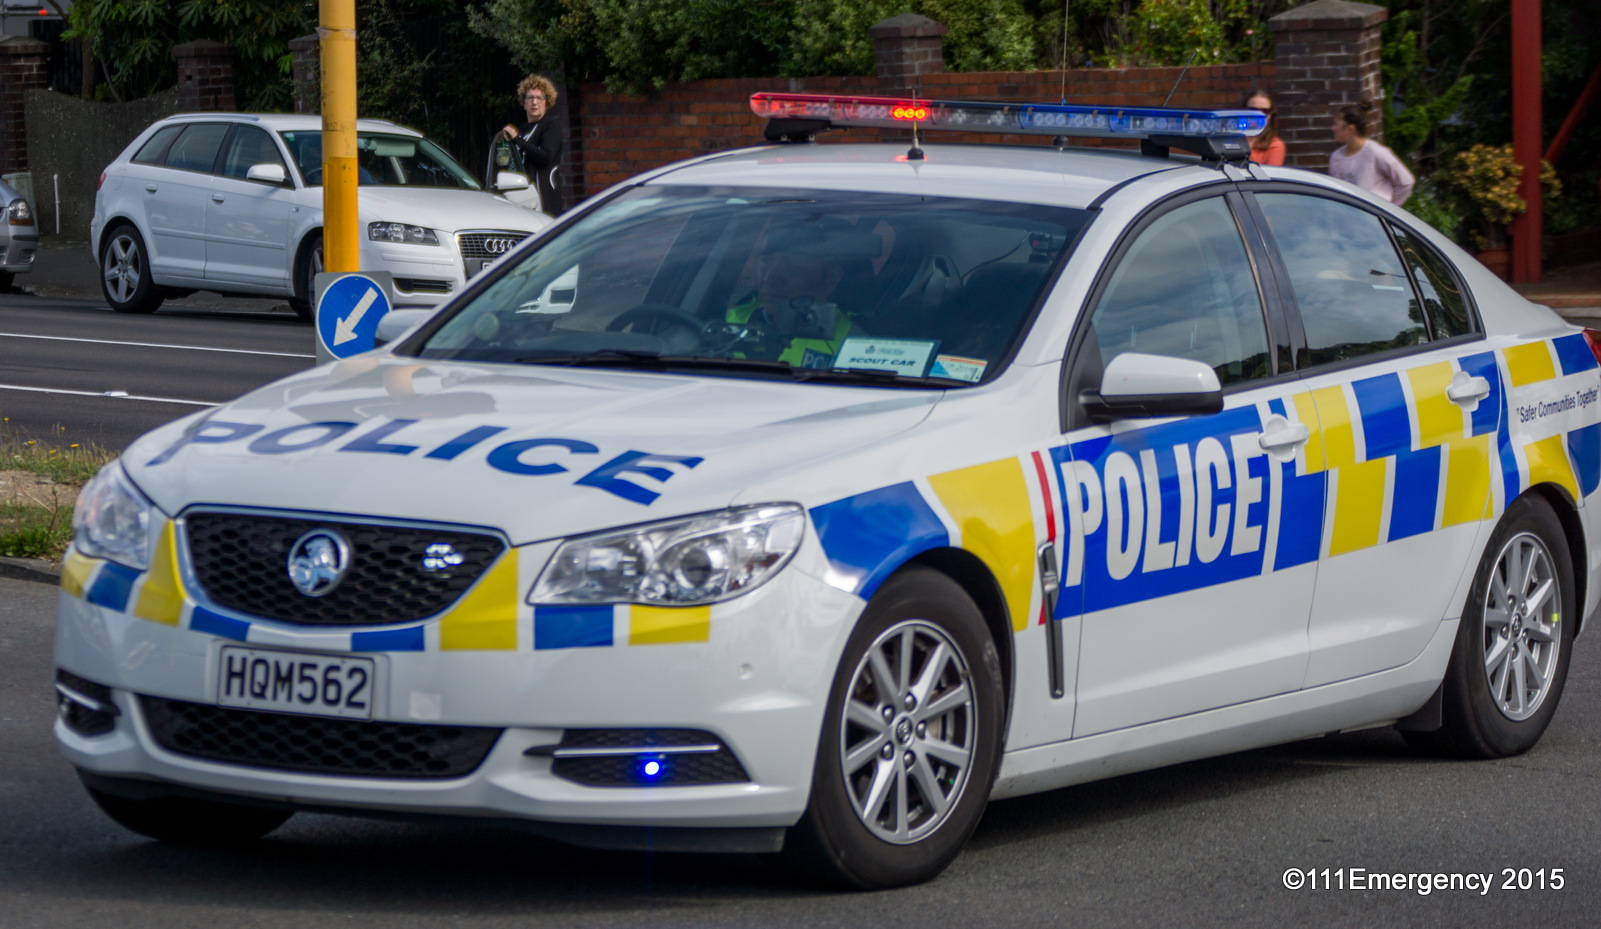
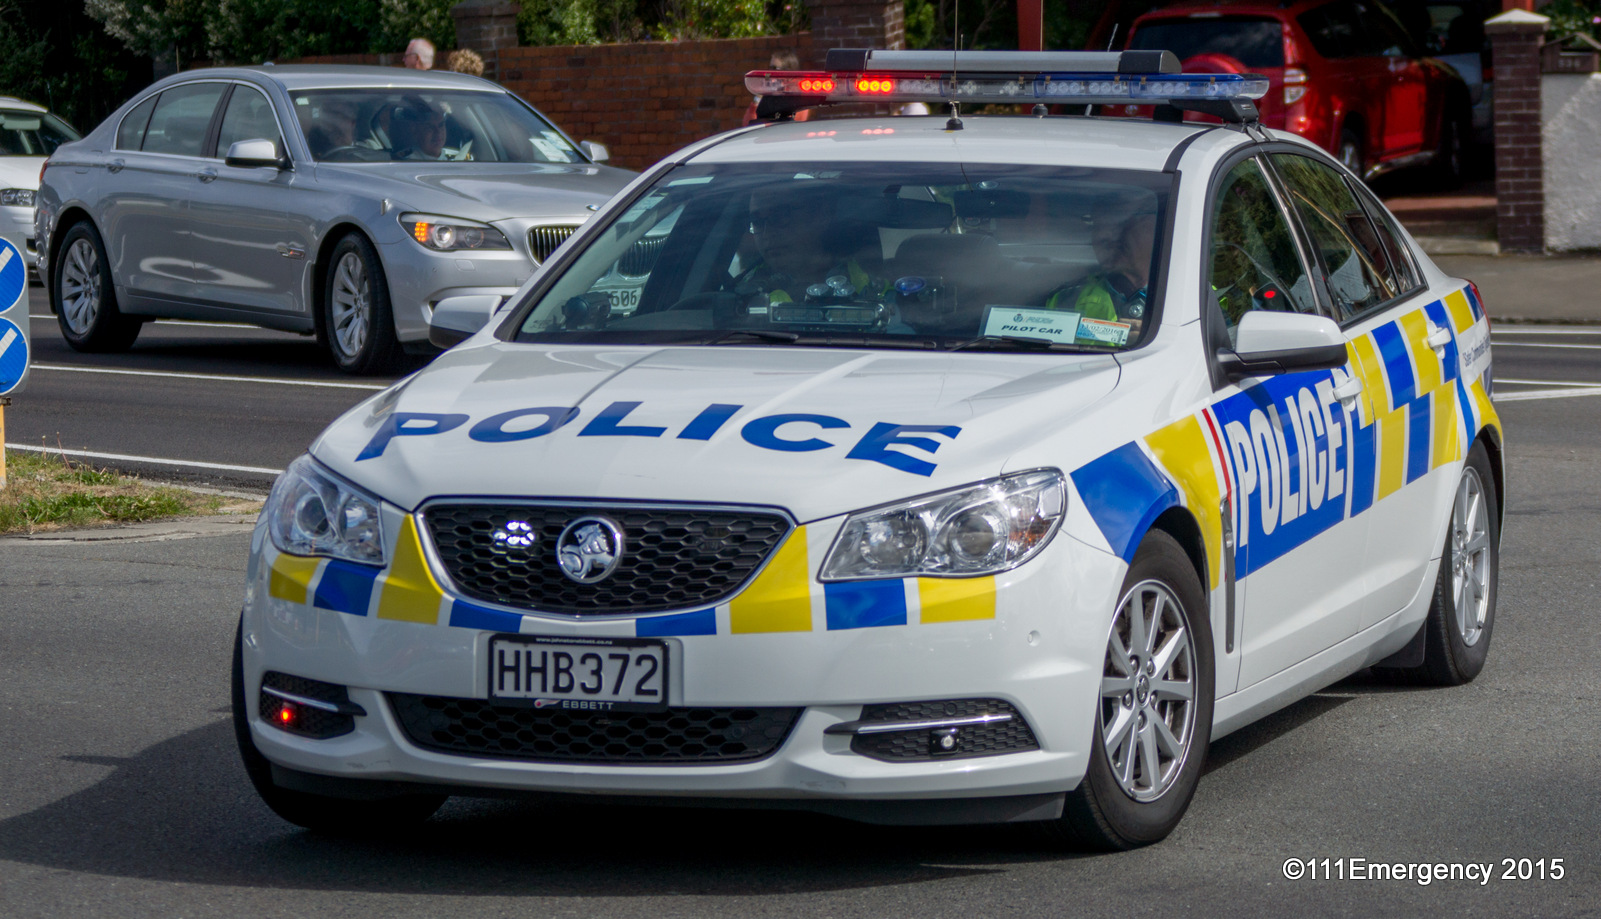
Canterbury Police Photo by David Miller |


© All photos / videos remain the property of the original photographer. Do not use them elsewhere without their written permission.