R5RELIEF04
Ex. SOUT403
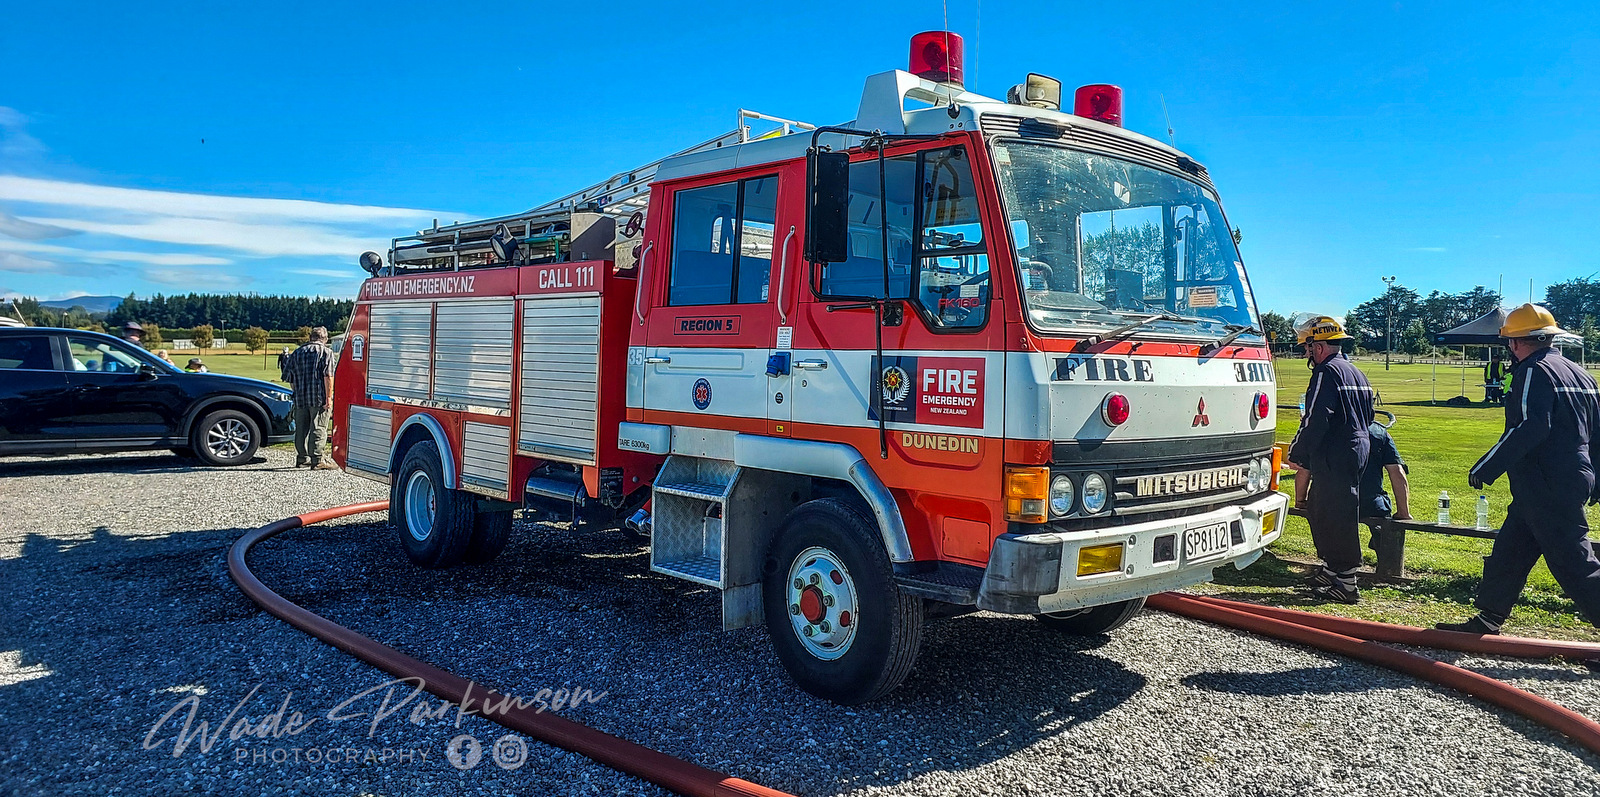
1993 Mitsubishi FK160F
SP 8112
 |
 |
 |
| Photo donated by KiwiTrucker | Photo by Mark Hutton | Photo by Mark Hutton |
 |
 |
 |
| Photo by Daniel Capon | Photo by Scott Lanauze | Photo by Scott Lanauze |
 |
 |
 |
| Photo by Scott Lanauze | Photo by Scott Lanauze | Photo by Scott Lanauze |
 |
 |
 |
| Photo by Scott Lanauze | Photo by Scott Lanauze | Photo by Sean Yeates |
 |
 |
 |
| Photo by Sean Yeates | Photo by Elliot Slotemaker | Photo by Elliot Slotemaker |
 |
 |
 |
| Photo by Elliot Slotemaker | Photo by David Miller | Photo by Mark Hutton |
 |
 |
 |
 |
 |
 |
 |
||
| Photo by Wade Parkinson Photography |
Return to Te Kei Fire Region page

© All photos / videos remain the property of the original photographer. Do not use them elsewhere without their written permission.