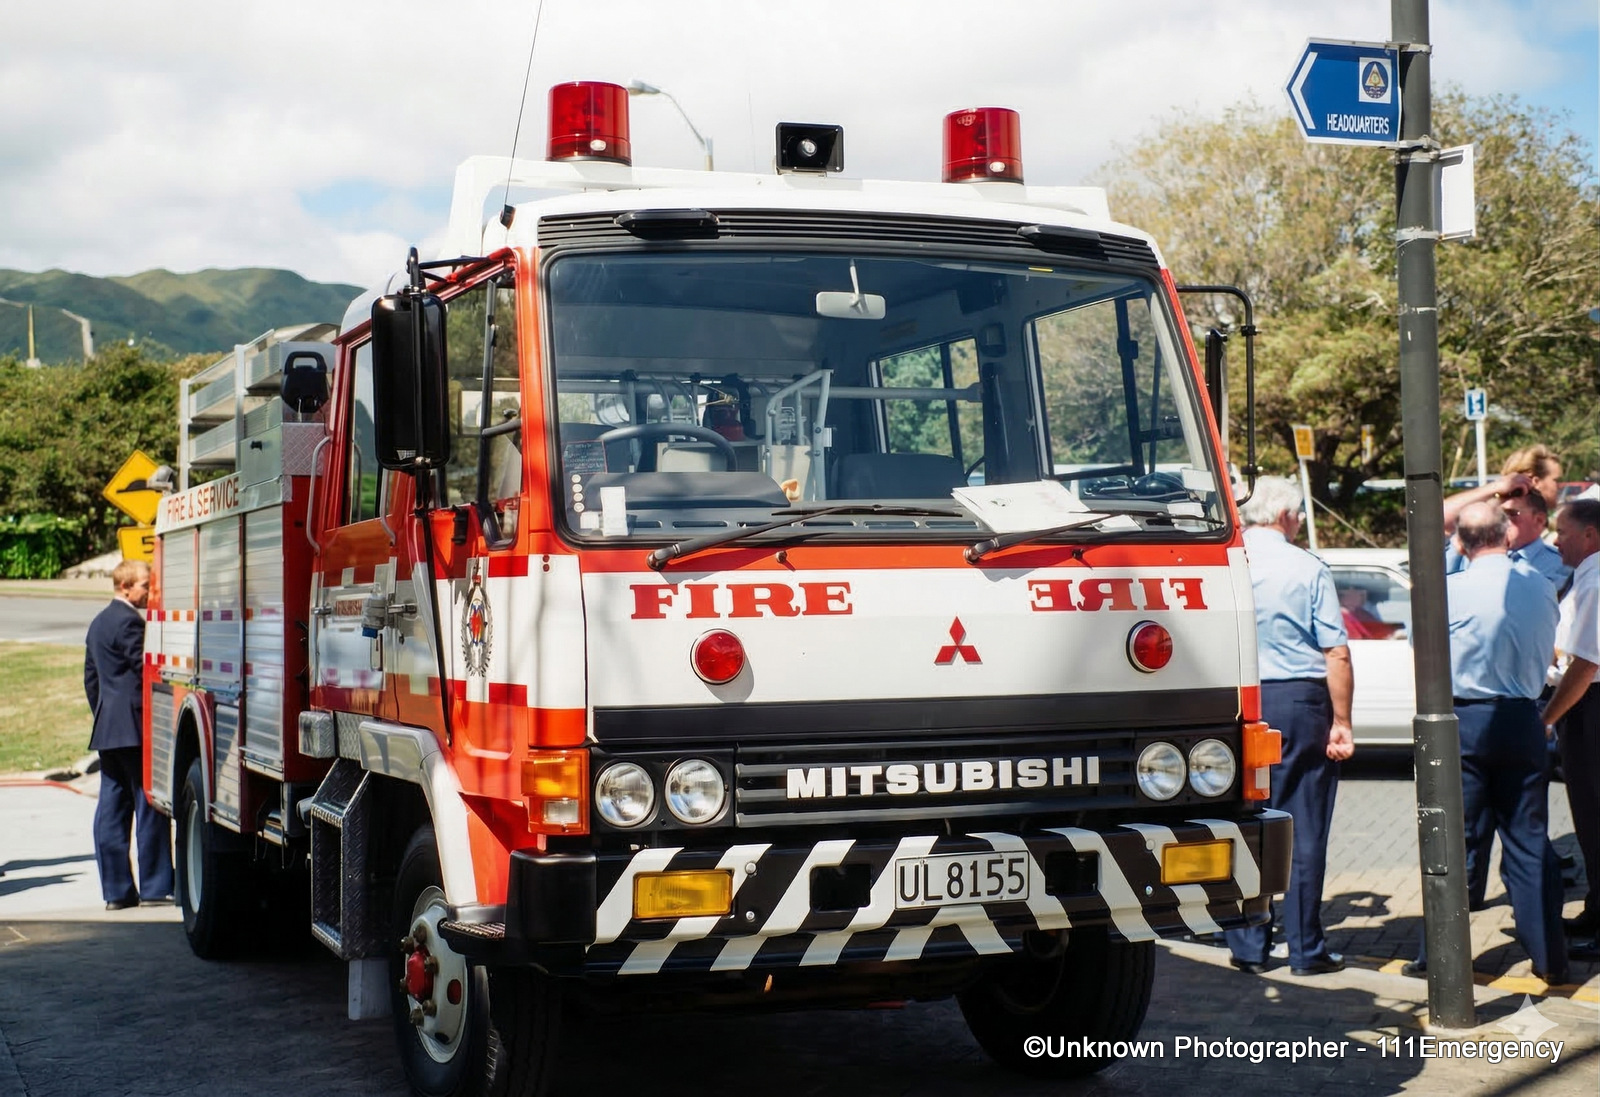
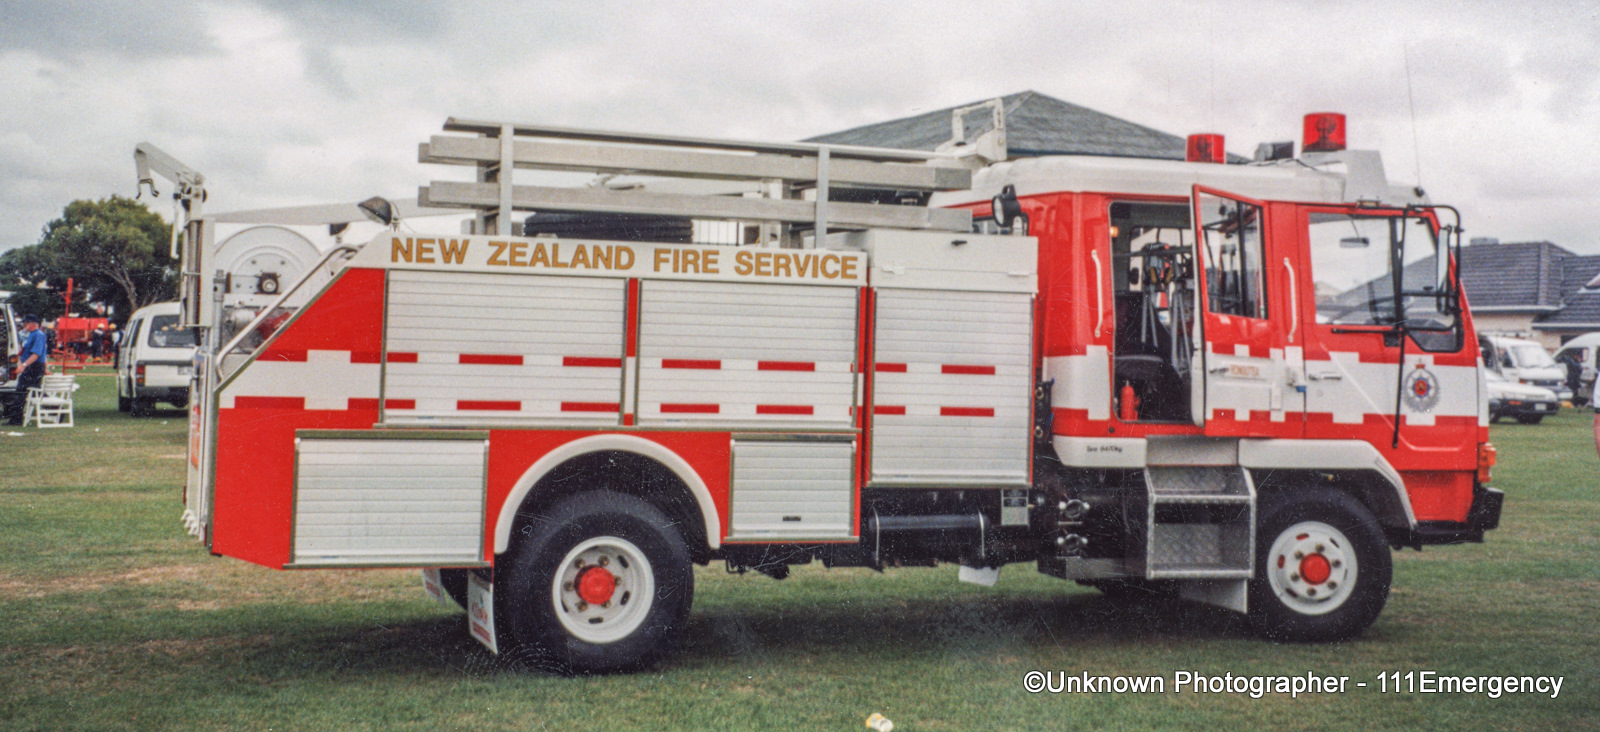
PORT WAIKATO 531
1996 Mitsubishi FK160F
UL 8155
Ex. Rongotea
 |
 |
 |
| Photo donated by Malcolm McLeod | Photo by David Miller | Photo by David Miller |
 |
 |
 |
| Photo by David Miller | Photo by David Miller | Photo by David Miller |
 |
 |
 |
| Photo by Nigel Capon | Photo by David Miller | Photo by David Miller |
 |
 |
 |
| Photo by David Miller | Photo by David Miller | Photo by David Miller |
 |
 |
 |
| Photo by David Miller | Photo by David Miller | Photo by David Miller |
 |
 |
 |
| Photo by David Miller | Photo by Tim Johnson | Photo by Tim Johnson |
 |
 |
 |
| Photo by Daniel Capon | Unknown Photographer | Unknown Photographer |
